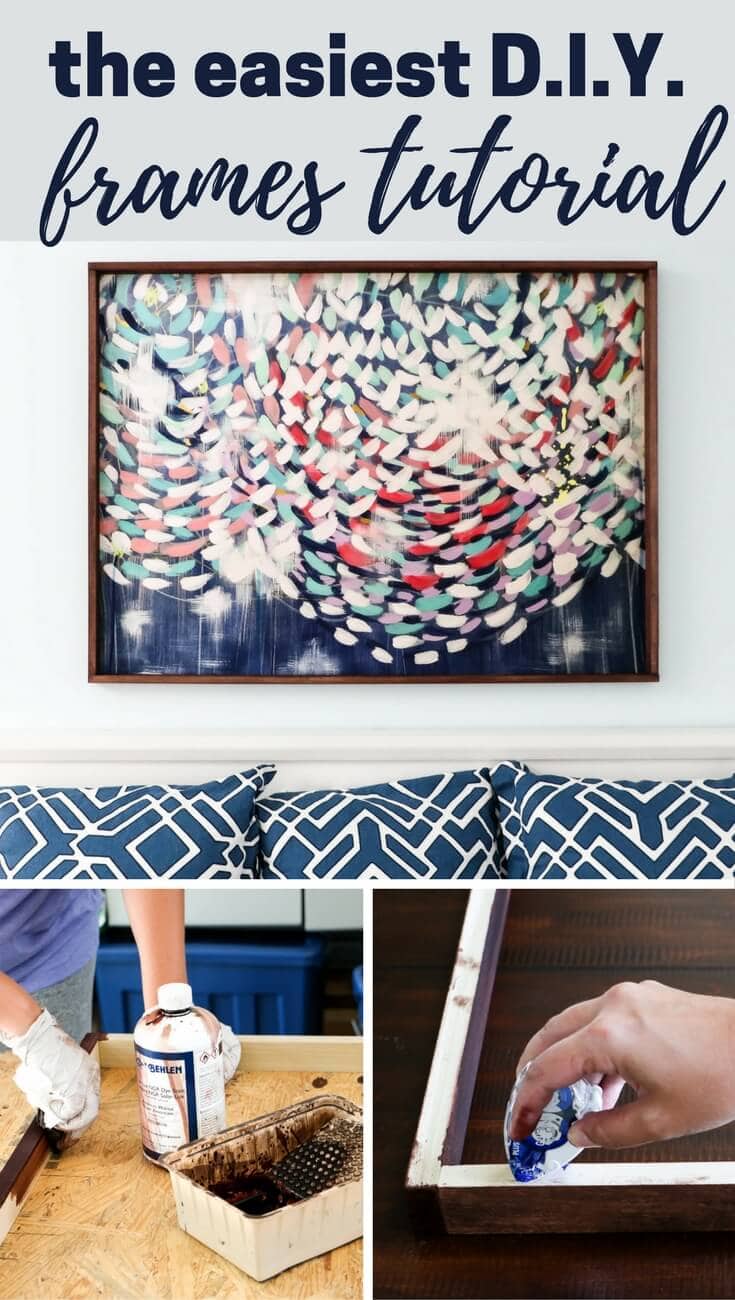
How to Make a Picture Frame for LARGE Prints
Learn how to make a picture frame for large prints with this easy DIY frames tutorial!
This post is sponsored by Mohawk Consumer Products.
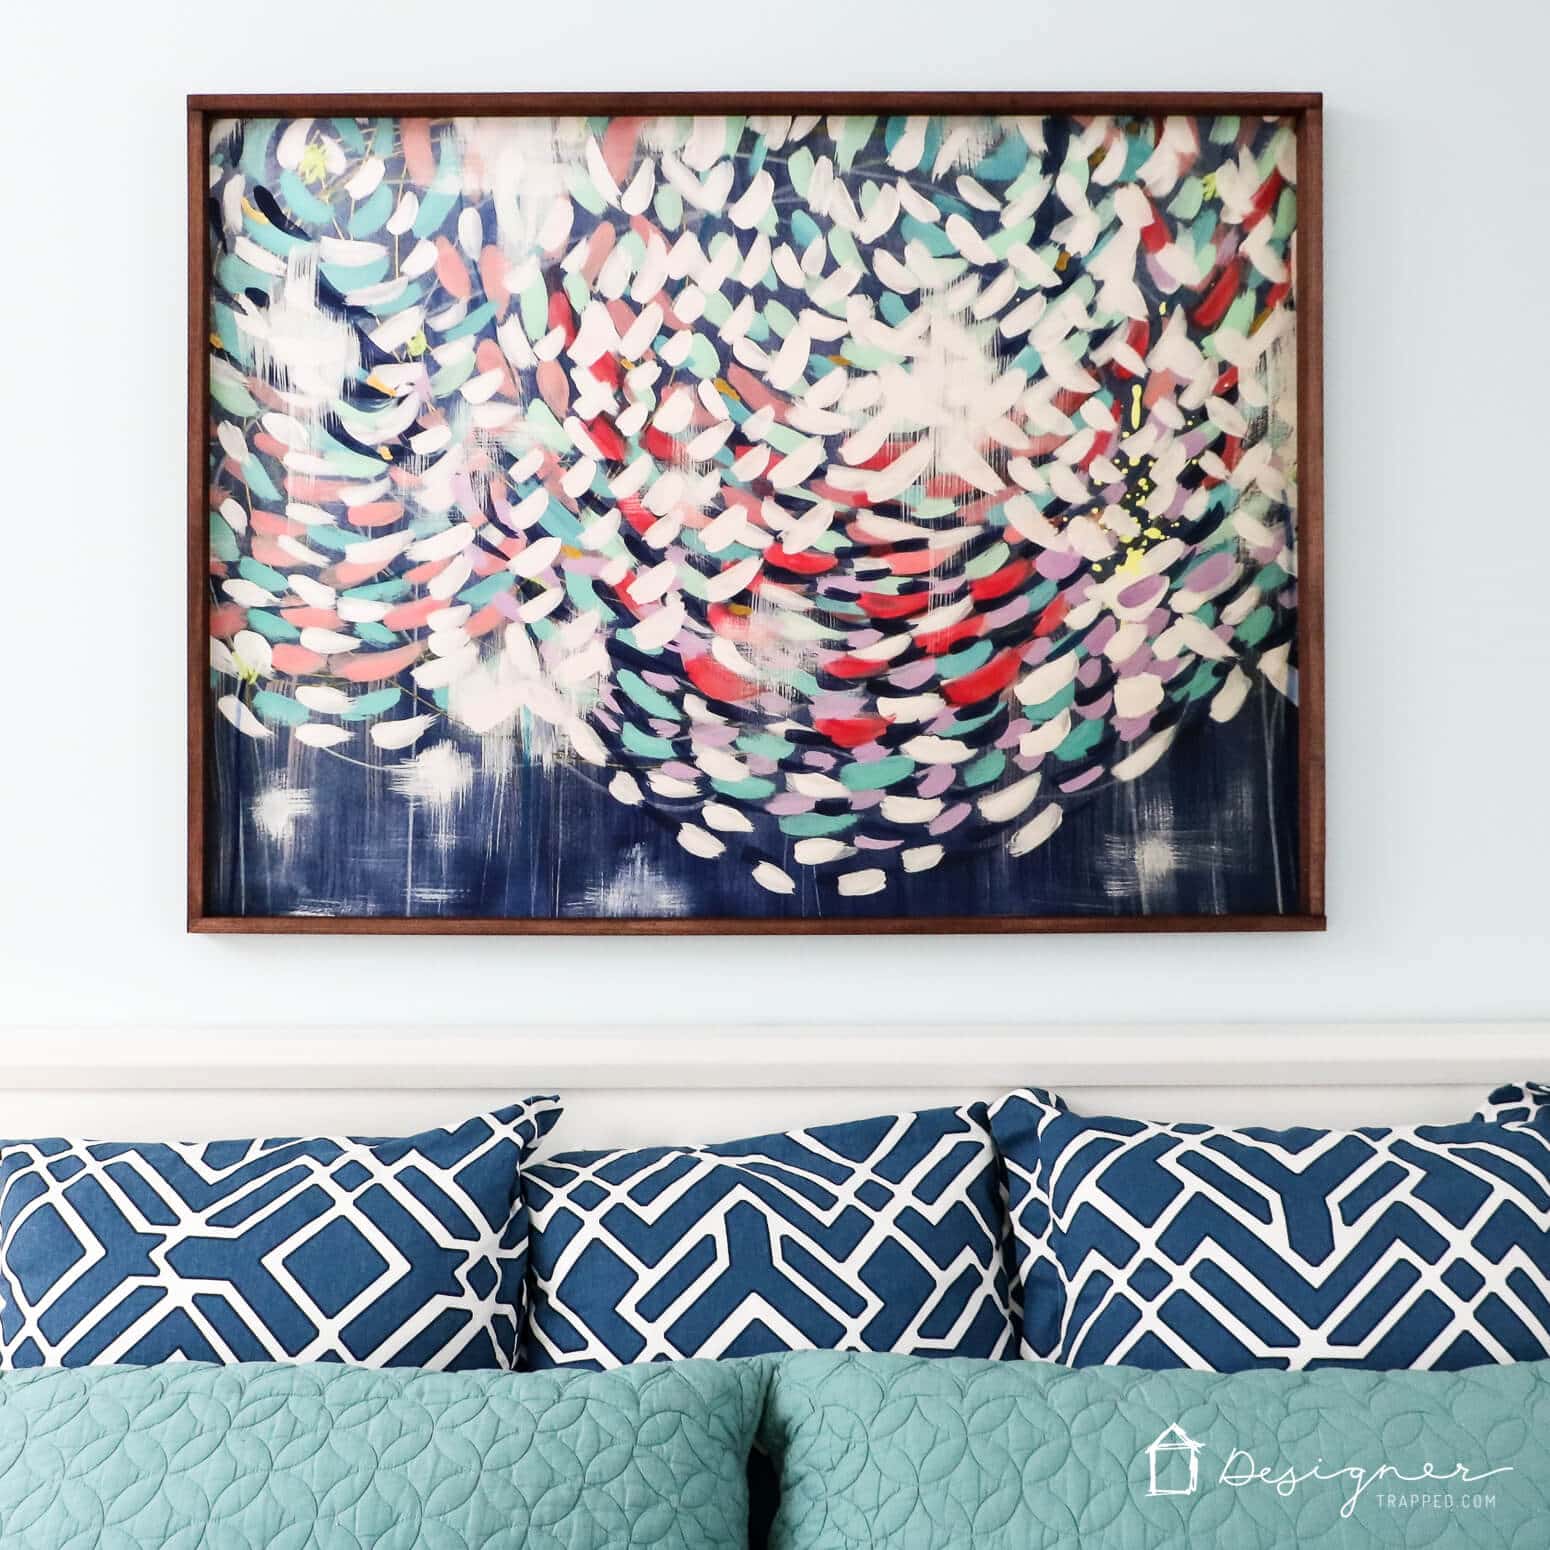
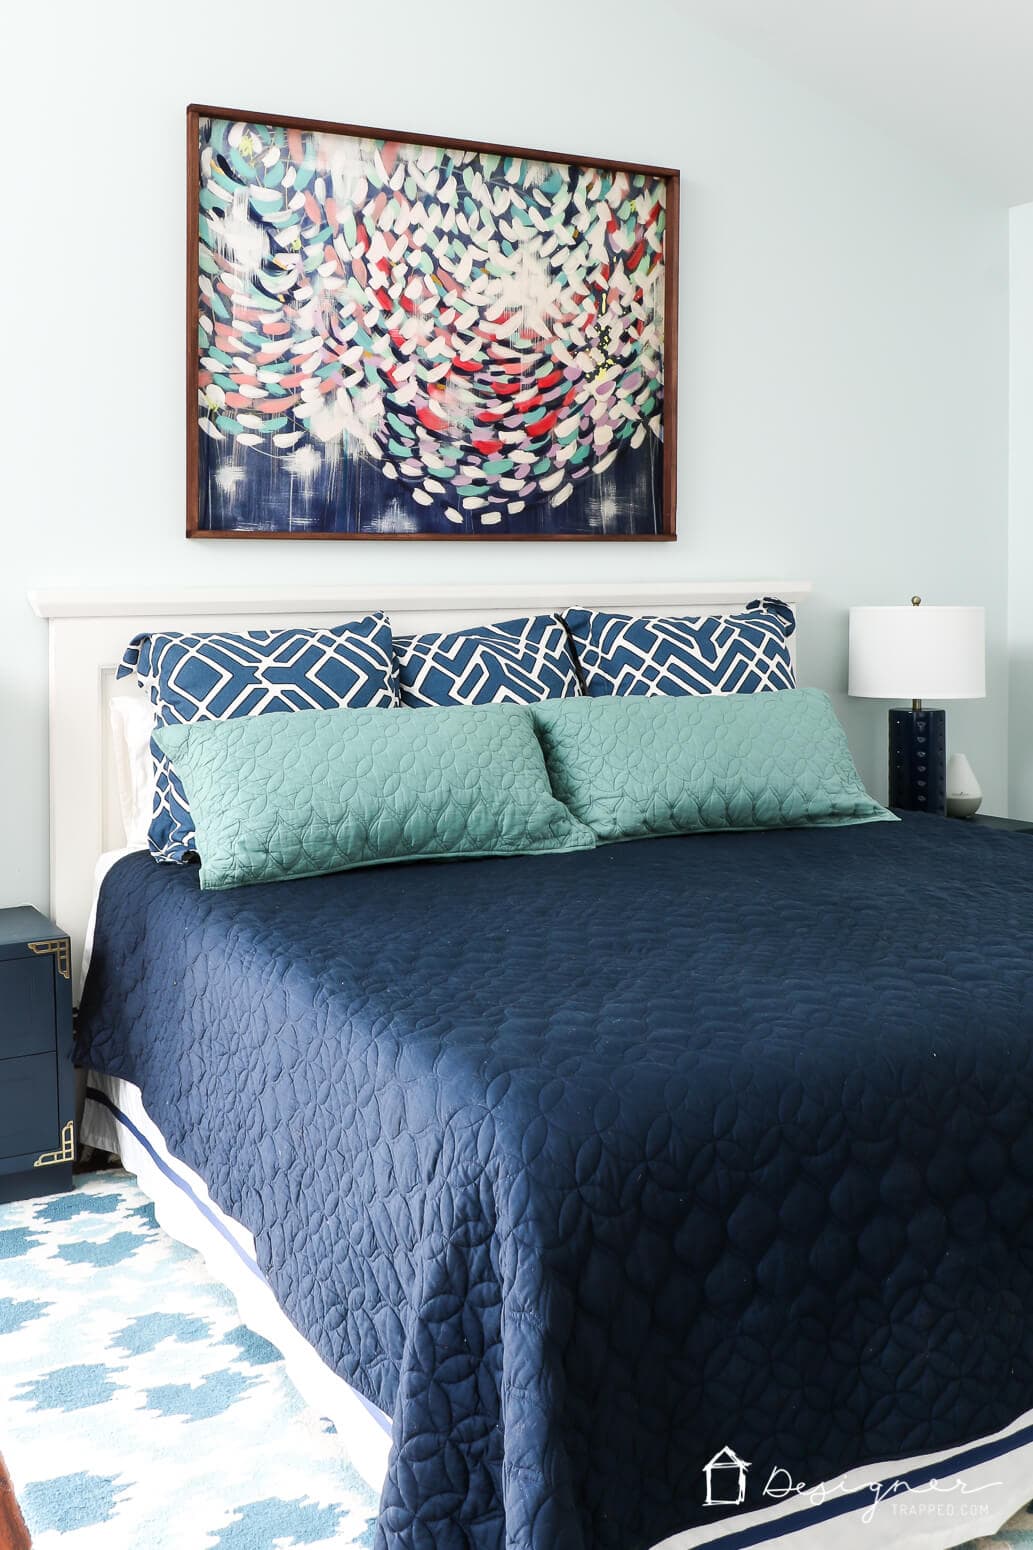
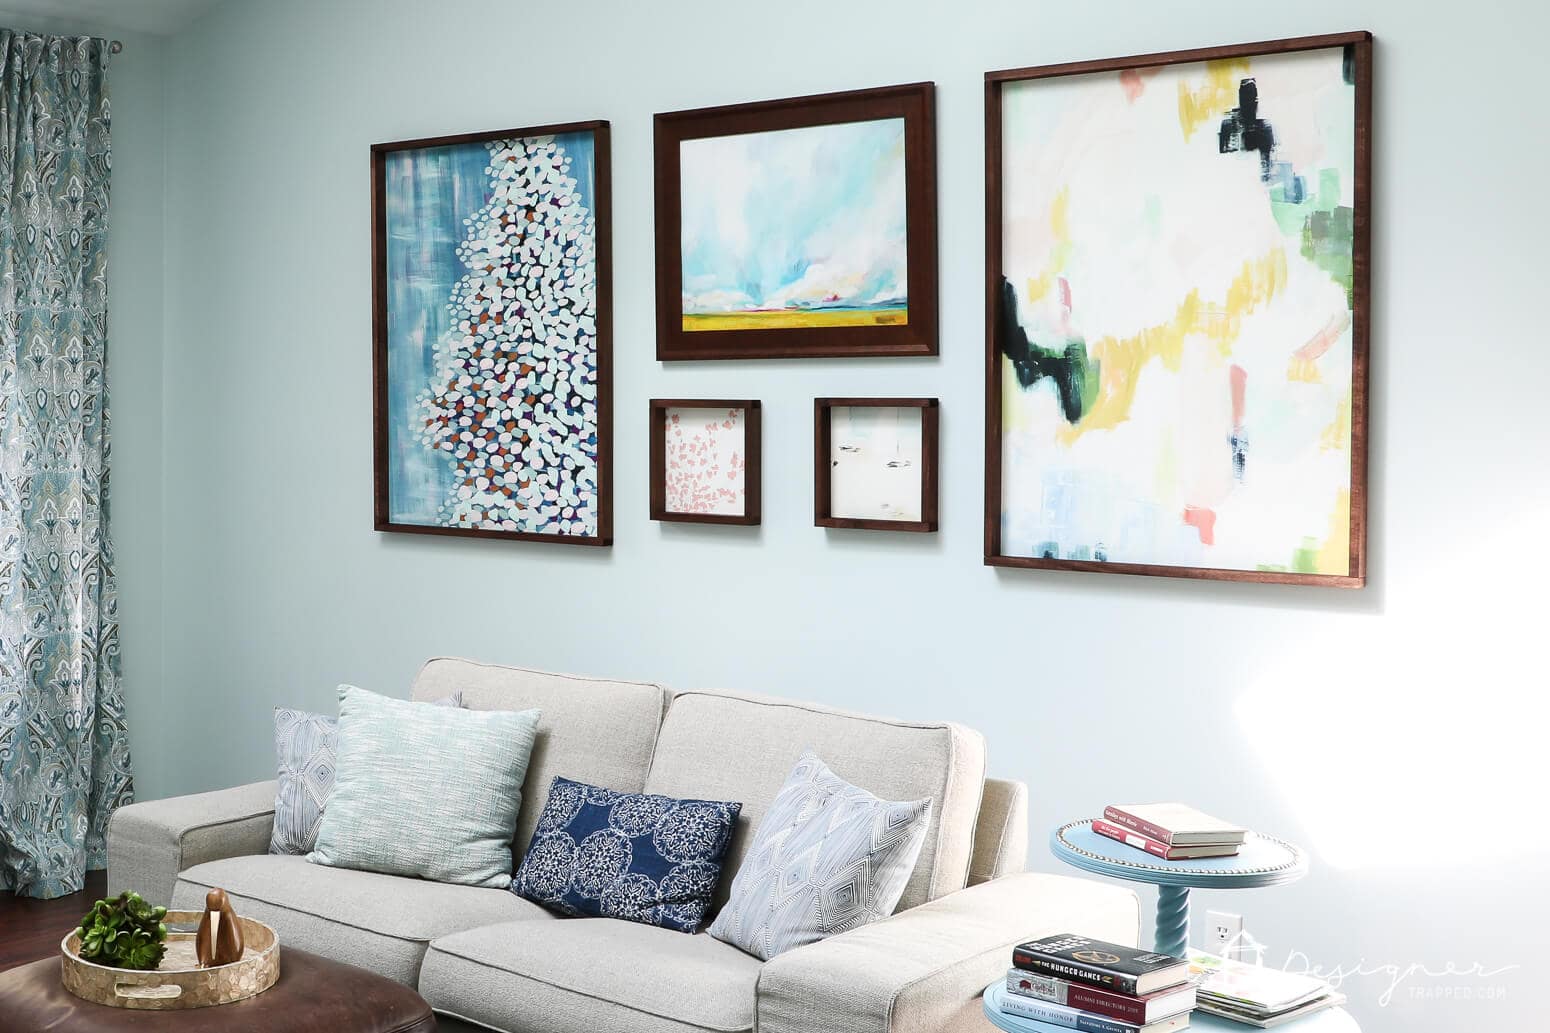
Hey friends! Hopefully, you have already seen my recent post about how we added some gorgeous artwork to our master bedroom after having completely blank walls for almost 4 years. We are so thrilled with how much color and warmth the prints have added to our space. But here's the thing… The prints themselves tapped out our actual budget, so we had nothing left in the budget for custom frames, which can be SO EXPENSIVE. So, instead, we decided to make our own DIY frames from inexpensive materials. They were unbelievably easy to make (and we've made a lot of easy DIY frames before–like these and these–but these are by far the easiest and it just so happens I love them the most!). Read on to learn how to make a picture frame with the easiest tutorial ever :)
This post contains some affiliate links for your convenience (which means if you make a purchase after clicking a link I will earn a small commission which helps keep my blog up and running but it won't cost you a penny more)! Click here to read my full disclosure policy.
And before you ask, you can find all the prints that I framed below :)


DIY Frames for Large Prints Tutorial
Materials needed:
- 1 x 2 pine boards (the amount and length of boards you will need depends on the size of your frames–we used a total of 11 boards varying in length from 7 to 9 feet)
- Behlen Solar Lux Dye Stain (I used American Walnut)
- Compound miter saw (or you can have someone cut them at the hardware store for you if you don't have a saw–you could also use a hand saw and miter box)
- Sawtooth hangers
- Paper towels
- Latex gloves
- Glue tape (this is the exact one we used for this project)
- Sandpaper
- Staple gun or brad nailer (we are obsessed with this one, which is what we used for this project)
- 90 degree clamps
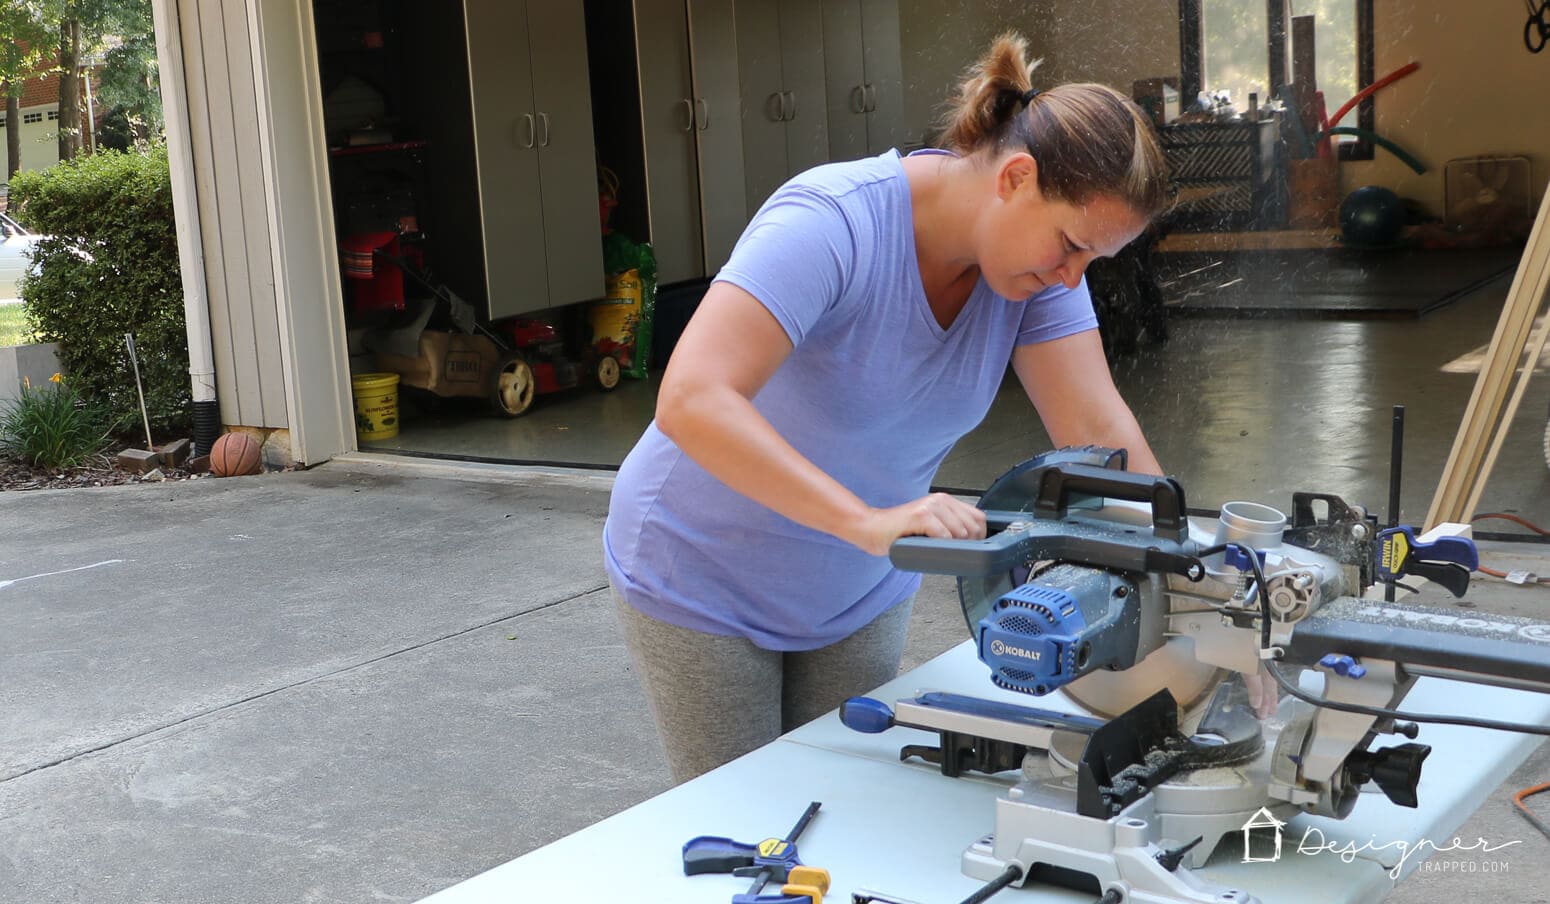
Step 1
First, you need to cut your wood down to size. Several of our prints were exactly the same size. So, we cut pieces for two frames at a time by stacking the boards on top of each other and clamping them–this ensured that the pieces were the exact same length AND saved us time.
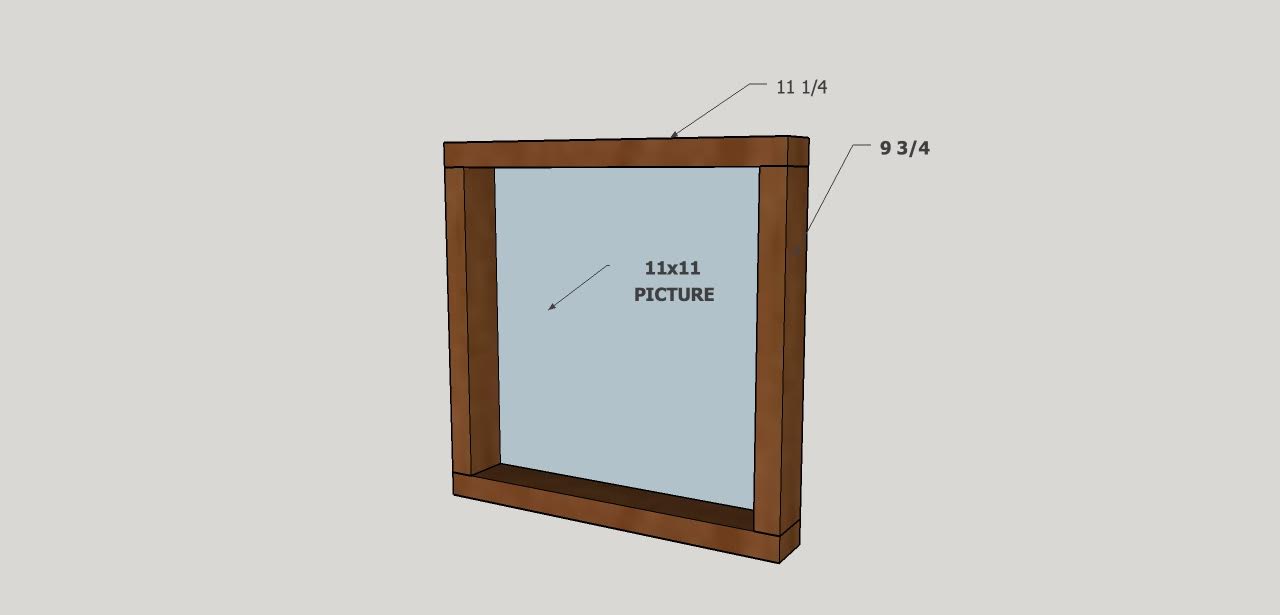
Each frame requires 4 boards–2 horizontal pieces and 2 vertical pieces. The horizontal pieces will overhang the vertical pieces (see the diagram below). In order to get the frame to be the perfect size (allowing enough surface area to attach the prints to them), we cut each horizontal piece to 1/4 inch longer than the print. The vertical pieces need to be cut shorter (to account for the overhang of the horizontal pieces) than the print. So, we cut the vertical pieces to 1 1/4 inches shorter than the the print. I know, it sounds confusing, but it's not. Below is a diagram that shows what I am talking about for the 11 x 11 prints that we framed. But you use this SAME exact “formula” for any size print you are working with.
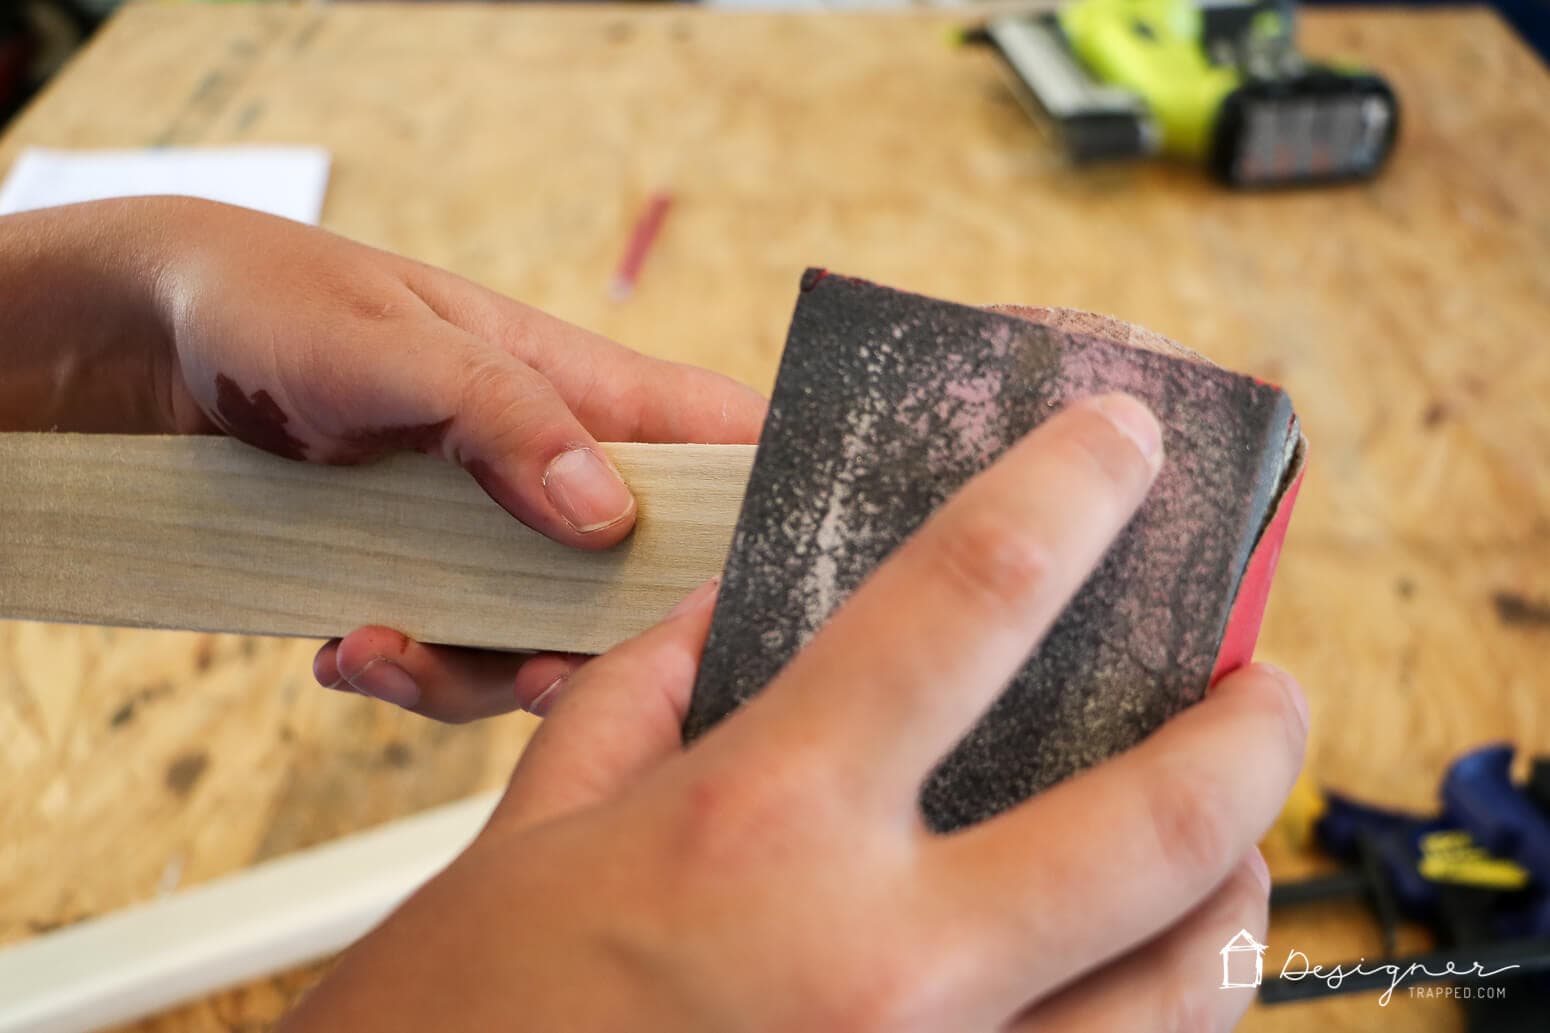
Step 2
Lightly sand any rough edges created by your saw.
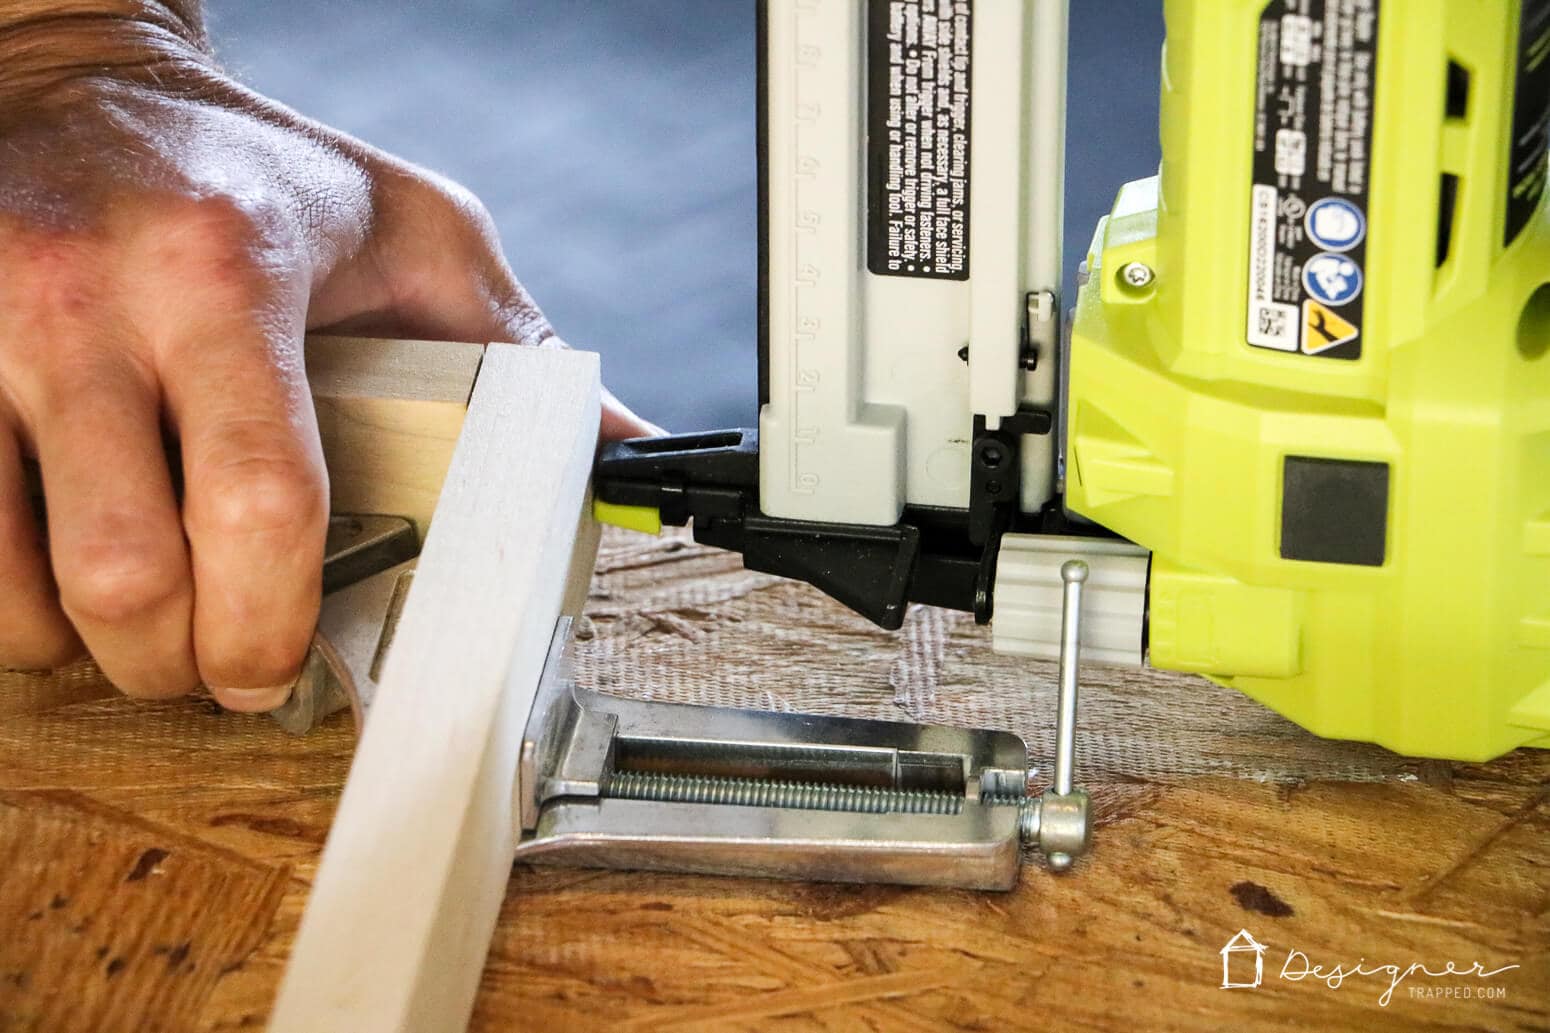
Step 3
Next, use your 90-degree clamps to create tight joints. Once they are in place, use your staple gun or brad nailer (or even a hammer and nail) to attach the boards to each other.
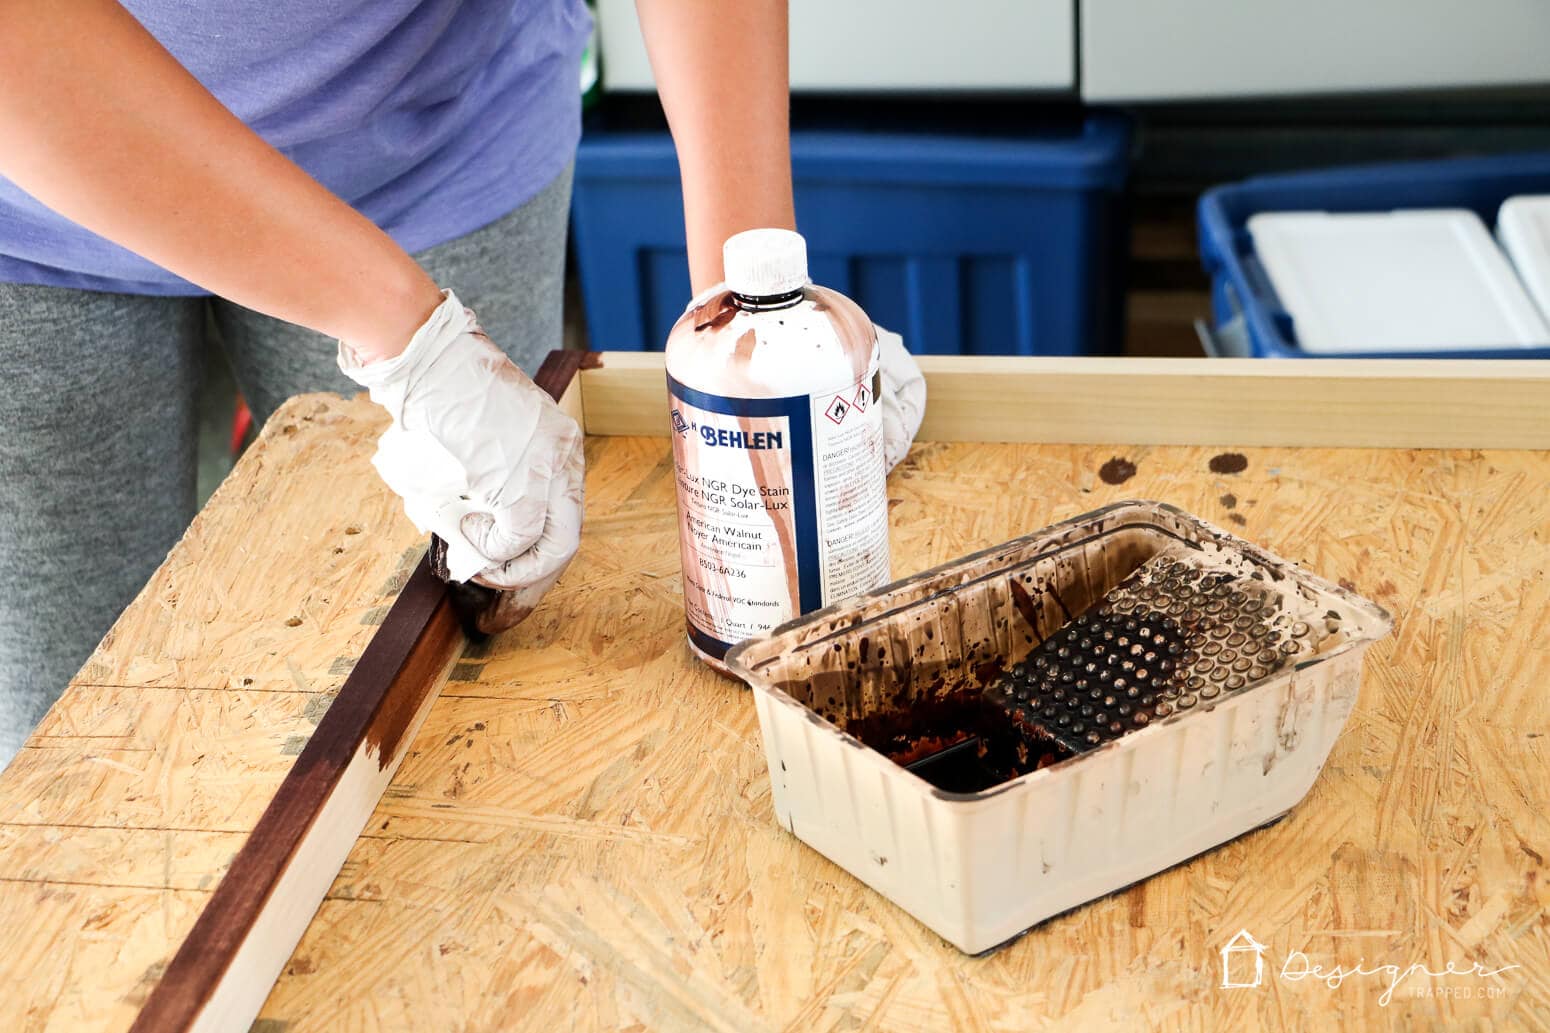
Step 4
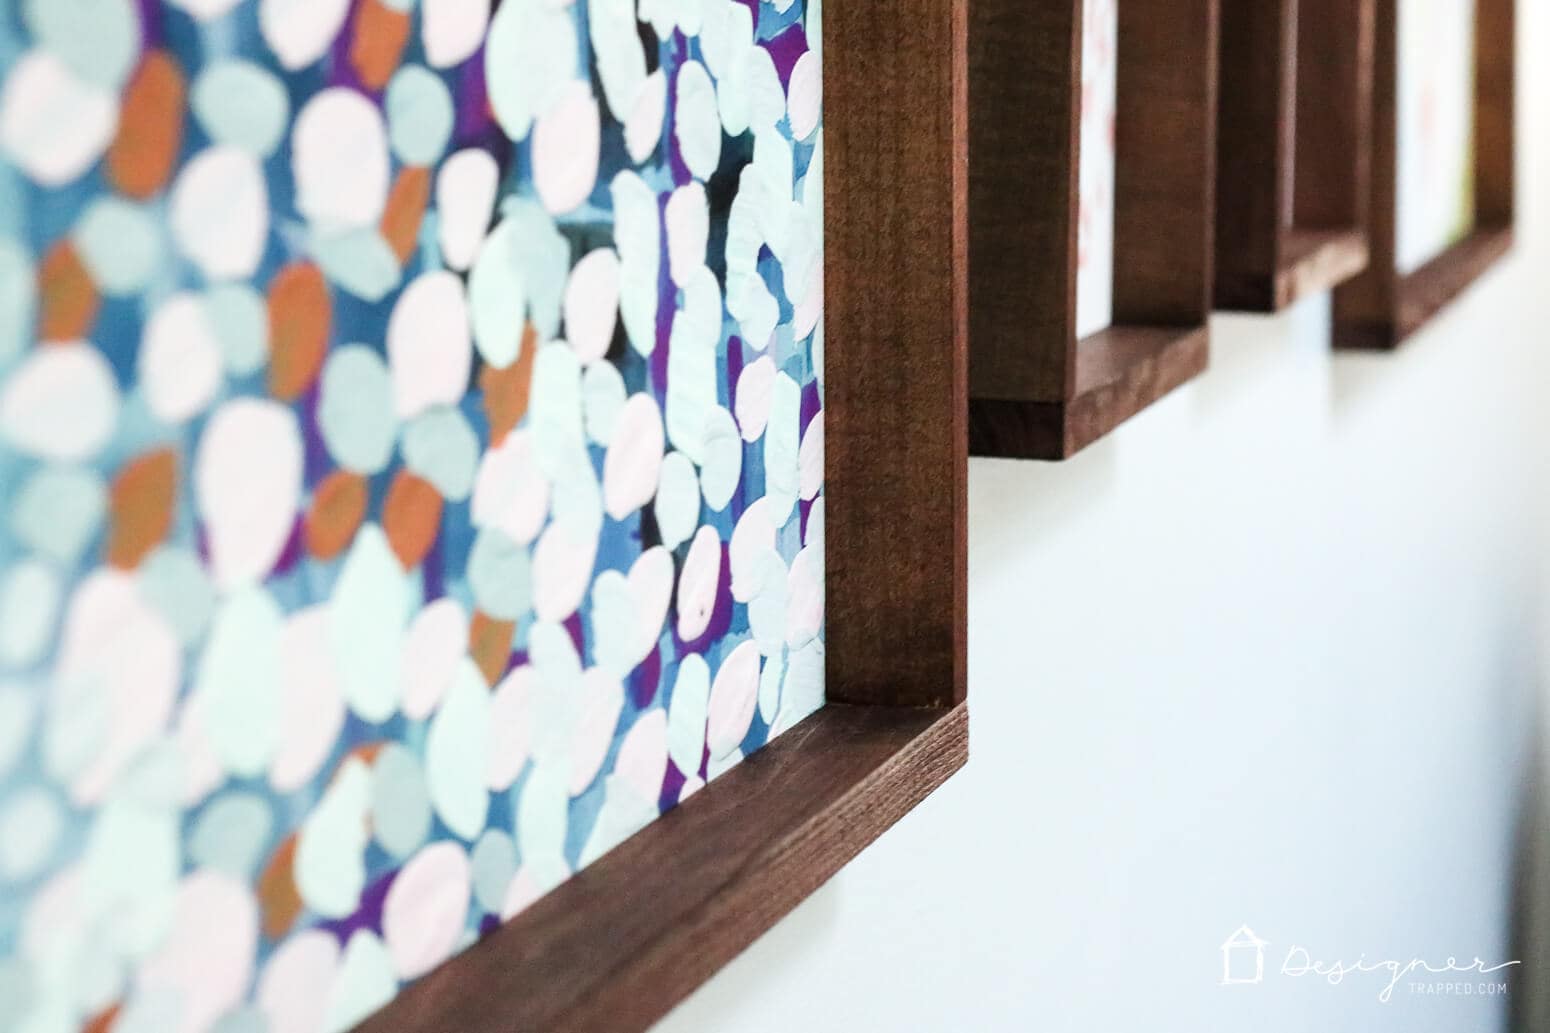
Once your frames are assembled, you are ready to stain them! I used my favorite stain, Behlen Solar Lux Dye Stain, in the American Walnut color. It's such a rich stain, it only required one coat!
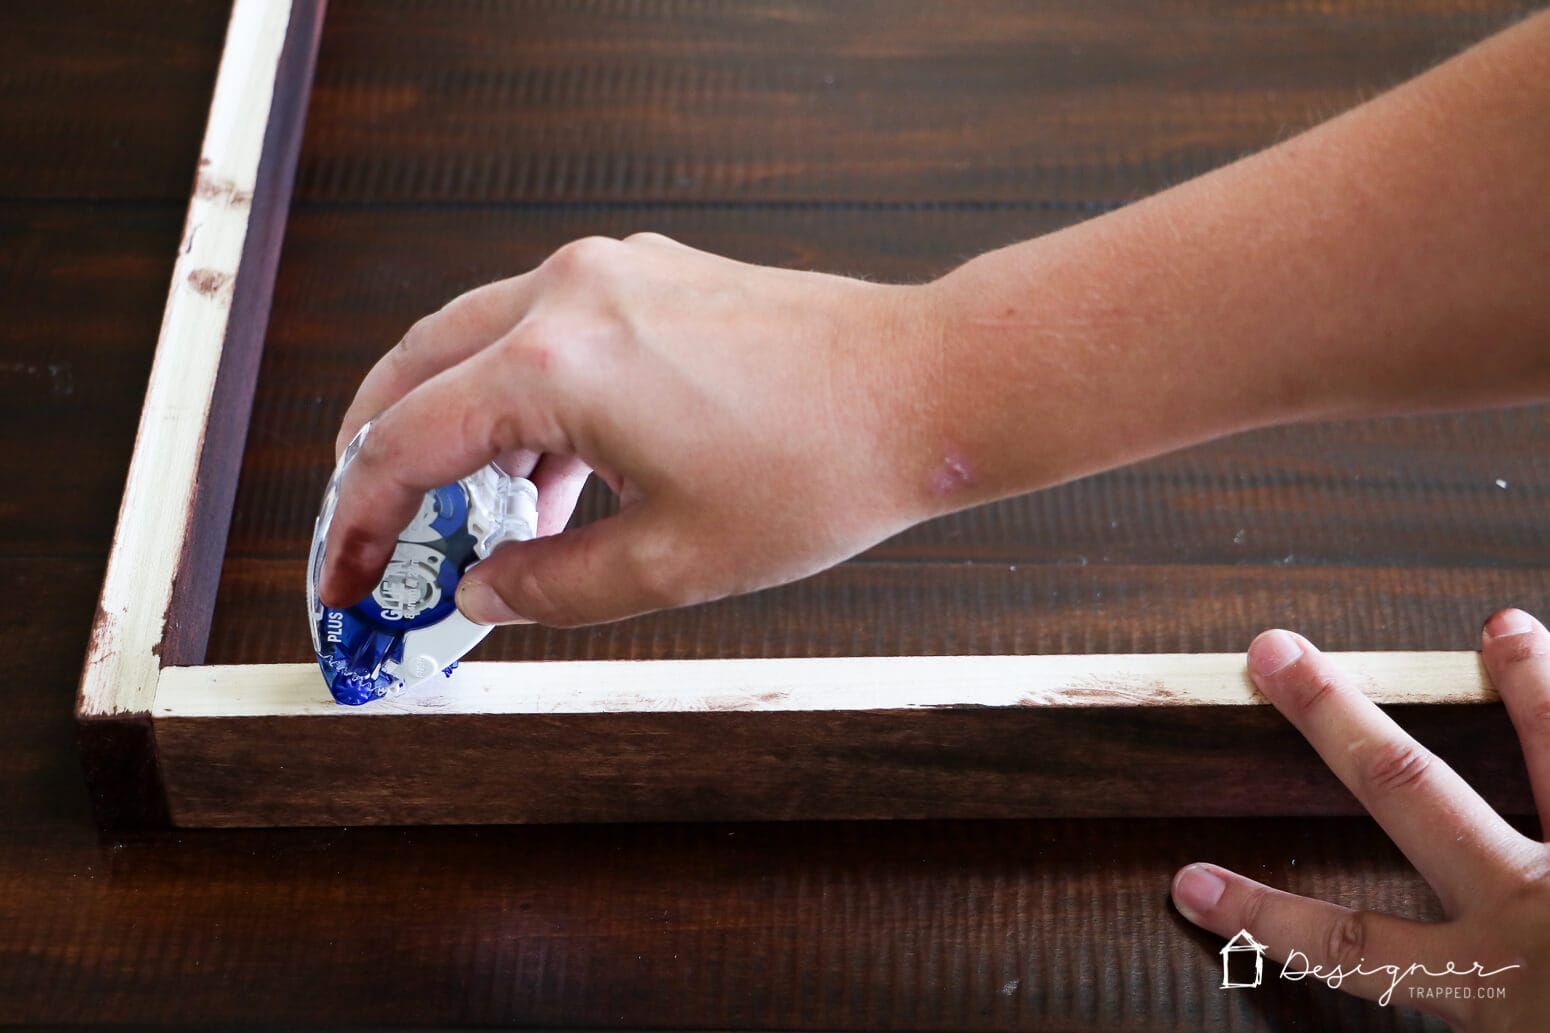
Step 5
After the stain dries, you can attach your prints. Now, I wouldn't recommend this method for original, irreplaceable and super expensive pieces. But this method is perfect for large posters or reproduction paper prints like we used. Run your glue tape along each edge of the BACK side of your frame.
Step 6
Next, carefully lay your print flat on the glue tape. I don't have photos of this step because our prints were so large, it required Joe and I both to “team work” it. I REALLY recommend 2 sets of hands if you are dealing with large prints. The smaller ones were easy enough to attach on my own. And don't panic if you don't get the position perfect the first time. You can reposition the print on the tape (as long as you haven't pressed down super firmly yet).
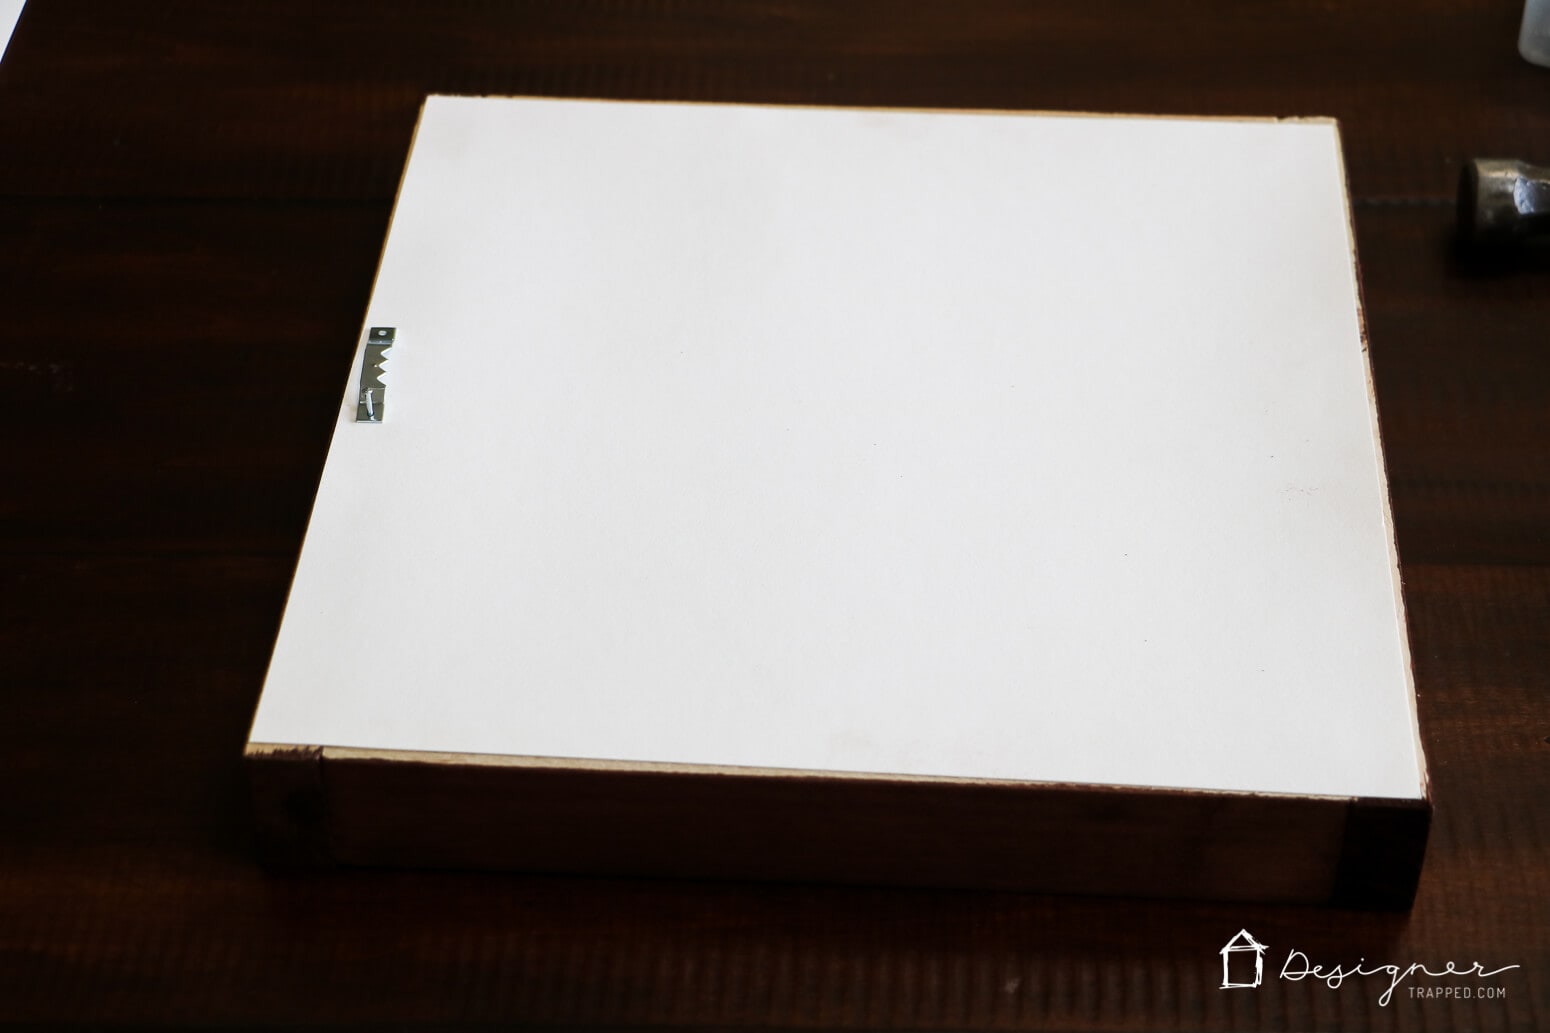
Step 7
Attach some photo hanging hardware to the top center of each frame (I used sawtooth hangers) and hang it up!
SO EASY! And ours turned out beautifully. Check them out!
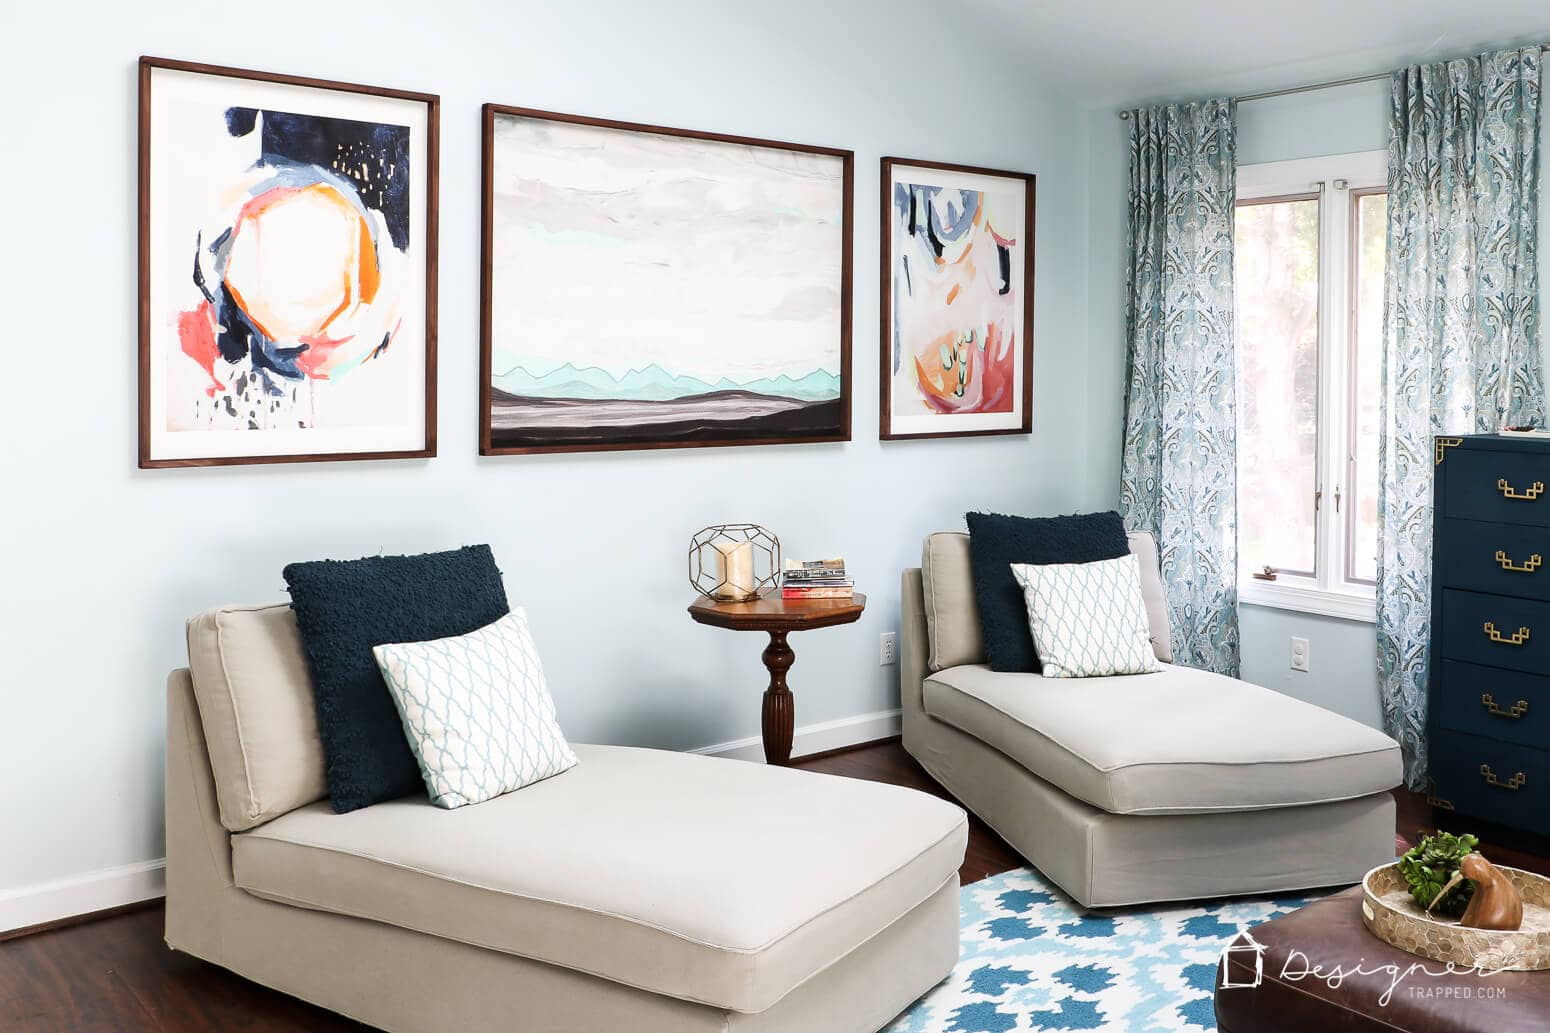

Be sure to save this to Pinterest or share it on Facebook so you can find it again when you are ready to make your own DIY frames :) And if you are looking for some awesome and super affordable large prints to frame, check out my printable art shop. Here are some of my most popular prints.

Last Updated on March 3, 2022
Hi …glad I found this tutorial….what kind of paper is used to print your art? Can canvas be glued to the wood frame? Also suggestions for most affordable places for printing art! Thanks!
Hi Wendy! Most of our art prints are from Minted and are printed on very thick, archival art paper. You might be able to stretch and staple canvas to the wood frames, but I do not think glue would work well.
Love this! It’s ridiculous how pricey large frames can be. :( It’s just wood! These turned out beautifully. :) You can buy those picture “points” to hold a picture in place if you don’t want to glue it in, I think you just need a small screw to hold the point in. I love how customizable this frame is–you can use trim and miter the corners, paint it, stain it, leave it be, whatever you want! Thanks for the post. :)
Thank you Zovesta! So glad you like the idea and the tutorial!
Love this! Larger frames can be so pricey. It’s definitely scared me away from buying some larger pieces. Even smaller art that’s just in unusual sizes. This makes all of it much more approachable.