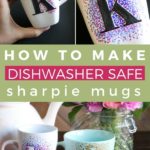
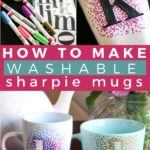
DIY Sharpie Mugs That Are Washable
Sharpie mugs are an inexpensive and easy gift to make for your friends, family, or even yourself. They can be customized a zillion different ways–add any design and use any colors you want. Best of all, the designs won't wash off if you follow the tips in this post!

I admit it. I'm a sucker for pretty mugs. Joe would tell you I have too many mugs. I would tell you there's no such thing as too many :) But, I don't want to spend a fortune on mugs either, so I love customizing mugs to give as gifts (to myself and others, lol) because they are relatively inexpensive and always very loved and appreciated.
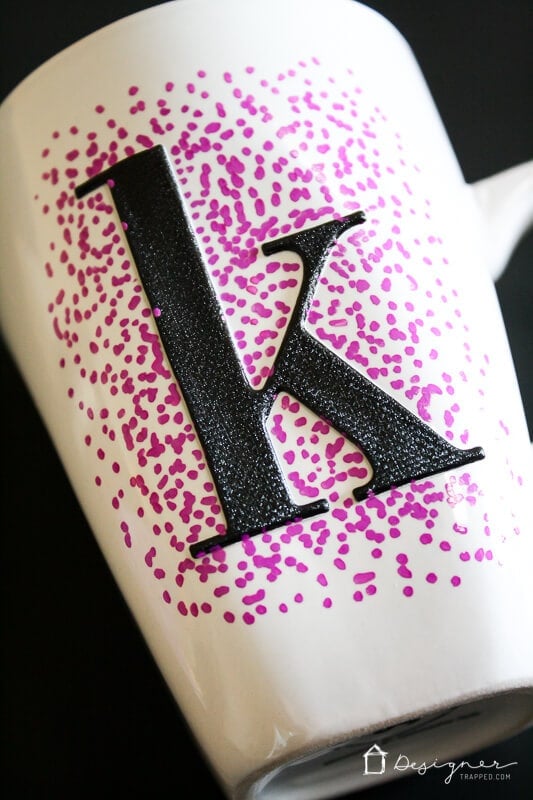
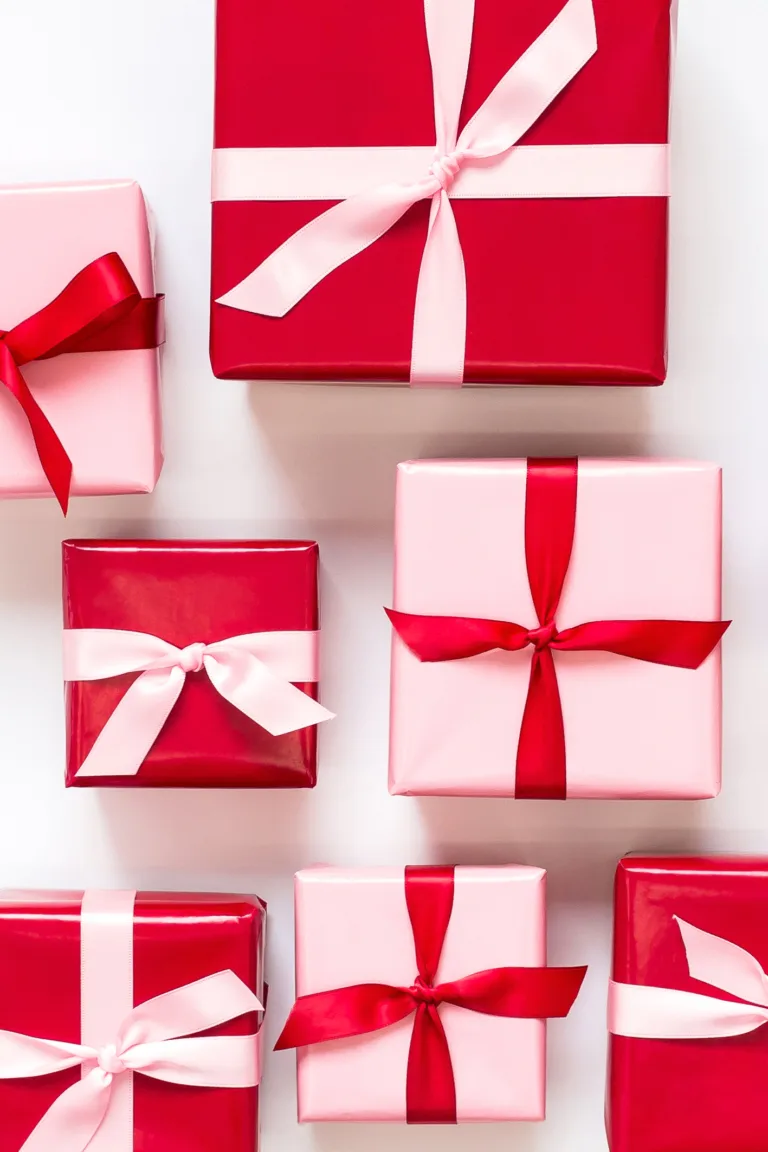
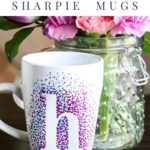
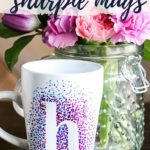
For this tutorial, I'm sharing how I made these adorable monogram dotted sharpie mugs, but you can do pretty much anything you want as long as you use the right kind of paint pens. Read on to learn how to make your own. They make WONDERFUL and very affordable gifts!
This post contains affiliate links for your convenience. Click here for my full disclosure policy.
Washable DIY Sharpie Mugs Tutorial
If you would like FREE printable instructions for this project, just fill out the form below.
If you like video tutorials, you can watch the video below to see how to make these fun sharpie mugs. There is also a full written tutorial below the video.
Materials Needed
- Mugs–I buy mine at The Dollar Store
- Oil-based Sharpie paint pens
- This is CRUCIAL!!!! If you don't use the right paint pens/markers, your design will wash right off :(
- Large felt stickers or vinyl letters (do not use regular paper stickers–they will be very difficult to remove from your mug) OR you could use a pencil to sketch out your own design
- An oven
- Rubbing alcohol
- Nail polish remover and q-tips to easily wipe off any mistakes that you make
Steps
Time needed: 25 minutes
This project is quick and easy. It takes about 20 minutes per mug (excluding baking time).
- Prepare your mug.
Clean your mug with rubbing alcohol to remove any oils from it. Then place your sticker or vinyl letter on your mug.
- Add your design.
Using oil-based paint pens in the color(s) of your choice, begin making dots around the edge of your sticker. Heavily concentrate your dots around the edge of the sticker.
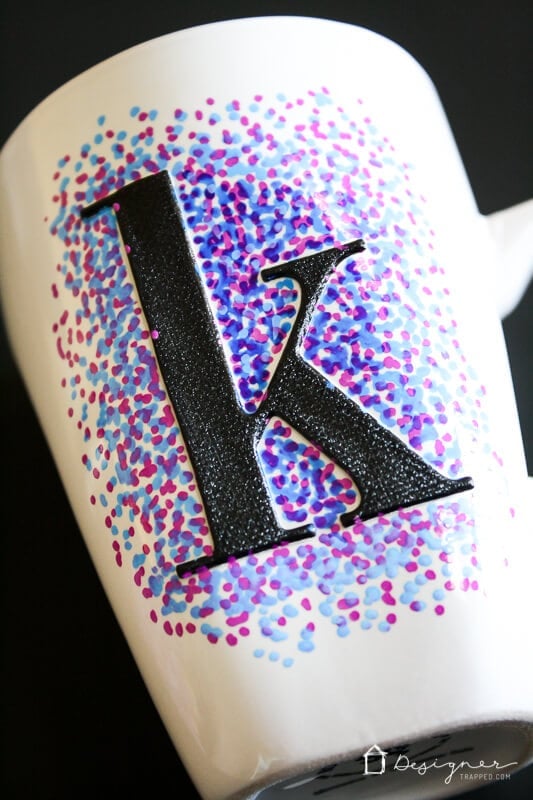
As you work your way outward away from the sticker, make your dots more sparse. You can use 1 color or multiple colors.
If you use more than 1 color, let the first color dry completely before layering on the second color (it dries fairly quickly). - Let it dry and do any touch-ups.
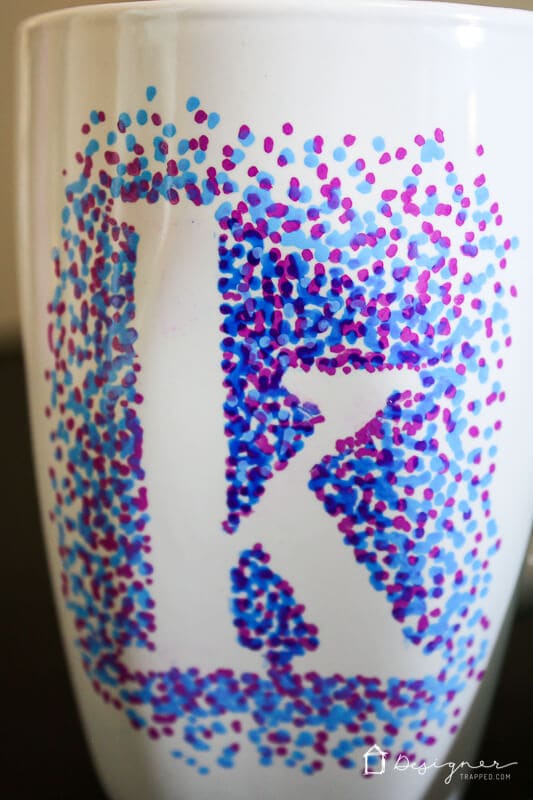
Allow your painted dots to dry completely, then peel your sticker off. If you notice any mistakes or areas where the paint bled under your sticker, just wipe them off with a q-tip that has a bit of nail polish remover on it.
- Bake your mug(s).
Place your mugs inside your oven AND THEN heat it to 350 degrees. Do not pre-heat your oven before putting the mugs inside.
Once the 350 temperature is reached, let your mugs “bake” for 30 minutes. I recommend setting them upside down directly on an oven grate–if you sit them on a cookie sheet it may cause your mugs to discolor.
After they have baked for 30 minutes at 350 degrees, turn off the oven and let the mugs cool down inside the oven. Once the oven has completely cooled, remove your mugs. You may notice that the color of your paint changes a bit once they are baked–this is normal (some colors are affected more than others).
Now, I bet you are wondering if you can really wash them. YES, you can! I usually hand-wash mine, BUT I have also run my Sharpie mugs through the dishwasher when I've been feeling lazy and the designs haven't washed off. That said, if you want your design to last as long as possible, I'd recommend hand-washing them.
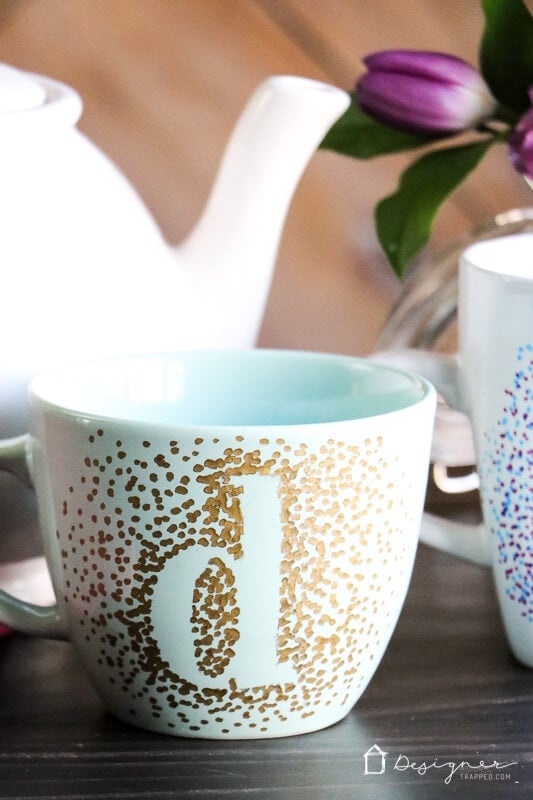
THAT'S IT! How adorable and fun are these DIY sharpie mugs? I LOVE making gifts for special people. You can step it up even more by adding a Starbucks gift card or some fancy tea!


Thank you so much for this idea. I find that paint pens, oil-based or any other. Tend to blob and I’ve had trouble doing the dots like you do. I really wish I could do this better. Mine’s a little messy and I have to start over a couple of different times. I’m using sharpie oil based.
Hi Elizabeth. You may just have too much liquid on the tip. You could try off-loading some on a paper towel to help dry it off a bit before using it to make dots.
how do you peel the sticker off easily? im having trouble peeling them off without them riping…
Hi Emily. I only use large felt stickers or vinyl letters that peel off quite easily. As I mention in the tutorial, I do not recommend using paper stickers because they are hard to remove and tear.