How to Repair Holes in Your Doors
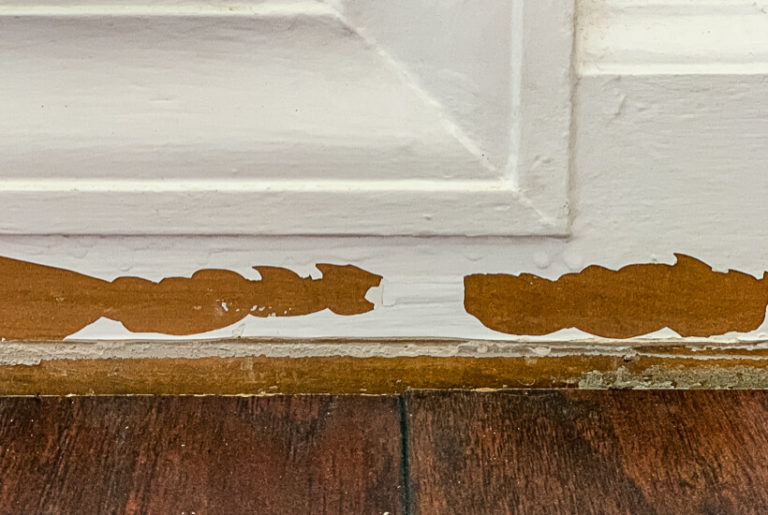
If you have ever replaced door hardware, you may be left with holes in your door from your old hardware because sometimes the new door hardware you choose doesn't line up perfectly with the holes used by your existing hardware. Or you may even develop a hole in your exterior doors due to rot. Fortunately, with the help of epoxy putty, you can fix holes in your door easily! Learn how to repair holes in your door with this step-by-step tutorial.
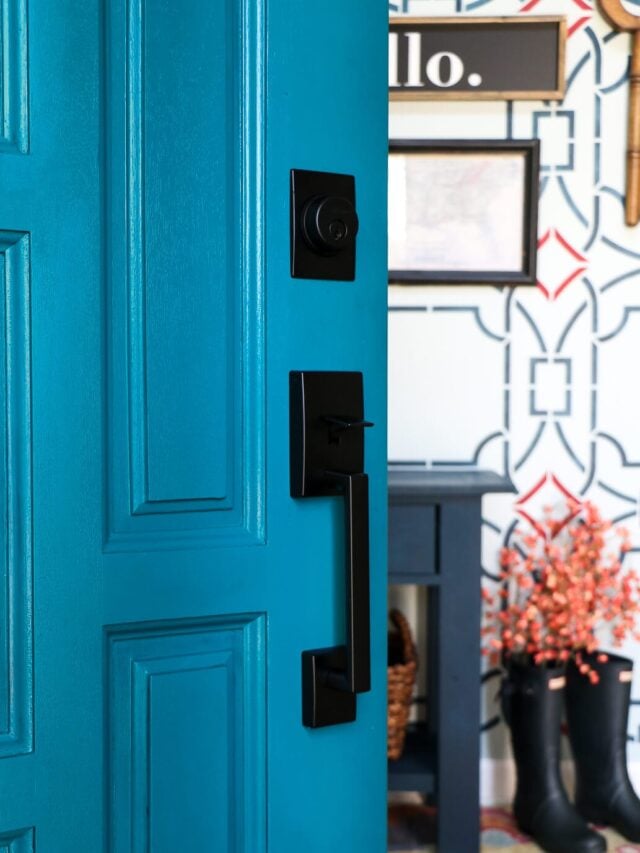
More than once we have chosen new hardware for a door in our home only to realize it doesn't line up with the holes used by our existing hardware. So we either have to choose a hardware set that matches up perfectly (this isn't always possible, especially if your door is old) or we have to fix the holes in the door.
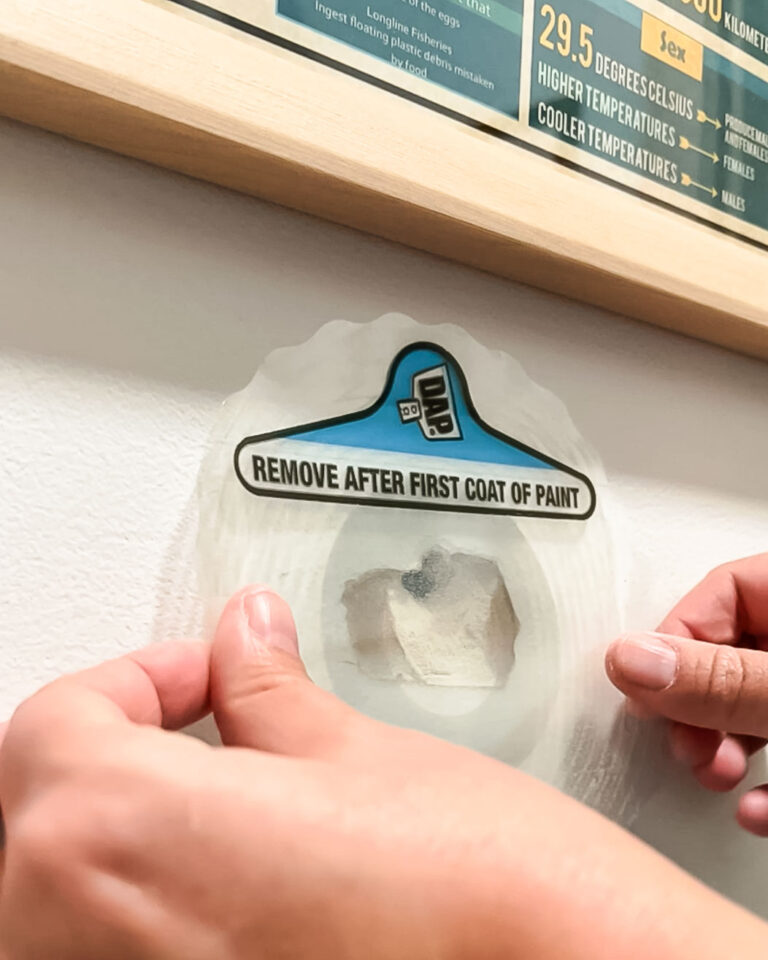
We have found that it's easy to fill holes in a door with epoxy putty! This DIY door repair allowed us to fix the issue quickly–it was a crucial part of our front door update, as was installing a pretty DIY door kick plate. We used it to fill the holes left by our old door hardware, but you can use this exact same method for filling any holes in doors caused by rot or any other kind of damage. The product we use can be shaped and molded.
This post contains affiliate links for your convenience. Click here for my full disclosure policy.
How to Fill Holes in Doors With Epoxy Putty
Below is a video to walk you through the project step-by-step. It's more detailed than the written instructions below for those of you that like to see everything from start to finish :)
Materials needed
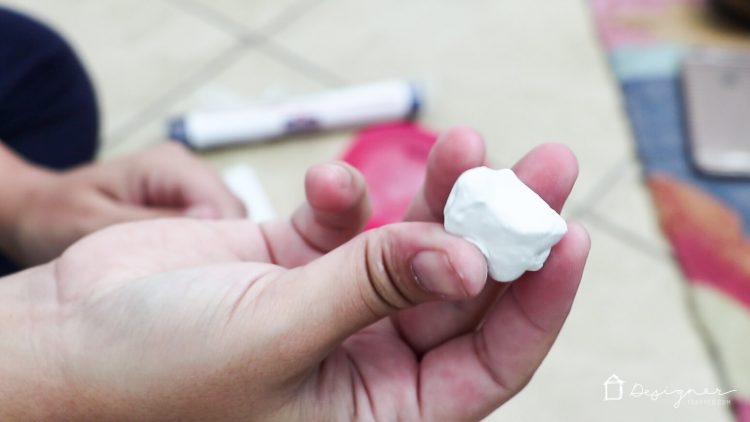
- Mohawk Epoxy Putty Stick (I used white, but it comes in a variety of colors–if you are working on stained wood, choose a color that is as close to your wood color as possible)
- A leveler card or old credit card
- A small dish of soapy water
- A sharp knife
- Sandpaper
Steps
1) Mix a small amount of liquid soap into about 2 ounces of water.
2) Cut a small piece of your Epoxy Putty Stick off and knead it with your fingers until the color is totally uniform. You will feel it getting warm in your fingers. If it starts sticking to your fingers, dip your fingers in the soapy water and continue to knead. Know that the working life of the epoxy is short–it's only about 6 minutes after mixing.
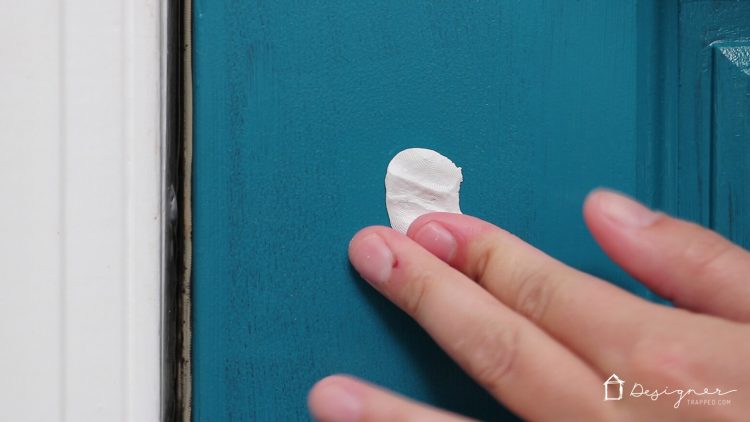
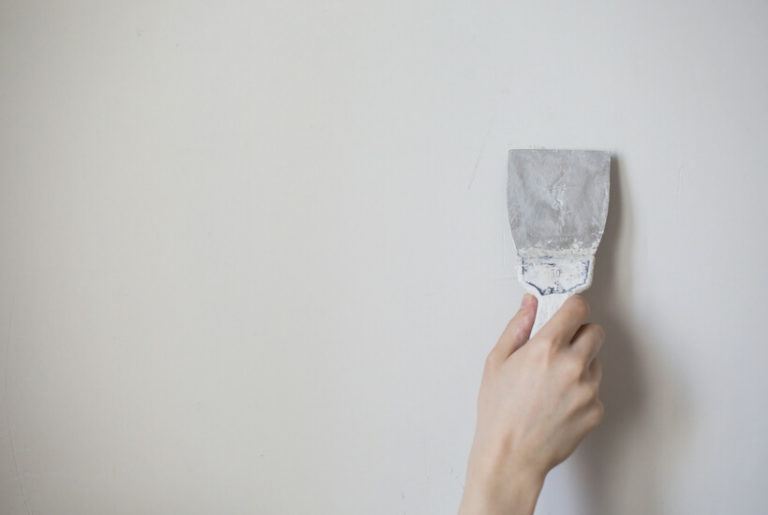
3) Once the color is totally uniform, push the epoxy putty into the area you are repairing with your fingers. If needed, use a leveler card or old credit card to remove any part of the epoxy putty that protrudes higher than the surface of the wood. If the epoxy begins sticking to the card or your fingers, just rub the epoxy lightly with the soapy water mixture.
4) Allow the filled area to cure for at least 20 minutes. Here's the cool part–the epoxy putty is made from a RESIN and HARDENER, making it the perfect moldable putty for filling large holes, rotted areas and things like broken molding. Surfaces may be sanded, drilled, stained or painted after application. And the epoxy putty surface is even harder than the original wood!
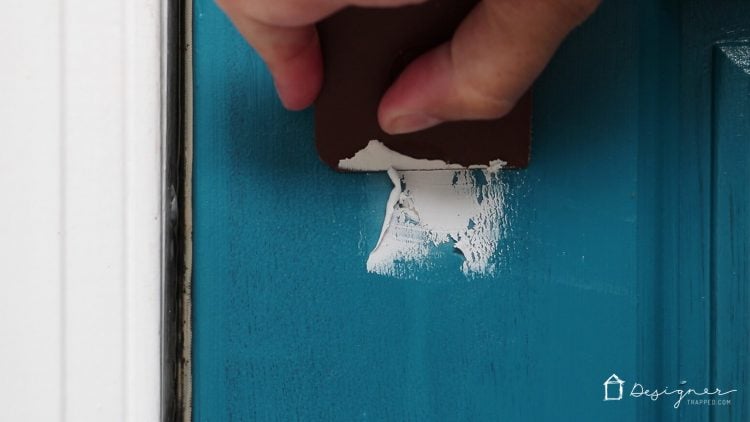
5) After the epoxy putty cures, sand it until it is level with the surface of your door.
That's it! You can't even tell where the holes from our old door hardware were. So easy, right?!
Repairing holes in the door from old door hardware with epoxy putty is a simple DIY task that you can do at home. I hope this post has been helpful in guiding you through the process of repairing holes doors!
Wondering how I approach transforming rooms and spaces in our home? Check out Designer in a Binder®.

And if you want exclusive content and behind-the-scenes sneak peeks, be sure to subscribe before you head out!

This door is stunning. Love your choice of hardware with that color. Great tutorial! It makes the whole process of tackling something as big as a front door more approachable.
Thanks so much Jill! It really is simple!