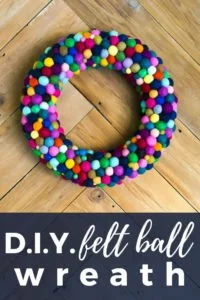
Colorful DIY Wreath Made from Felt Balls
If you love color in your home, then this vibrant and fun DIY wreath is for you! It is made from colorful felt balls and is so, so easy to make! In this post, I'm sharing the easy-to-follow tutorial for this felt ball wreath. Enjoy!
If you’ve read my blog for a while, you know I love allll the colors! So when it comes time to pick out seasonal or holiday wreaths, I’m almost always disappointed in the selection. That’s why I wound up making my DIY pom pom wreath recently. It is perfect for Fall and Winter and I’m 100% obsessed with it.
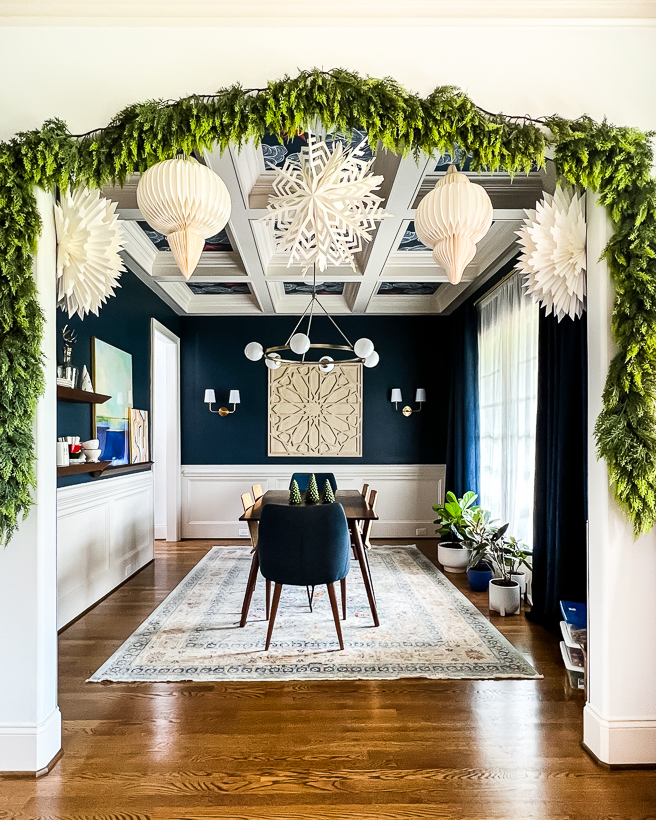
When I decided to amp up the color in my Christmas decor this year, I knew I was going to want a colorful wreath that features more than just red, white and green. So, I decided to make my own so that I could make it as colorful as I wanted it to be.
Unlike my DIY pom pom wreath which was fun, but very time consuming to make, this DIY felt ball wreath is a quick and easy project! Read on to learn how to make your very own.
This post contains some affiliate links for your convenience. Click here to read my full disclosure policy.
DIY Felt Ball Wreath Tutorial
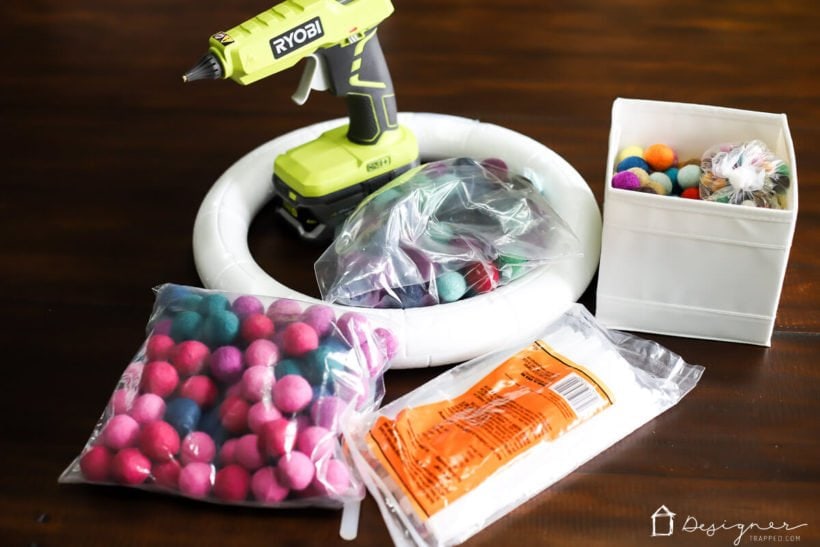
Materials needed
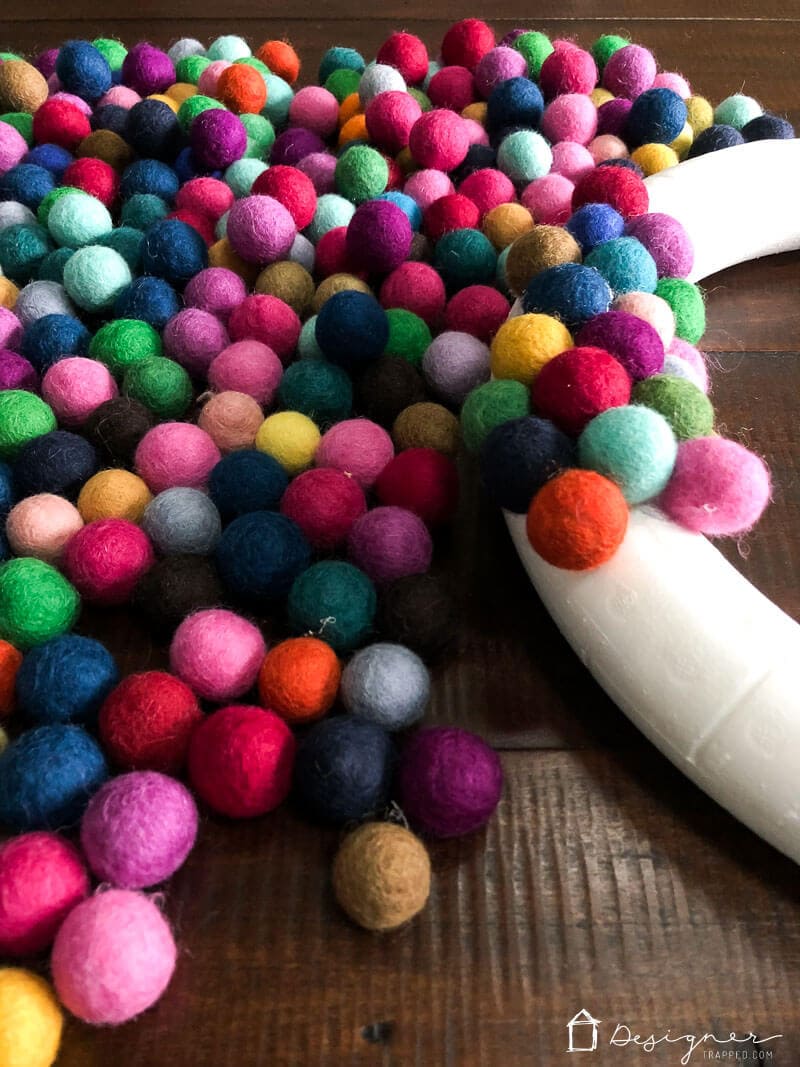
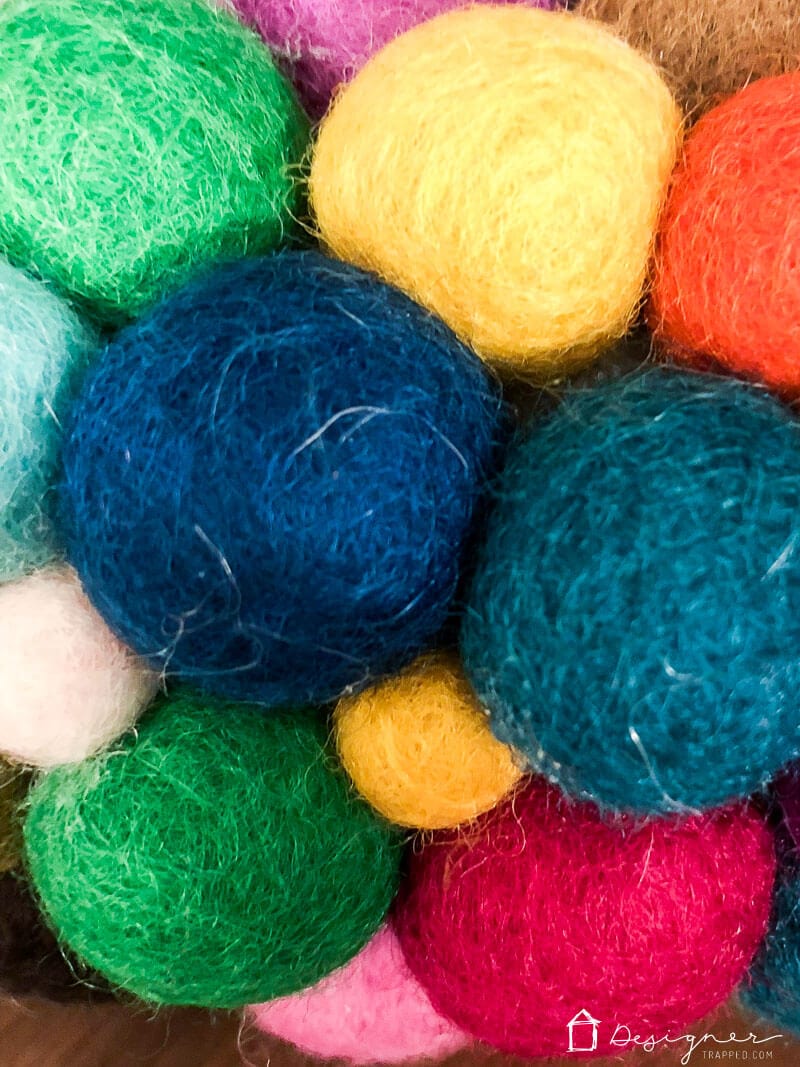
- Felt balls (I used about 170 2cm felt balls from this shop. I used about 30 10mm felt balls from this variety pack to fill in any gaps)
- 14-inch foam wreath form
- Hot glue gun (this is the one I have and it’s amazing—a major upgrade from the basic one I used for the past 7 years)
- Hot glue sticks
- Ribbon
Steps
The short video below gives you an overview of the process, but I've also included detailed written instructions below the video for you :)
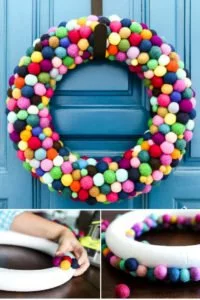
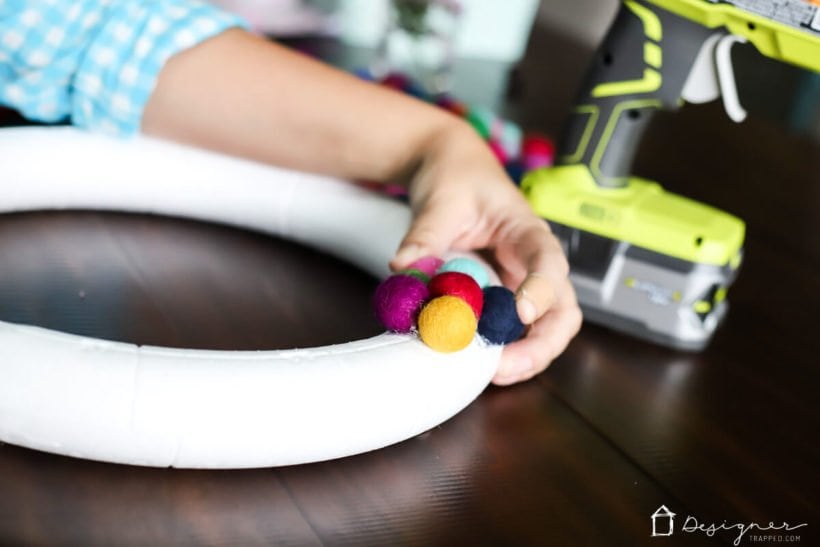
1) There's no real secret to getting started. Just start using your hot glue gun to apply felt balls to your wreath form. I applied a dab of hot glue to each felt ball and then pressed it onto the wreath form for a few seconds to allow the glue to cool a bit. I repeated this step approximately 1 zillion times, placing the balls close together as I worked. For this first step, you are going to cover your entire wreath in the 2cm felt balls (you won't use the smaller balls until later). It moves VERY quickly!

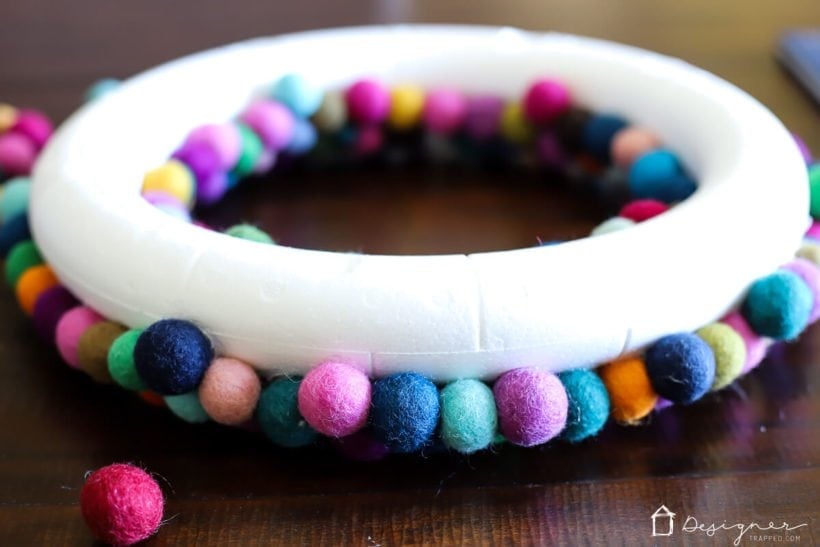
I recommend laying your form flat on the table you are working on because you will not attach any felt balls to the back of the wreath. That’s because you will want it to sit flat against the surface of the wall or door it’s hanging on.
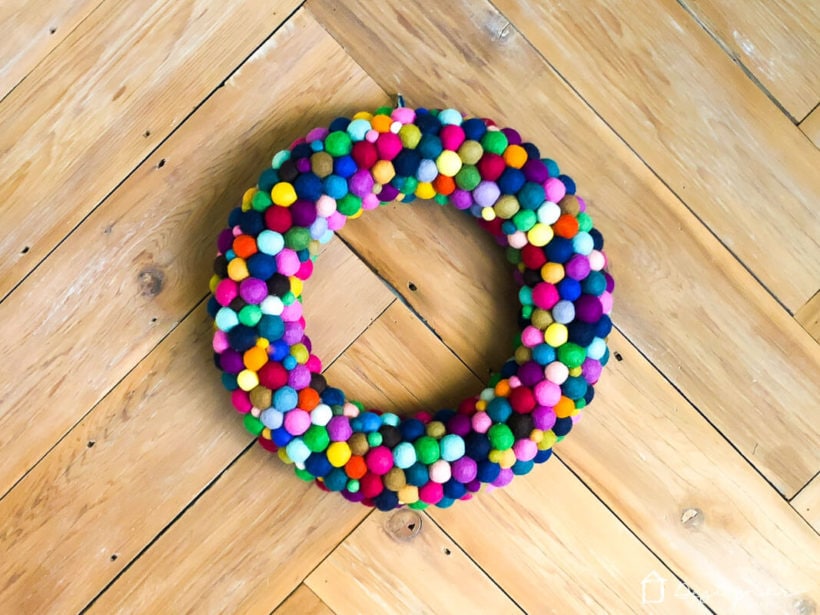
Once the front and sides of your wreath form are mostly covered, flip your wreath upside down and finish filling in the sides.
The back will look something like this when your wreath is nice and filled in–felt balls will cover the inside and outside curves, but not the very back of the wreath.
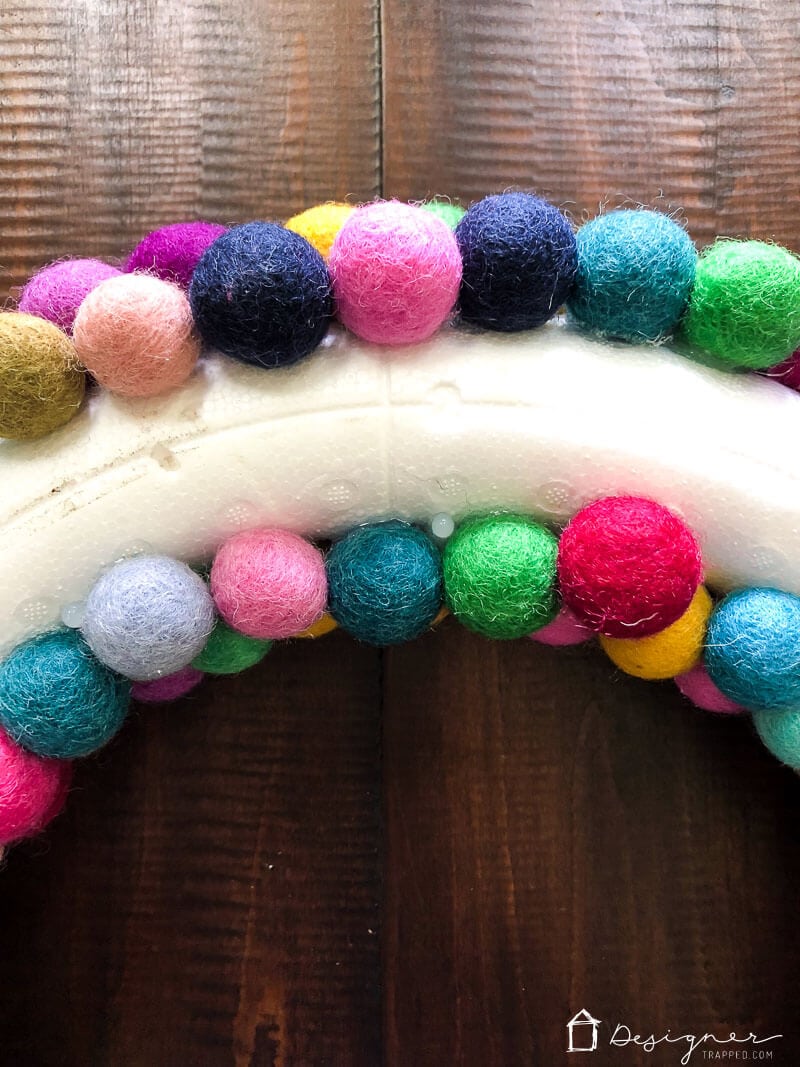
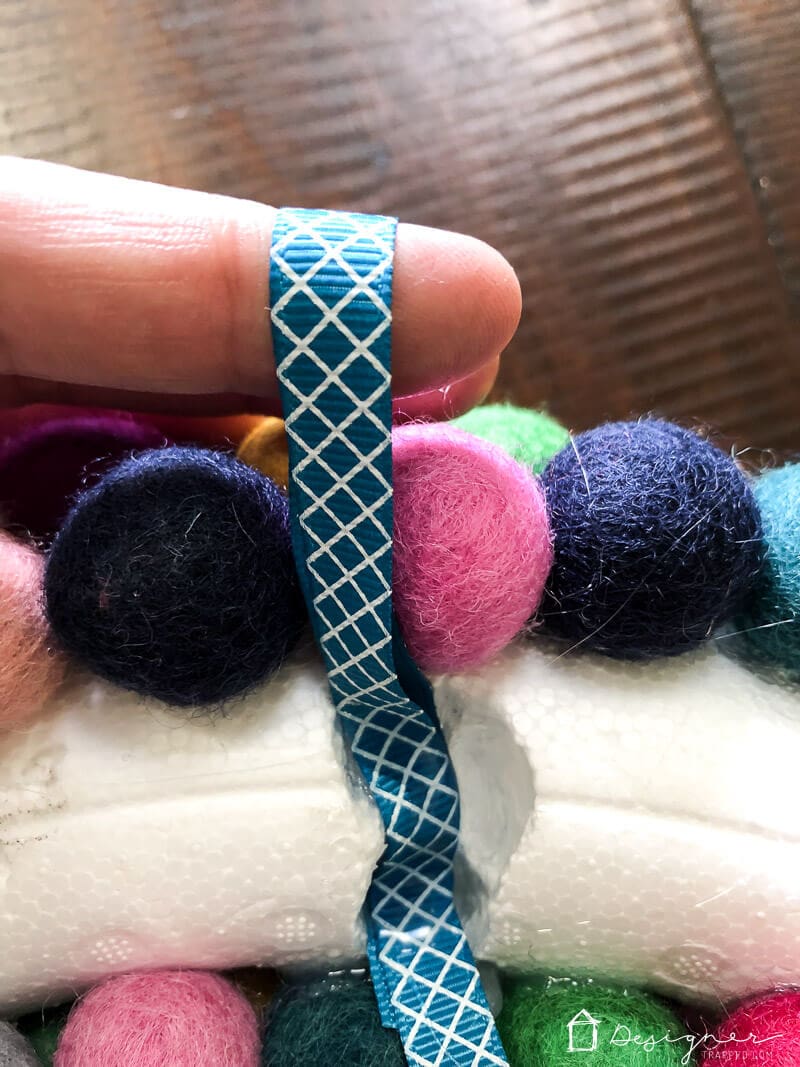
2) Once the entire visible portion of your wreath form is covered with the larger balls, look it over and fill in any gaps where white shows through with your 10mm balls.
3) After all of your large and small balls have been attached, use some hot glue to attach ribbon to the back of your wreath so that you can easily hang it from a nail if you need to. CAUTION: If your hot glue runs super hot like mine does, it may melt your wreath form just a bit. Ooops! The good news is that the ribbon is nice and secure and no one is going to be looking at the back of the wreath, lol!
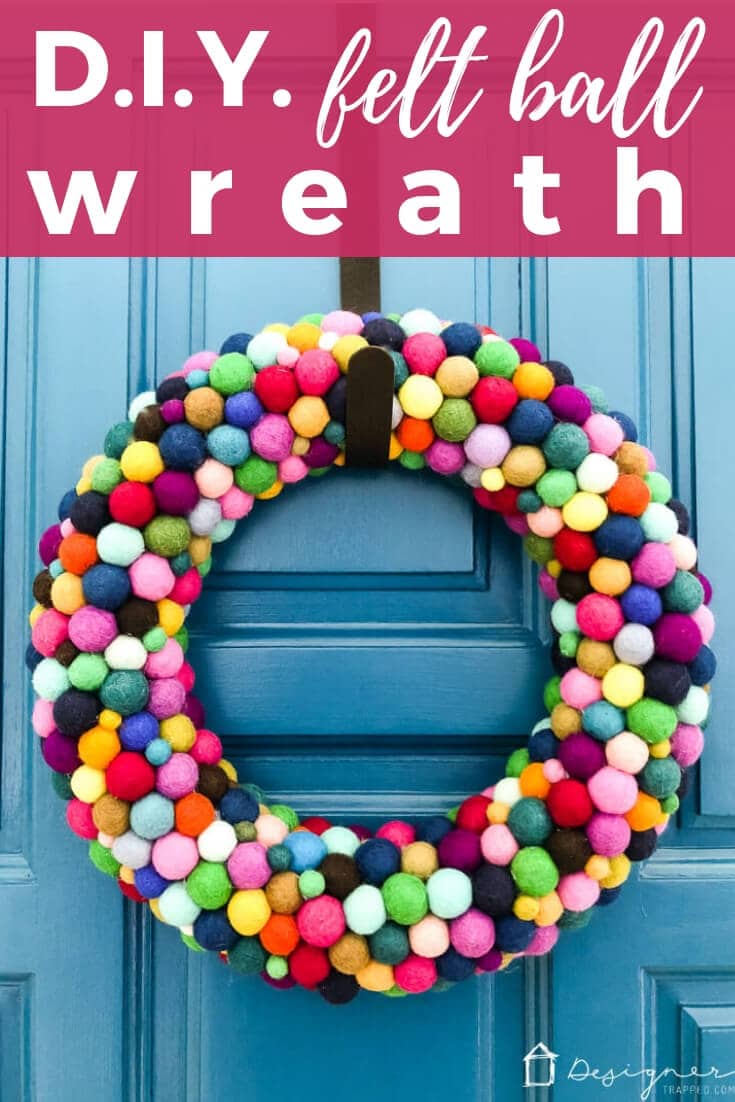
That's it! Now, take a look at how it turned out. I'm in love with it!!!! So much color and texture! I can't wait to show you where we'll be using it in our Christmas decor, but you'll have to wait to see :)
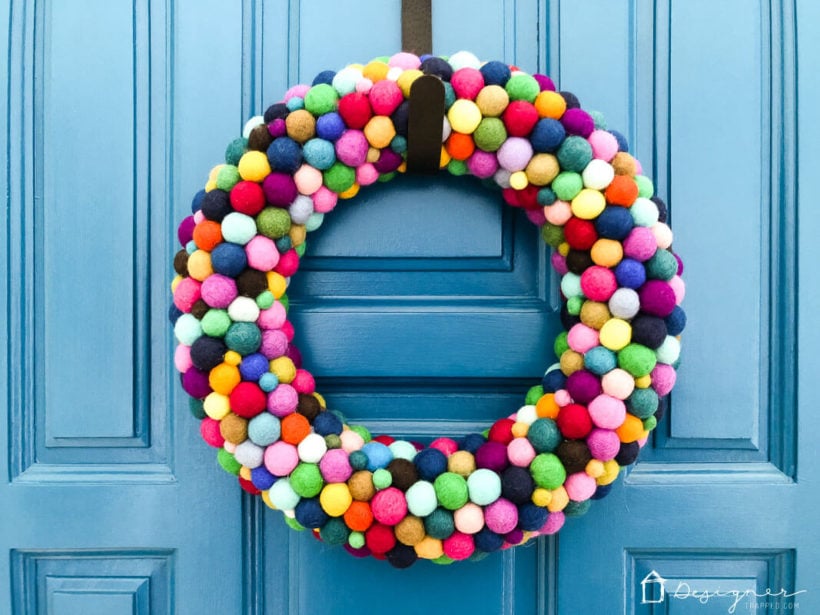
What do you think?!
More Seasonal Posts


Wondering how I approach transforming rooms and spaces in our home? Check out Designer in a Binder®.

And if you want exclusive content and behind-the-scenes sneak peeks, be sure to subscribe before you head out!

Last Updated on October 16, 2024