Screw and Nail Hole Filler Tips and Tricks
Last Updated on May 21, 2019
After years of DIYing, we are sharing our best screw and nail hole filler tips and tricks! If we had learned these sooner, we would have had much better results, so learn from our mistakes!
Thank you to DAP for sponsoring this post.
Hey there! Do you ever complete an awesome woodworking piece and then get lackluster results after you complete the finishing touches? It used to happen to use all the time. We'd build a really cool table that looked awesome unfinished. Then we'd sand, fill any screw or nail holes with wood filler, sand and stain all for it to look not great. It's one of the reasons we have so many painted pieces of furniture in our house (I have a whole post about the best paint for every kind of furniture)! Many of those pieces were painted after we initially stained them because the stained results were just below our expectations. And a big reason for that is we just weren't using wood filler properly (I'm sure the quality of the wood we were using as we were teaching ourselves to build things didn't help either).
The good news is that over the years we have learned some tips and tricks that have helped us get MUCH better results with stained wood projects. So that's what I'm here to share with you today! These screw and nail hole filler tips are so easy, and now they seem obvious (isn't hindsight always 20/20).
Screw and Nail Hole Filler Tips
How to Apply Wood Putty
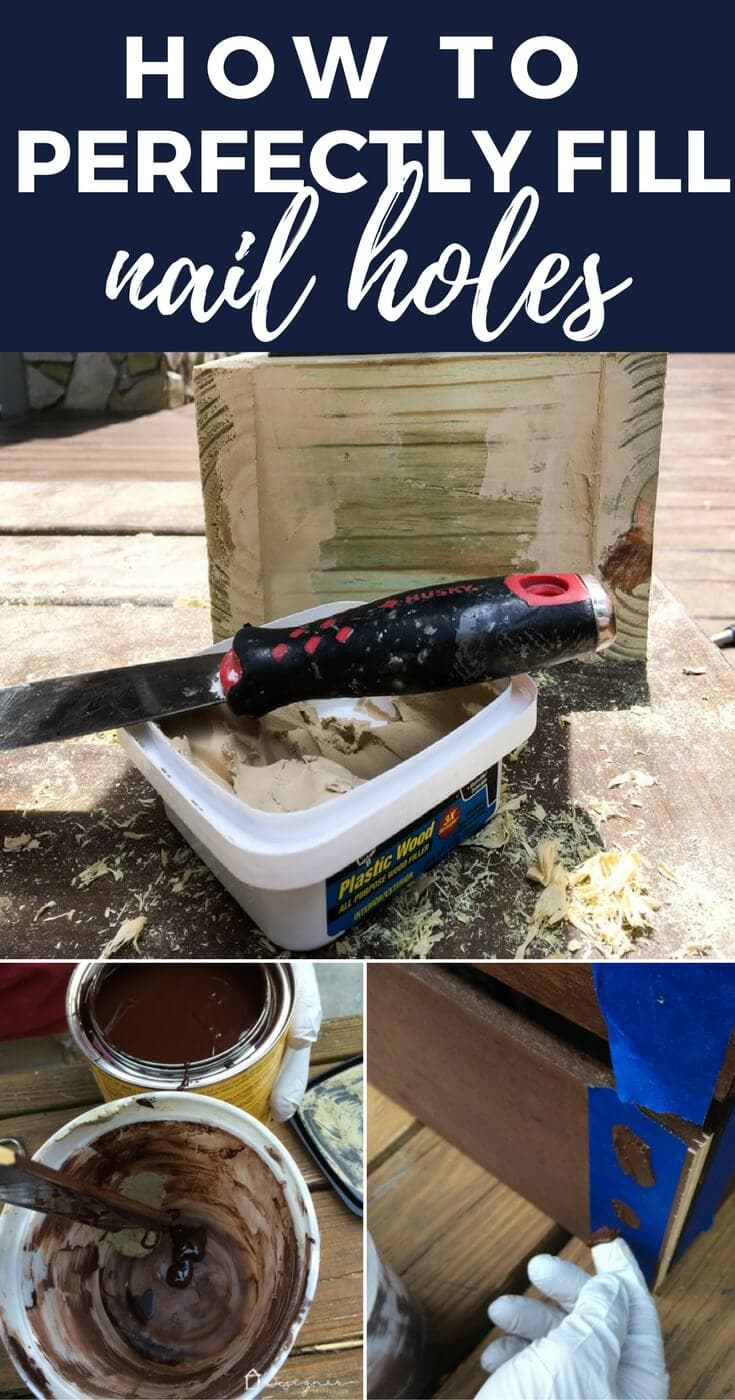
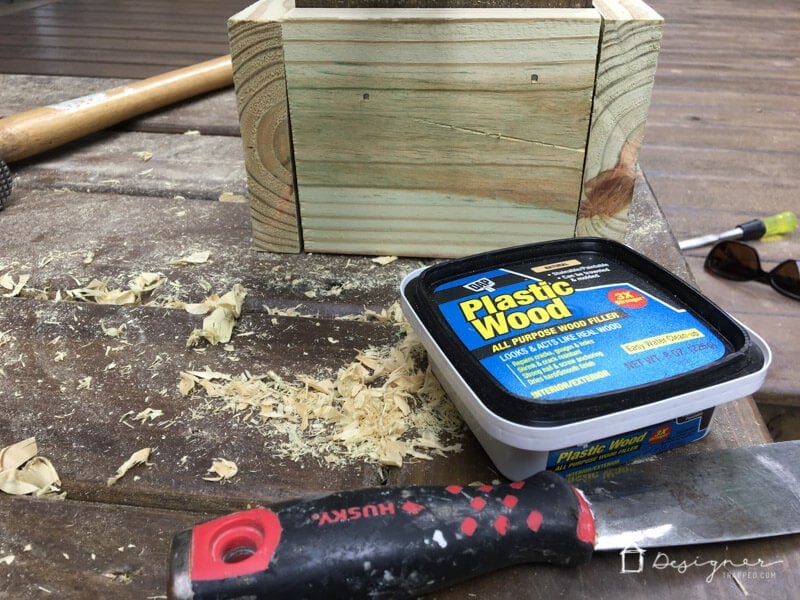
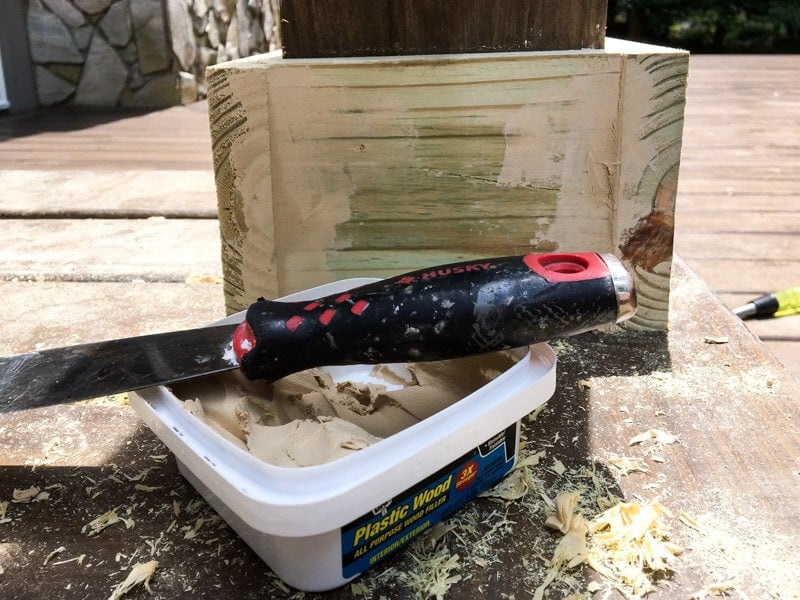
Applying wood filler is easy. All you do is press the wood filler into the void caused by the screw or nail hole. We generally use a putty knife, but if the hole is really small, we use our fingers. One thing you always want to do is remove any excess wood putty before it dries. You can see how much of a difference wood putty made when we capped out the bottom of the posts on our DIY deck bar.
How Long to Let Wood Putty Dry
One mistake that we used to make much more frequently than I would like to admit is trying to sand and/or stain our wood putty before it was entirely dry. Don't do that! You can quickly test to determine whether your wood putty is dry and ready to work with by pressing the end of one of your fingernails into the putty. If your fingernail leaves any indention, you need to let it dry longer.
How to Sand Wood Putty
Another mistake we have made in the past is not sanding our wood putty repairs sufficiently. Trust me, it's worth it to put a little effort into sanding. If you don't do a good job of sanding and then stain your project, there is a much greater chance that your wood putty will not take the stain as well as the wood, which means the repair will stand out. Not a good look. We like to use our orbital sander to sand after doing our nail hole filler or other repairs.
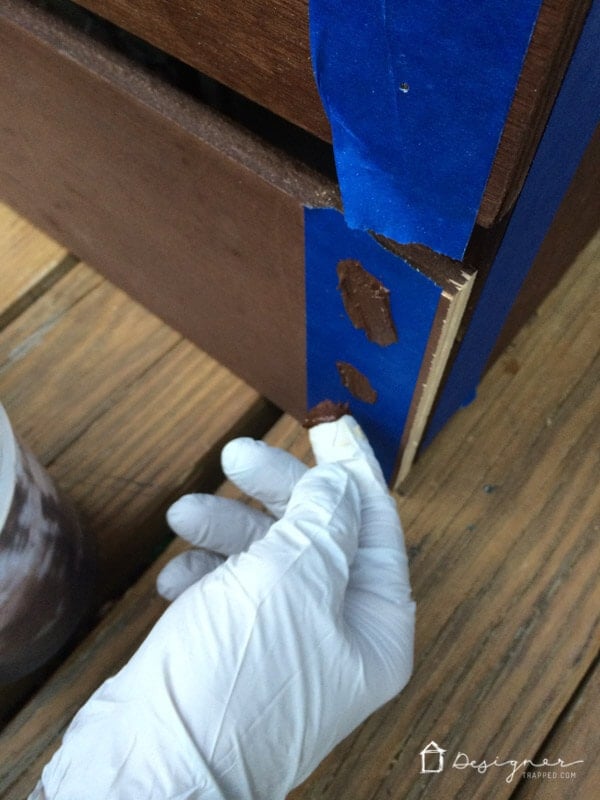
How to Fill Screw and Nail Holes on Pre-stained Wood
One thing that took us far too long to figure out was when to do our screw nail hole filler repairs. See, we've had many projects where it makes sense to stain the wood prior to installing it. That means that our wood is stained before all of our nail and screw holes exist. So, what's the process for filling screw and nail holes on pre-stained wood? Turns out it's super easy! This method came in handy when we made the wood screen to cover our utility boxes.
We like to tape off the area of the pre-stained wood that we need to drive nails or screws through. Then, we drive the nails or screws into place.
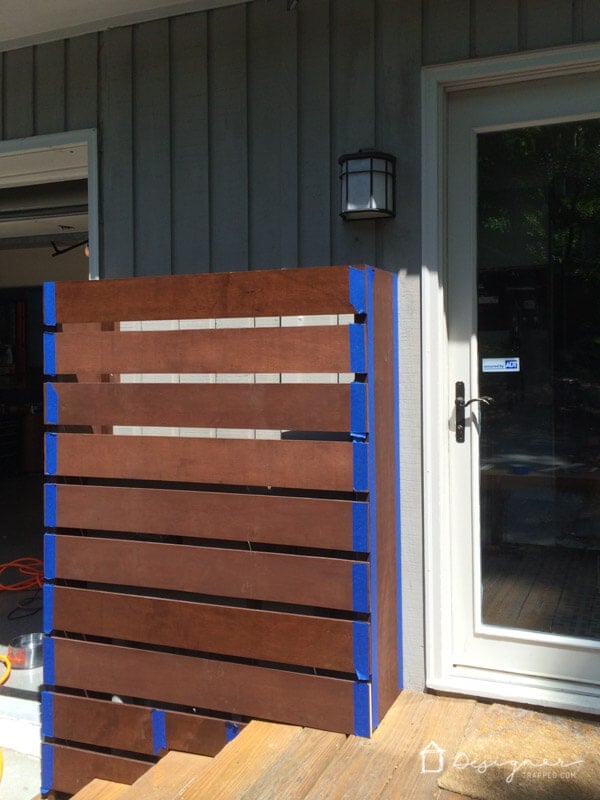
Next, we like to mix the wood filler with the stain that we used on the wood to get a really nice color match.

We then apply it with our fingers or a putty knife. The painter's tape protects the wood that has already been stained so that it doesn't risk getting discolored or dulled by the wood putty and the filled area is a perfect match! We use a putty knife to remove the excess and then peel the tape off and are left with a perfectly repaired nail or screw hole.
So there you have it! I hope you've learned a little something and won't make the same nail hole filler mistakes we used to make :)
[mv_create 1 11 200 2016 key=”1″ type=”list” title=”Most Popular Projects” thumbnail=”<a href=” https designertrapped com wp content uploads diy home decor projects blog jpg a]
Just starting a puttying job this week for our condo rental cabinet makover. Perfect timing and great tips!
Oh good! So glad you found the tips useful, Tammy! Good luck with your cabinet makeover–that’s a big job, but totally worth it!