How to Install Removable Wallpaper in 5 Easy Steps
Installing removable wallpaper is easier than I ever imagined. This simple tutorial will teach you everything you need to know so that you can install your favorite peel and stick wallpaper in no time.
This post contains affiliate links for your convenience. Click here for my full disclosure policy.
We've all been there. You are flipping through your favorite magazine or scrolling through Pinterest when all of a sudden you see the most gorgeous wallpaper you've ever seen. You want it. You want it badly. But then you remember how awful it is to remove wallpaper and you shut down the idea of installing wallpaper immediately (fun fact–I recently figured out that you can make any wallpaper removable and renter-friendly).
Finding the Perfect Removable Wallpaper
I have taken down wallpaper in several of our houses before and it's one of the DIY jobs I loathe. As a result, I've always avoided using wallpaper. But y'all, those gorgeous patterns and colors just kept calling to me. So I started researching temporary wallpaper options. Removable wallpaper, also known as peel and stick wallpaper or temporary wallpaper, is a fantastic tool that every DIYer and homeowner should explore (and remember–wallpaper isn't just for walls–there are a lot of unique ways to use wallpaper)!
The Removable Wallpaper I Chose
After a lot of research and wallpaper samples, I found some seriously good quality removable wallpaper from this shop, which also happens to be my favorite place to order fabric. I chose the woven peel and stick wallpaper option because I read that it was less likely to wrinkle and bind during installation. So even though it was a bit more expensive, it was well worth it. I didn't have any issues with wrinkling or binding at all. And calling it “repositionable” is not an exaggeration. I know because I had to reposition several one strip several times :)
Beautiful Peel & Stick Wallpaper Options
If you haven't shopped around for removable wallpaper yet, you are in for a pleasant surprise. I've rounded up some of my favorite temporary wallpaper options below.
Click the arrow to scroll and click on any image for full product details.
I LOVE THESE!

Now, let's dive into the tutorial so you can see just how easy it can be to install peel-and-stick wallpaper.
How to Install Removable Wallpaper
Generally, I would say that hanging wallpaper requires two people, BUT if you are installing your peel and stick wallpaper in a small area, you will probably be fine to tackle it solo. I installed my removable wallpaper in our linen closet and had no problem doing it all by myself.
Materials and Tools Needed
- Removable wallpaper of your choice (this is the wallpaper I used)
- Sharp utility or craft knife
- A squeegee
- Measuring tape
- Level
Time needed: 2 hours
I installed my removable wallpaper in less than 2 hours. The time needed to complete this project will depend on how big the surface area you are covering is :)
- Prepare your walls.
The wall you are applying your peel and stick wallpaper to should be smooth, clean and dry. So if you need to patch anything, plan to do it the day before you want to wallpaper. You can see my wall patching tips here.
Also, if your wall is painted a very dark color, but your wallpaper is light, I would recommend priming the dark wall so that the darkness doesn't show through.
And here's a pro tip! If you want to paint any portion of your space with a color that compliments your removable wallpaper, follow my tips for how to match a paint color. If you do prime or paint first, be sure to allow your paint to fully cure before applying your wallpaper or it could wind up bubbling. Not good. This is what our linen closet looked like before I got started. - Prepare your removable wallpaper.
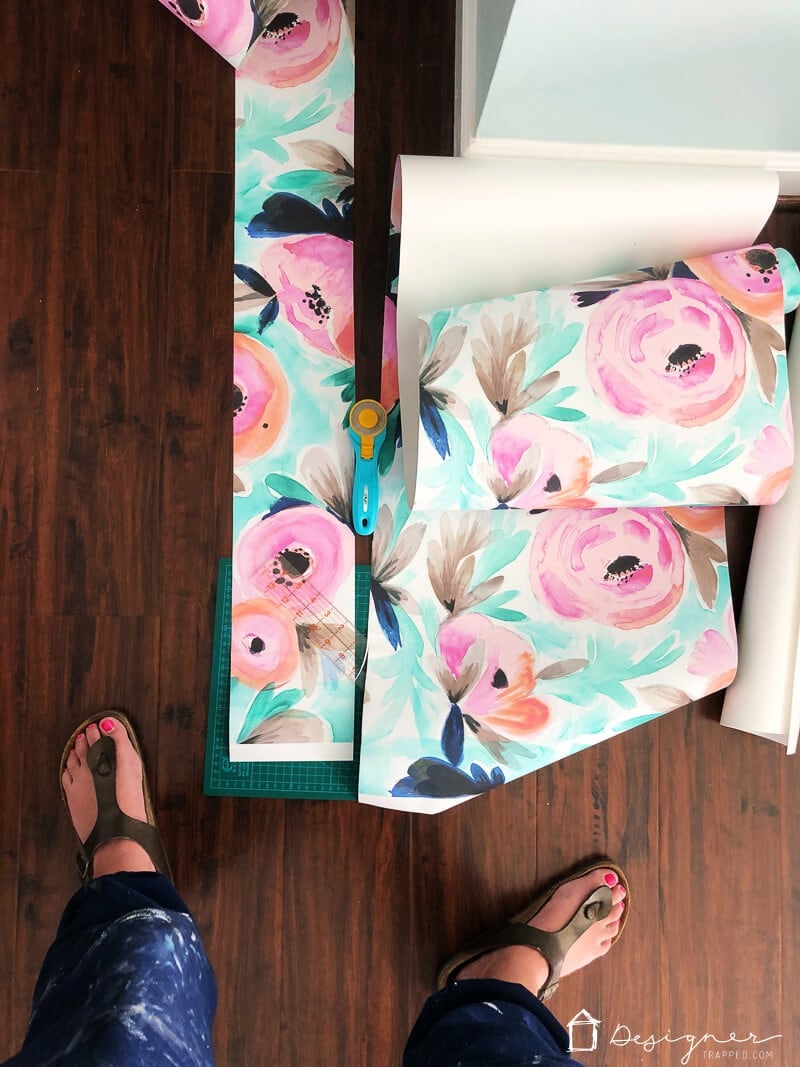
You will need to follow the specific instructions that come with your paper since it will vary by company. If your order from Spoonflower like I did, you will need to re-roll your wallpaper so that the top is on the outside of the roll.
- Mark a plumb vertical line on your wall using your level.
You cannot trust your molding or corners to be even. You MUST do this with a level, otherwise your wallpaper could wind up looking super wonky.
- Start hanging your wallpaper.
Now you are ready to start hanging! You want to start at the left upper corner of your wall. For me, this meant starting the first strip at the top left corner of our linen closet. You want to peel the paper backing away from the top of the room just a few inches. Make sure you get the first piece lined up perfectly straight along the plumb vertical line you marked. The first piece is the most important, so take your time.
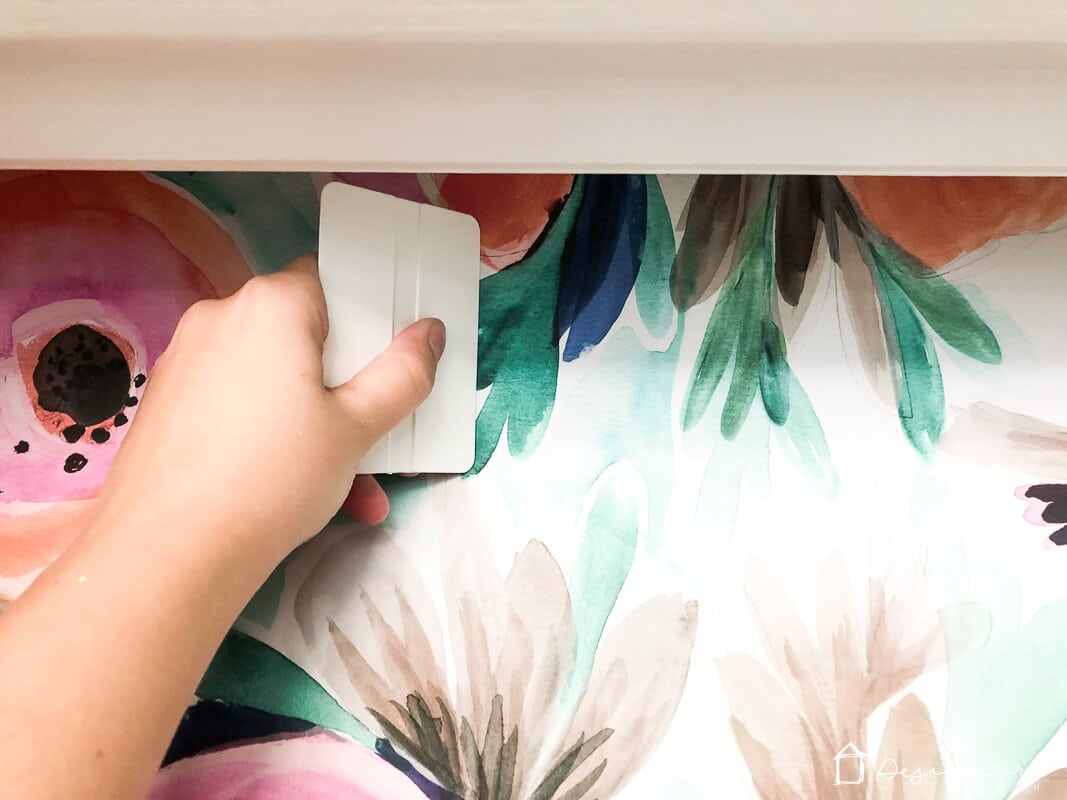
The beauty of peel and stick wallpaper is that if you get it wrong the first time (like I did), you just peel it off and do it again. No big deal. Use your squeegee to smooth the wallpaper into place and to get rid of any air bubbles by moving them to the edge of the wallpaper until they disappear. (You'll notice the ceiling in our linen closet is a little bit slanted which made it kind of tricky, but it wasn't bad).
- Continue work in 5 to 10 inch increments.
Continue to support the roll of paper and peel the backing off your removable wallpaper only 5 to 10 inches at a time as you work your way down the wall. Continue using your squeegee to smooth the wallpaper as you go.
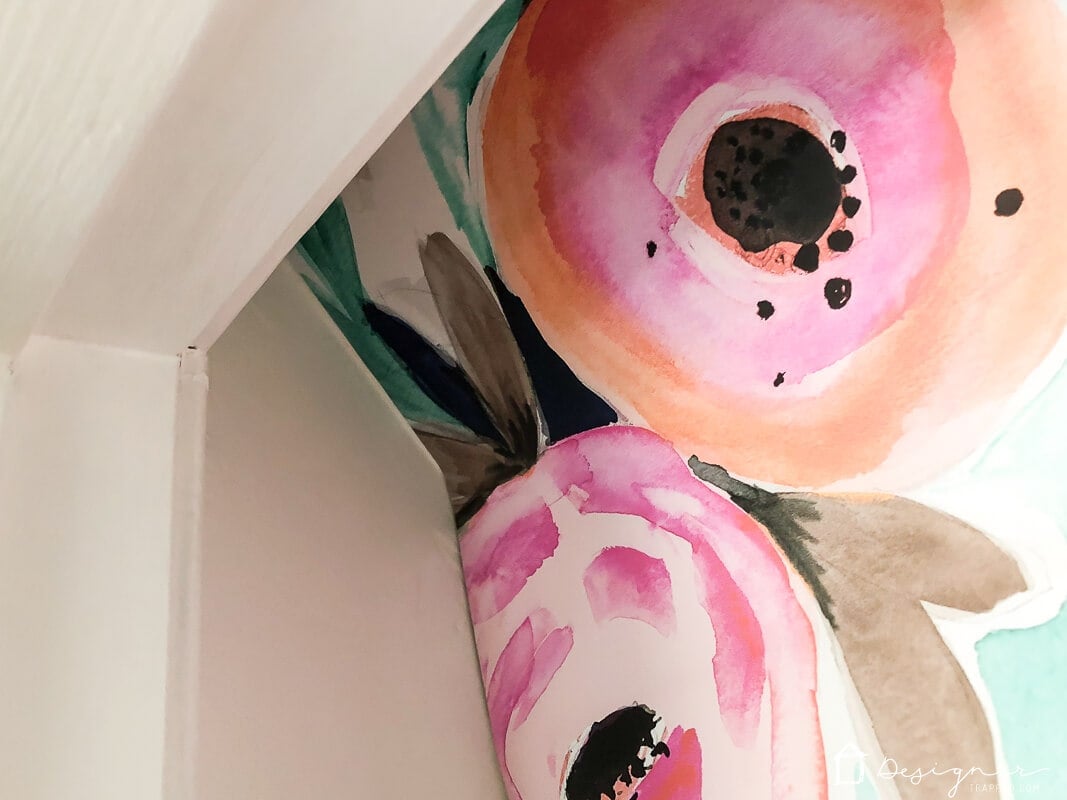
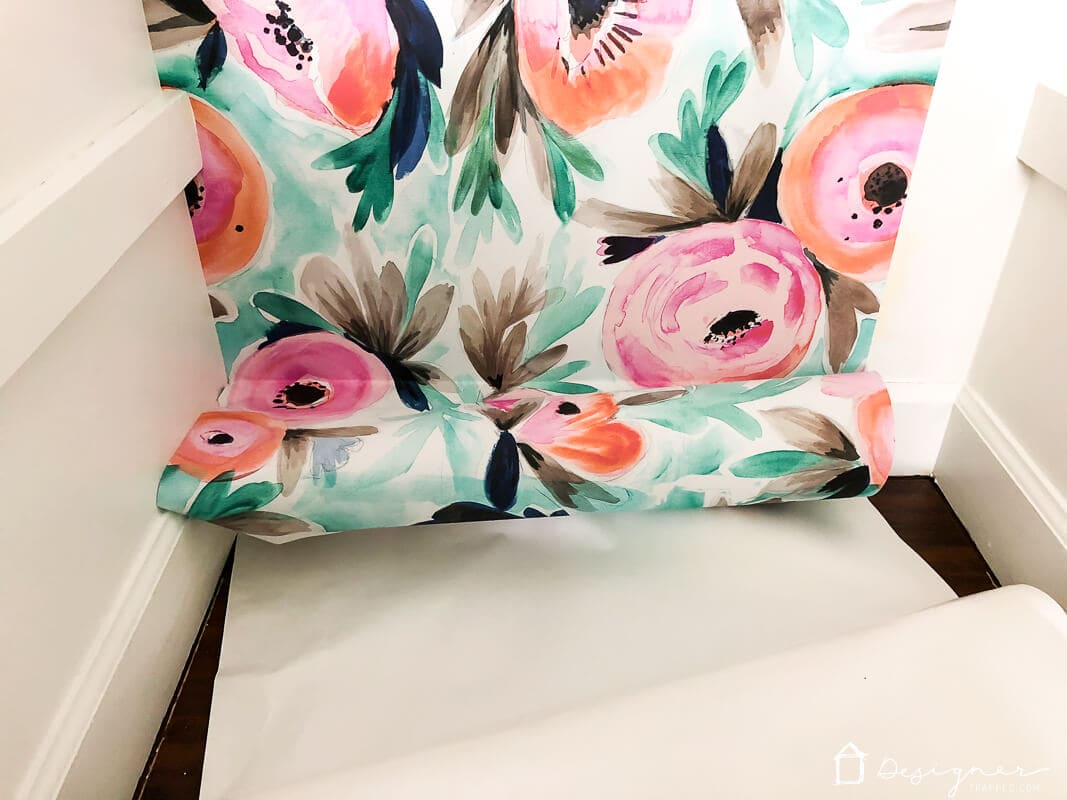
- Cut the wallpaper to fit around trim or other obstacles.
When you need to apply the wallpaper around trim or other obstacles, use your sharp knife to make a few relief cuts in towards the molding and smooth the wallpaper into the area. Then trim off any excess paper. I had to do this around the brackets that support the shelves in our linen closet. I was a bit worried about it, but it was super easy.

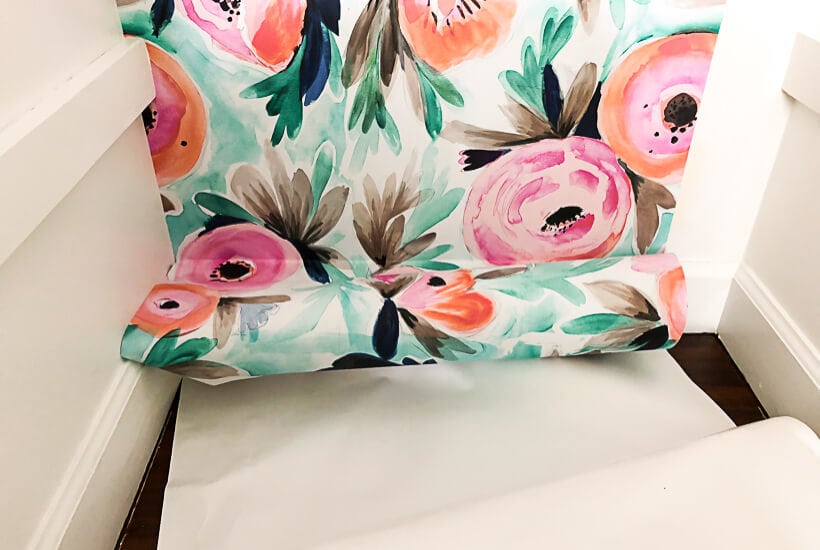
- Cut off the excess wallpaper.
Once you finish your first vertical run of wallpaper, use your knife to trim the excess wallpaper from the bottom.
- Repeat until you are done!
Now you need to repeat the process for any other vertical runs until your entire wall is covered. Be sure you read your particular brand's instructions regarding whether or not you need to overlap the pieces at all! For my wallpaper, I needed to overlap the strips by 3/4 of an inch for the repeat to match up perfectly. Since I had a very small area left to cover, I pre-cut a strip that was about an inch than the area I needed to cover. I repeated the steps above and then trimmed the excess wallpaper from the edge and the bottom. Again, I was a tad nervous about it, but it was incredibly easy.

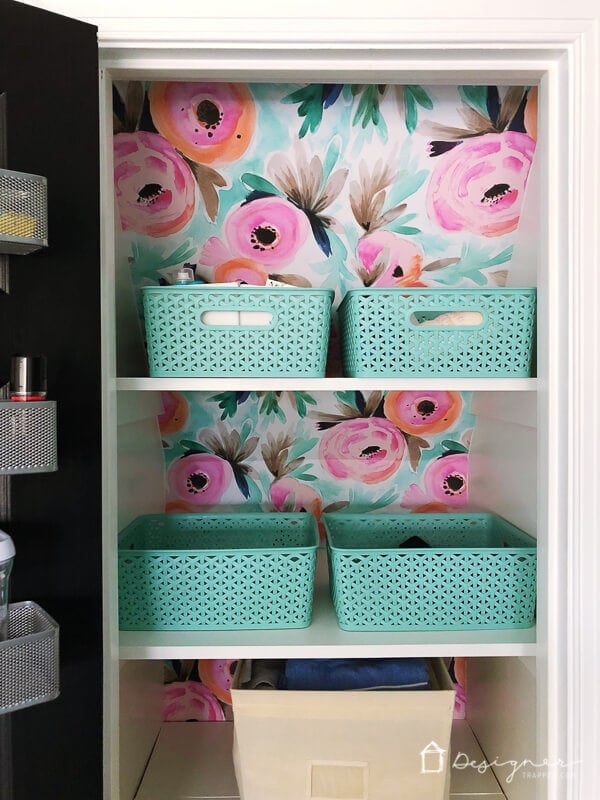
That's it! This is how everything looks with the wallpaper installed and with some smart linen closet organization in place. I love the color and pattern the wallpaper adds! What do you think?!
Wondering how I approach transforming rooms and spaces in our home? Check out Designer in a Binder®.

And if you want exclusive content and behind-the-scenes sneak peeks, be sure to subscribe before you head out!