DIY Faux Gold Finish with Rub N Buff
Last Updated on May 17, 2019
Rub N Buff makes high-end finishes possible on a tiny budget. This DIY faux gold finish took me about 10 minutes!
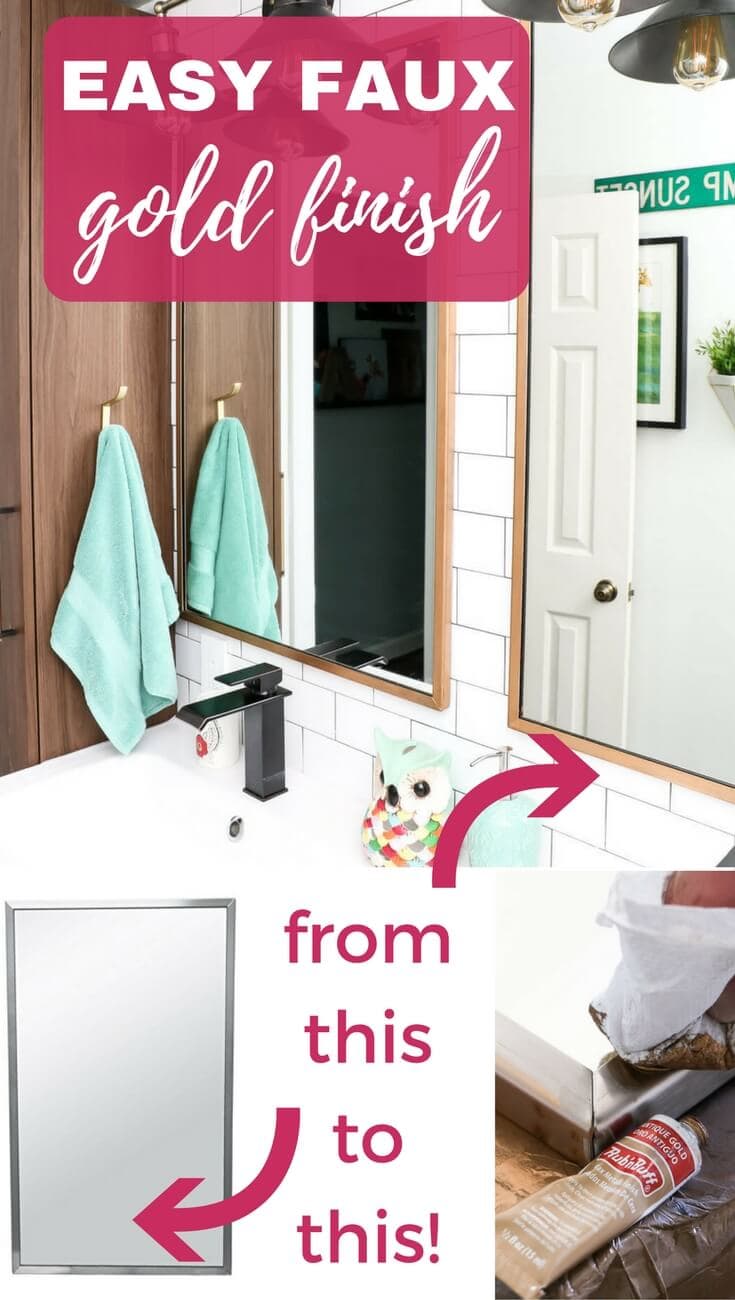
Hey friends! I don't know about you, but I have fallen in love with rich, gold finishes lately. When I was shopping for mirrors for our twin girls' DIY bathroom renovation, I fell in love with some gorgeous, but very expensive gold options. Mirror are expensive enough as it is! There was no way I could splurge on the gold ones that I loved if we were going to stay without our renovation budget.
I decided I had to come up with a way to create gold mirrors myself! So, I bought some super budget-friendly commercial mirrors. That's right, friends. These are the mirrors you have likely seen in many fast food restaurant and gas station bathrooms :) They were a great size and weight, but they were silver. And by God, I was determined to have gold mirrors!
I didn't want to use gold leaf, since that can be delicate and I knew these mirrors would need to stand up to toothpaste splatters, etc. since our girls are still young and don't have the most stellar aim when they spit in their sinks. And I also haven't had fantastic luck with long-term durability of metallic spray paints. So this time, I used something different and it BLEW MY MIND! We were able to transform those commercial mirrors into gold beauties in less than 10 minutes per mirror!
This post contains some affiliate links for your convenience (which means if you make a purchase after clicking a link I will earn a small commission which helps keep my blog up and running but it won't cost you a penny more)! Click here to read my full disclosure policy.

DIY Faux Gold Finish Tutorial
Materials needed:
- Mirror with a metal frame (these are the exact mirrors we used)
- Rub N Buff in Antique Gold (one tube will be MORE than enough)
- Painter's tape (optional)
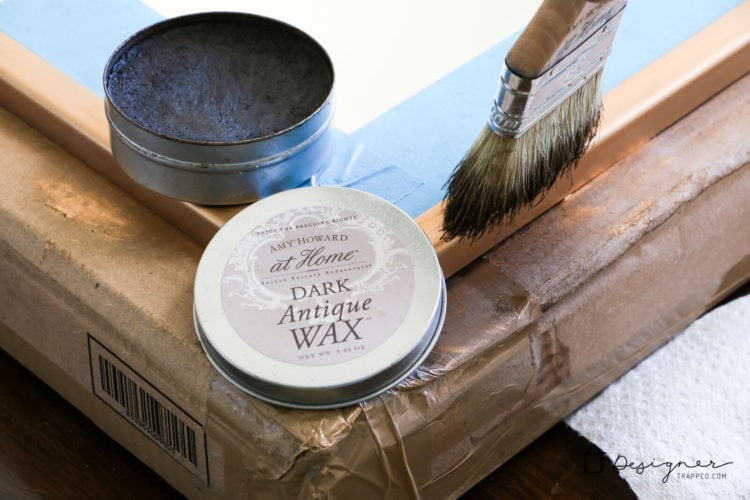
- Amy Howard At Home Dark Wax
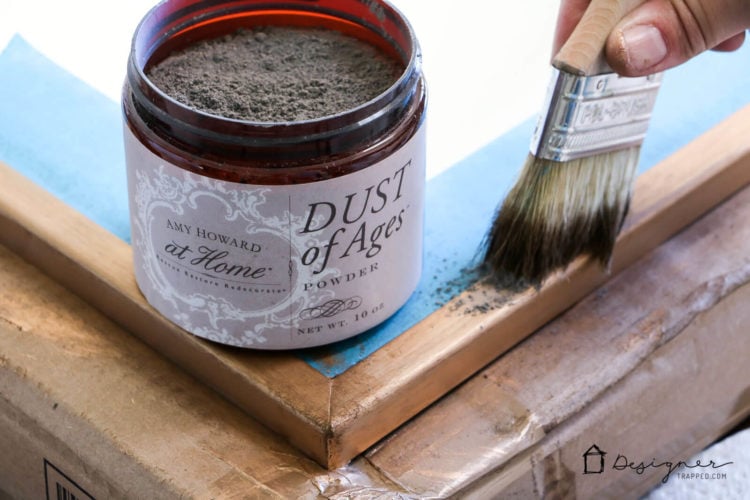
- Amy Howard At Home Dust of Ages
- Paper towels or old t-shirt
Steps:
If you’d like a video overview of this project, click below.
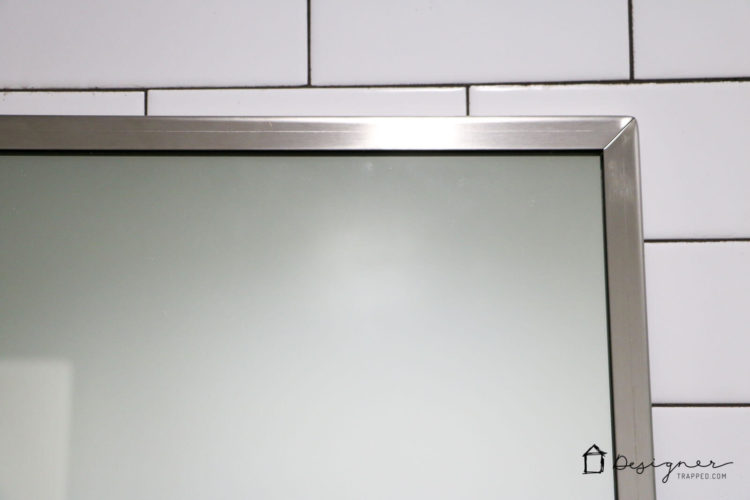
First, I want to show you what the mirror looked like BEFORE we got started. The stainless steel frame was a total giveaway that it was an inexpensive, commercial mirror. It totally looked like our bathroom was in a Taco Bell. Not what I was going for.
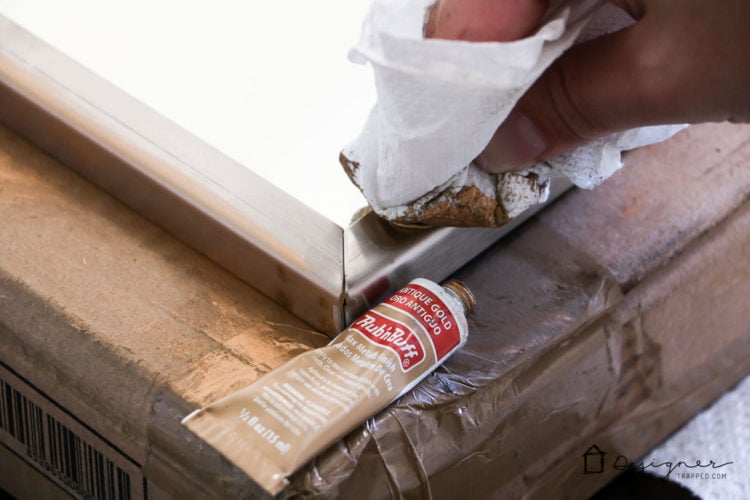
1) If you want to be extra careful, use painter's tape to tape off around the frame of your mirror. I did this for our first mirror. I decided to wing it with the second mirror and found that I was able to easily scrape any stray Rub N Buff off the mirror with a razor.
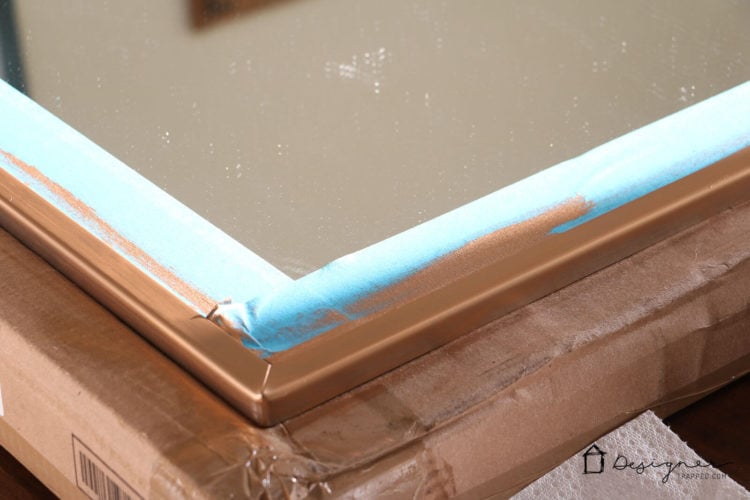
2) Use a paper towel or old t-shirt to gently rub the Rub N Buff along the metal frame. I applied two light coats (you won't quite get full coverage with only one coat). Since it is actually a wax product, it dries very quickly (and is far more durable and less messy than spray paint).
3) If desired, apply Amy Howard At Home Dark Wax and Amy Howard At Home Dust of Ages to give it an authentic looking patina.
That's it! Easiest tutorial EVER! We finished these mirrors about 11 months ago and so far they are holding up perfectly. I was worried that using glass cleaner on the mirrors would affect the gold finish, but it hasn't! Check out the results.
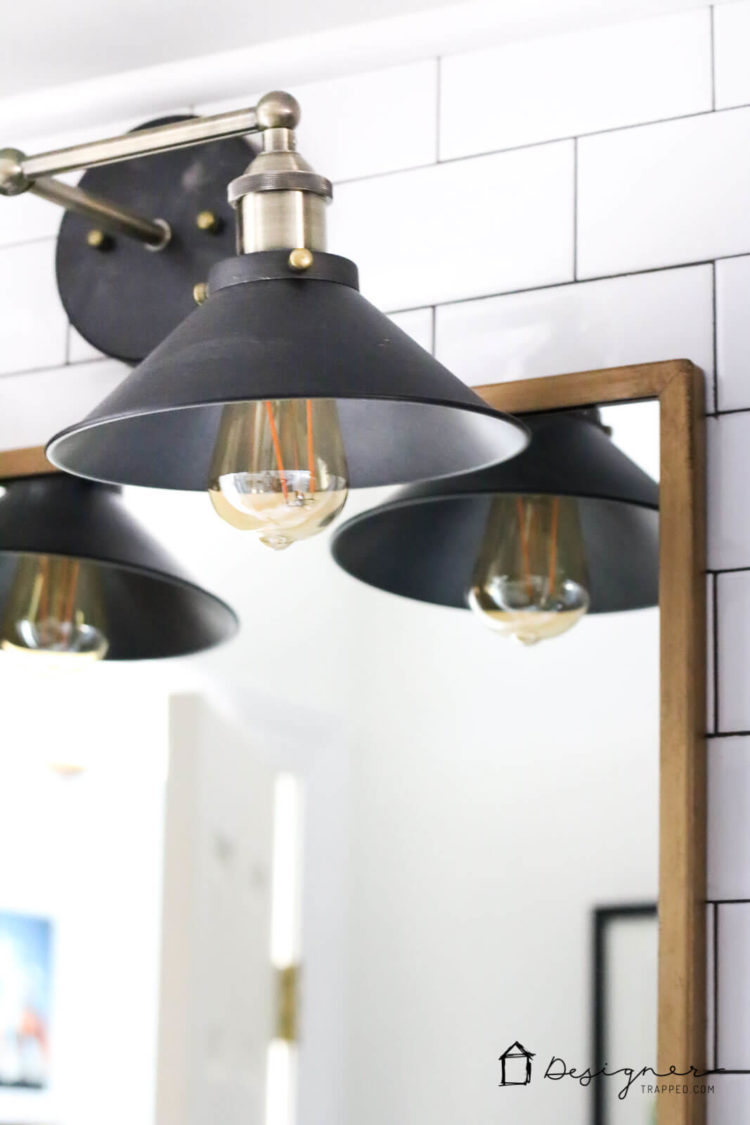

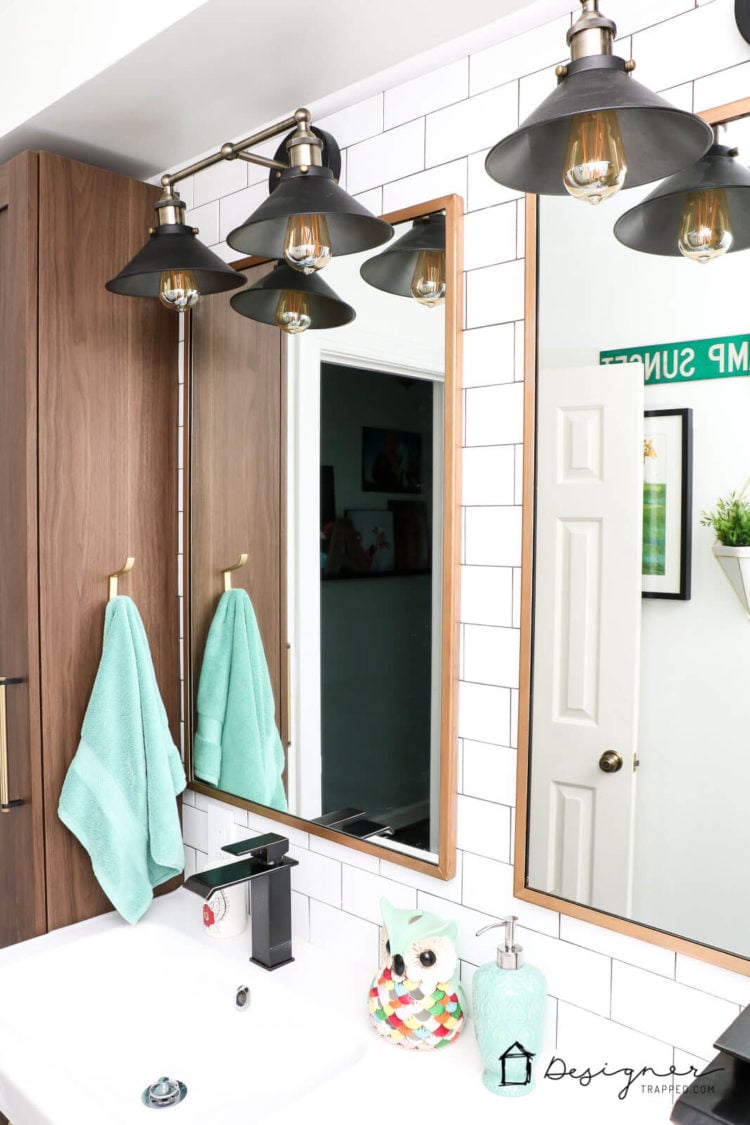
That's it! I wound up getting exactly the look I wanted for a tiny fraction of the price. Best of all, because Rub N Buff is actually durable (unlike metallic spray paint), these results should last us for as long as those mirrors are hanging!
If you love this project, be sure to save it to Pinterest or share it on Facebook so you can find it again later. And be sure to grab my free guide on how to design a room you love before you head out :)
[mv_create 1 11 200 2016 key=”1″ type=”list” title=”Most Popular Projects” thumbnail=”</span><a href=” https designertrapped com wp content uploads diy home decor projects blog jpg target=”_blank” a span]

Love Rub N Buff. I actually used it on our pontoon speakers after hail chipped off paint. It worked perfectly and has stayed on through two seasons now.
YES! It’s so durable, probably because it’s wax based. I’m obsessed with it now. WAY better option than spray paint, that’s for sure!