DIY Outdoor Electrical Box Cover
If you have ever wondered how to hide or cover electrical or other utility boxes on the outside of your house, you are in the right place! Learn how to make a DIY outdoor electrical box cover to hide any utility eyesores outside of your house. This cover is gorgeous and functional! It opens easily so you can access your electrical box whenever you need to.
Raise your hand if you have a visible electrical box or other utility box somewhere on the outside of your house. Yep, we do too. I get that they are necessary, but ugh. They are such eyesores. And in our case, ours is right by our back door, which we use 95% of the time to go in and out of our house. This is what we were dealing with.
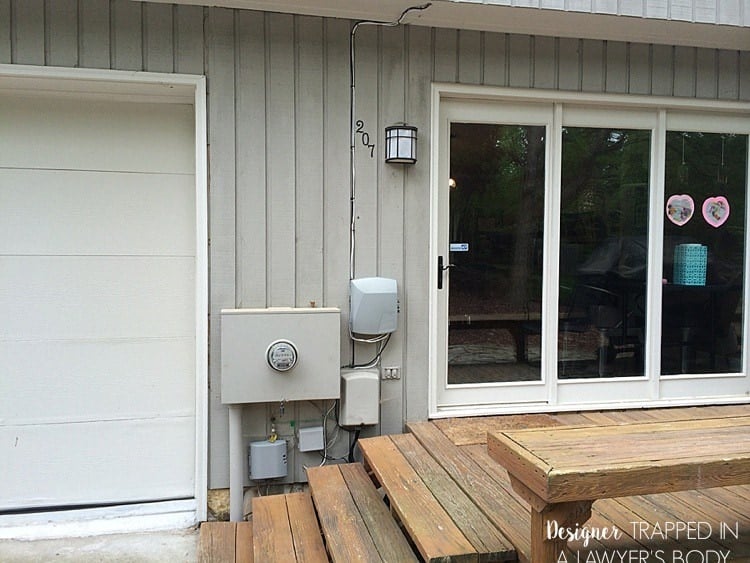
We removed the old phone and cable boxes from the side of our house entirely since they weren't active anymore. But we still had a BIG, ugly electrical box we didn't want to look at all the time. So, we came up with a solution to hide it when we rebuilt our entire deck. We made a stylish outdoor electrical box cover that opens easily so that our power company has easy access whenever needed!
Thank you to DAP Products for sponsoring this post. This post contains some affiliate links for your convenience. Click here to read my full disclosure policy.
DIY Outdoor Electrical Box Cover: Step-by-Step Tutorial
If you would like FREE printable instructions for this project, just fill out the form below :)
Materials Needed
The exact amount and size of the materials you need to build a cover for your utility boxes will depend on how large you need your screen to be. But here's a list of what we used to complete our project.
- Pine deck boards (we used 5/4″ pressure-treated that were leftover from when we built our deck)
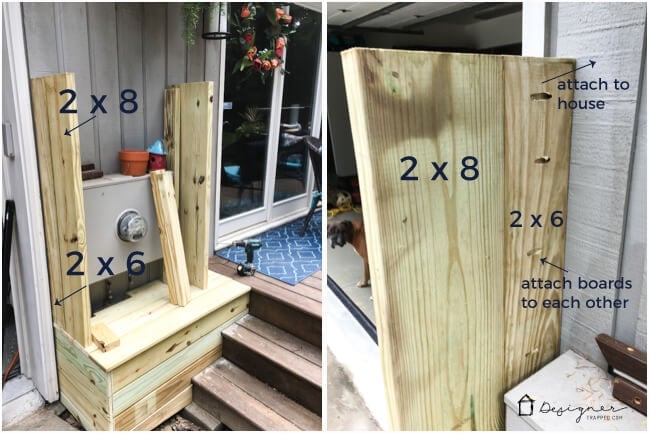
- 2″ x 8″ @ 8 feet long (we used pressure-treated pine)
- 2″ x 6″ @ 8 feet long (we used pressure-treated pine)
- (2) 2″ x 4″ @8 feet (we used pressure treated pine)
- 2 heavy-duty hinges
- 1 hook and eye latch
- Nail gun (this is the one that we have and we looooooove it)
- Kreg Jig
- 3-inch exterior screws
- DAP Platinum Patch Advanced Exterior Filler
- Putty knife
- Stain of your choice
- Level
- Speed square
Steps
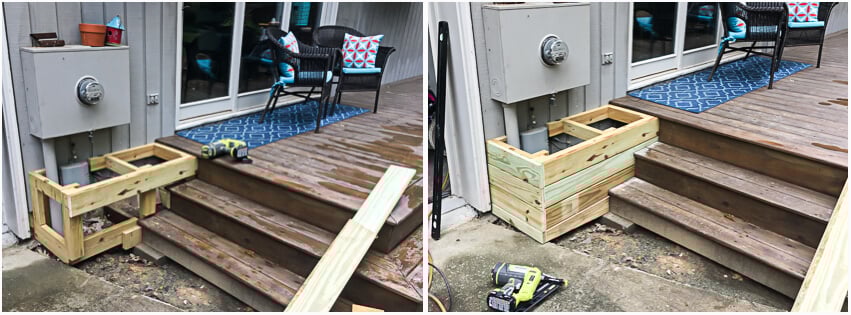
Because our utility box is located right beside the stairs leading up to our deck, we had to start by building a box to provide a surface level with our deck so that the door would be able to open and close. Since this probably won't be an issue for most of you, I'm not going into detail about how we did that part, but I'm including a couple of photos in case you are curious.
1) Measure the height and width of the area that you plan to enclose with your utility box cover.
2) Now, you are ready to build the frame for your electrical box cover. We used 2″ x 8″ boards + 2″ x 6″ boards to give us the depth we needed to clear the utility box. We attached the boards to each other using our Kreg Jig. We also attached them to the side of the house using our Kreg Jig. Be sure to check for level and plumb before attaching the frame to your house.
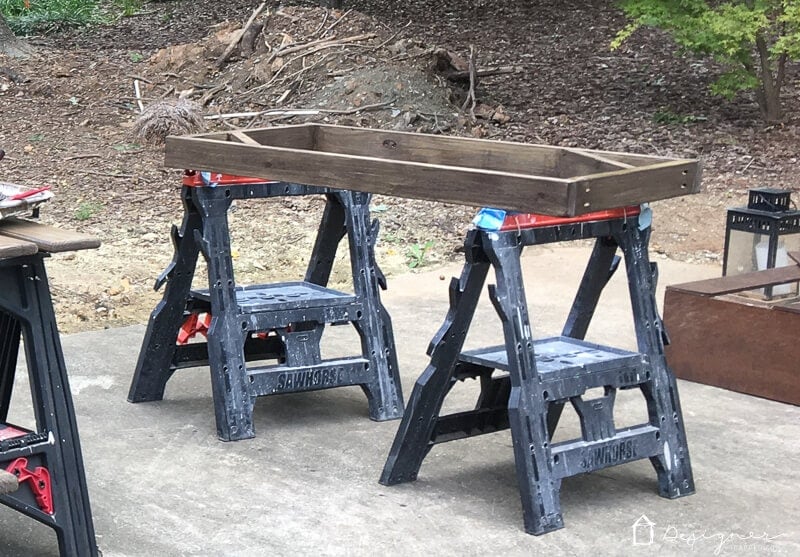
3) Next up, it's time to build your gate door using 2″ x 4″s and the height and width measurements you took earlier. We used our Kreg Jig to attach the pieces of the simple outer frame together. We included corner braces in opposite corners for stability.
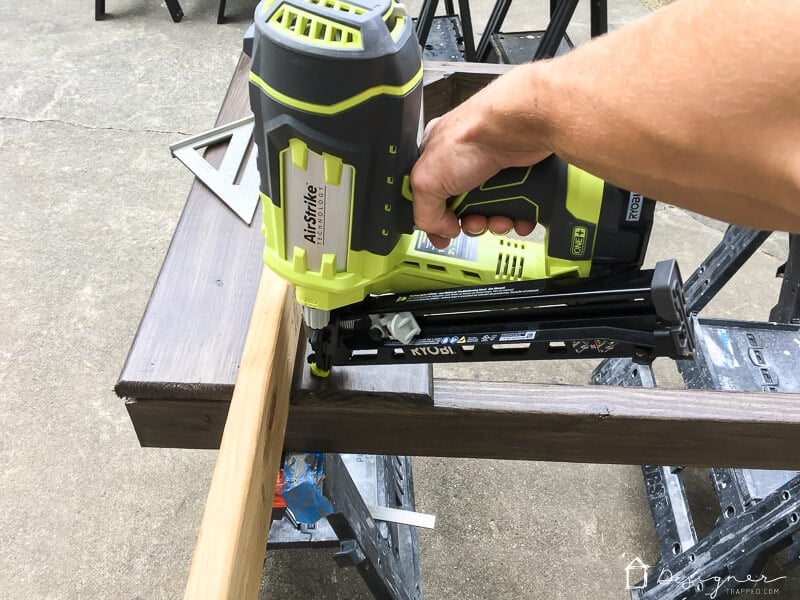
4) Once the frame of your gate door is complete, you are ready to attach the decorative slats. You can choose any pattern you like. We opted to use our 5/4″ deck boards for the bottom half of the screen. We ripped thinner pieces (1 3/4 “) of the deck boards to create the thinner slats for the top half. (Note: deck boards come with rounded edges, so once we ripped them down, we replicated the rounded edges with a router, but you could use a sander if you don't have a router).
5) I recommend staining all of your wood at this point, if you plan to. Stain the frame you just installed and the lumber you will be using to make your gate.
6) Next, you attach your slats to the frame of your gate door with a nail gun. We used a spare deck board to act as our spacer as we attached the slats.
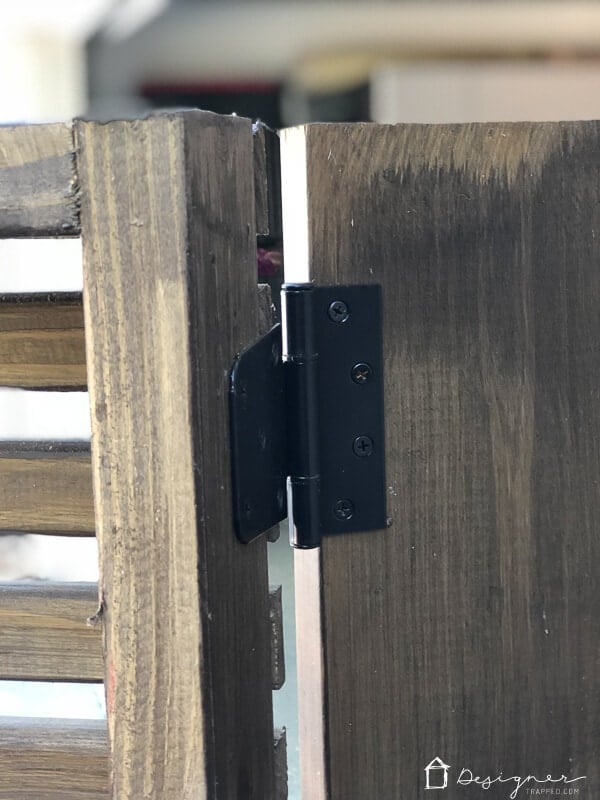
7) Install your heavy-duty hinges and hang the gate door from the frame that is attached to your house.
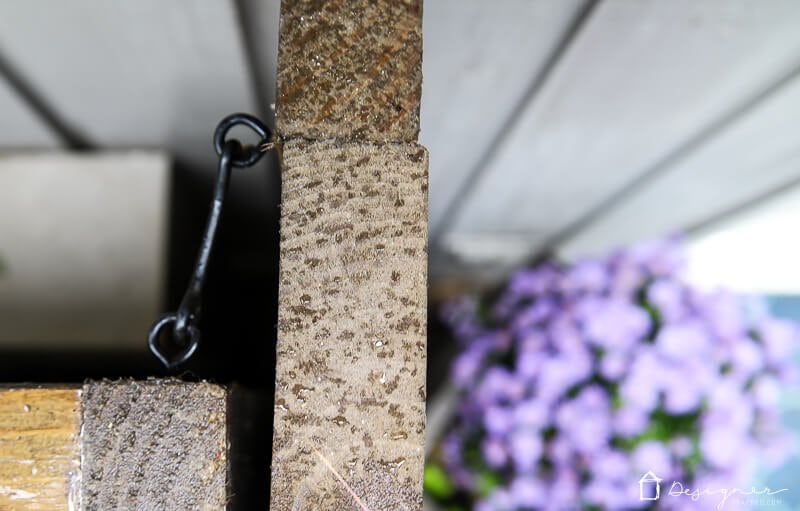
8) Once the gate door is hung and you are happy with the alignment, install your hook and eye latch. Here's an overhead view of how the hook and latch closure holds the door to the electrical box cover closed.
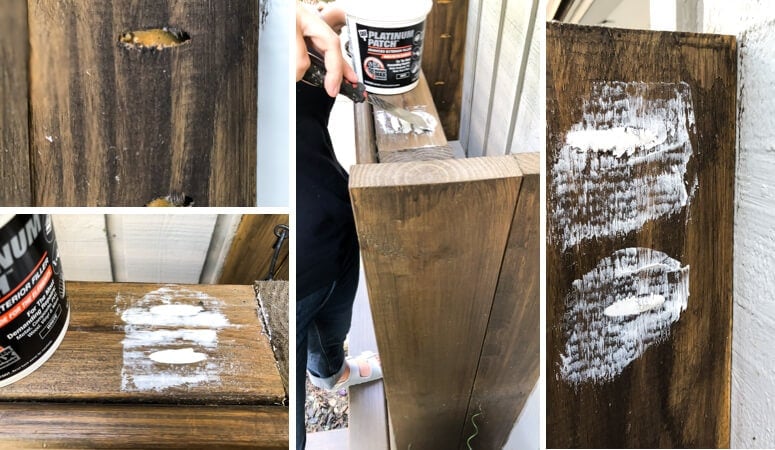
9) The final step is to fill all those ugly pocket holes. Our favorite outdoor patching material is DAP Platinum Patch Advanced Exterior Filler. After the filler dries, lightly sand it and stain the filled areas.
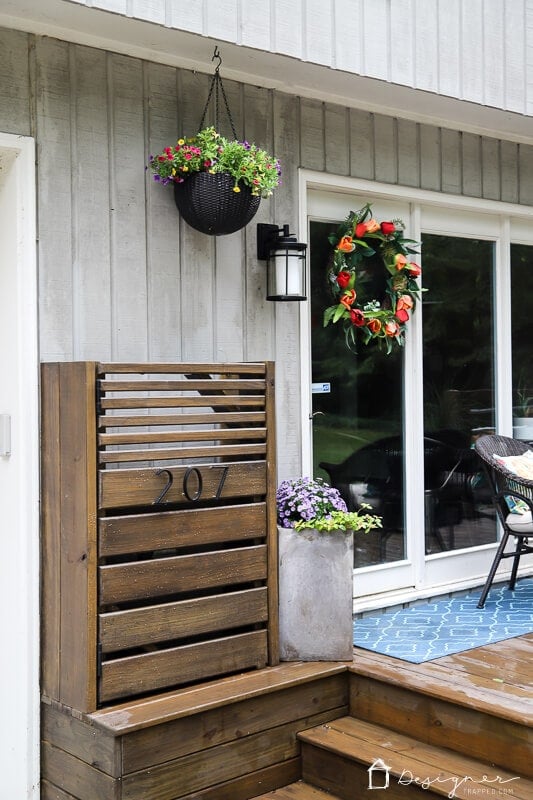
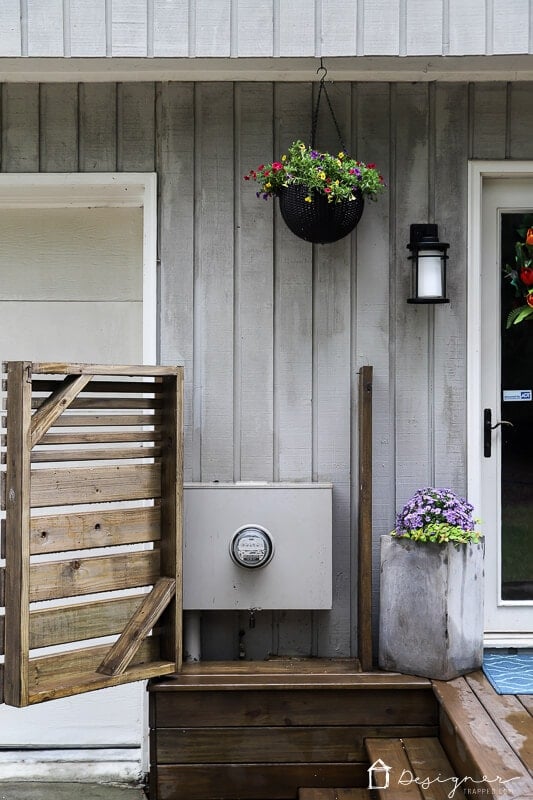
That's it! Stand back and admire your work. This DIY electrical box cover is not only pretty, but it opens easily so if you have concerns about your electrcial/utility box access, you are covered. Here's how ours turned out.
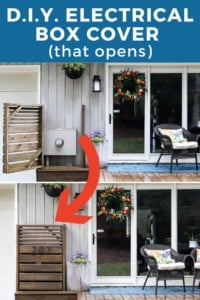
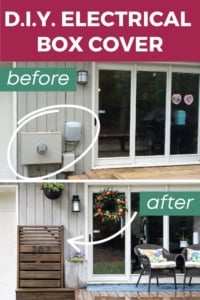
Here's a look at the before and after!

And here's a look at how it looks when it's open.
What do you think? It looks so much better, doesn't it?! If you want to cover your ugly utility boxes, I highly recommend that you tackle this project for yourself. This utility box cover is a very doable DIY project if you have a few tools and some free time. It's not too time-consuming, so it would be a great weekend project.
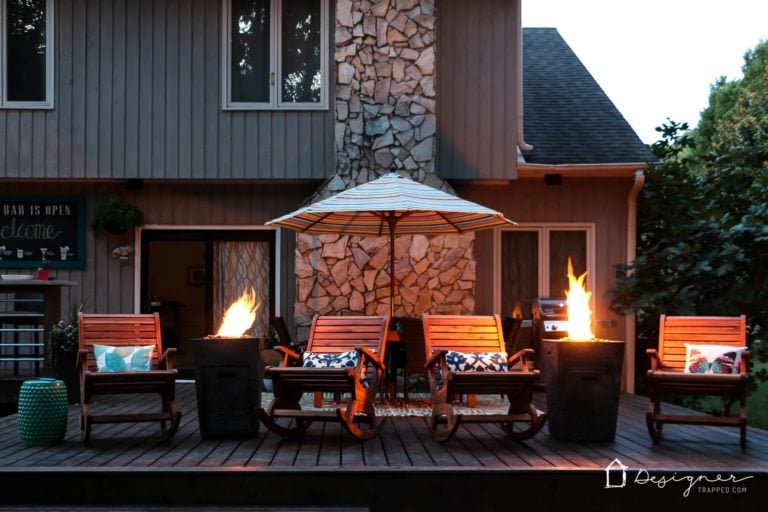
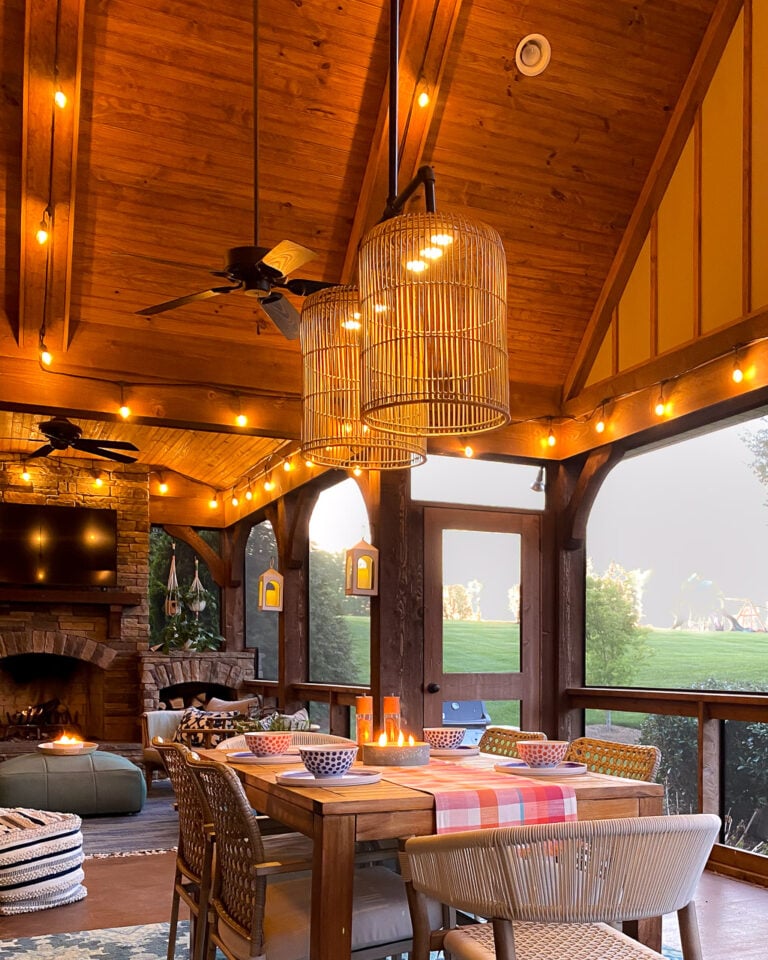
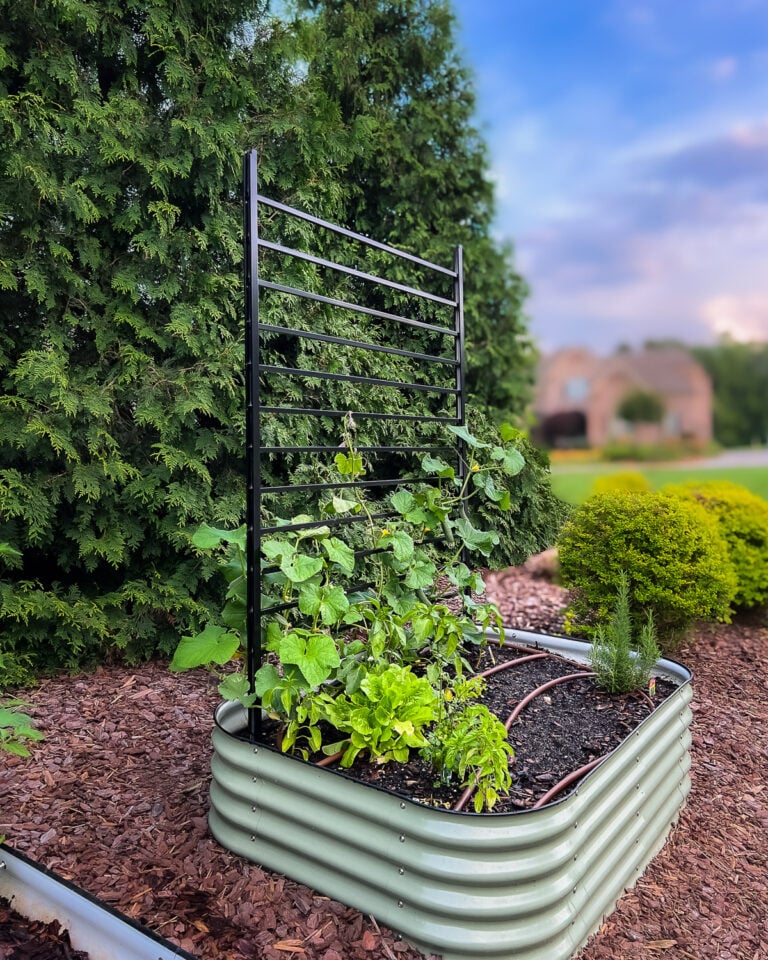
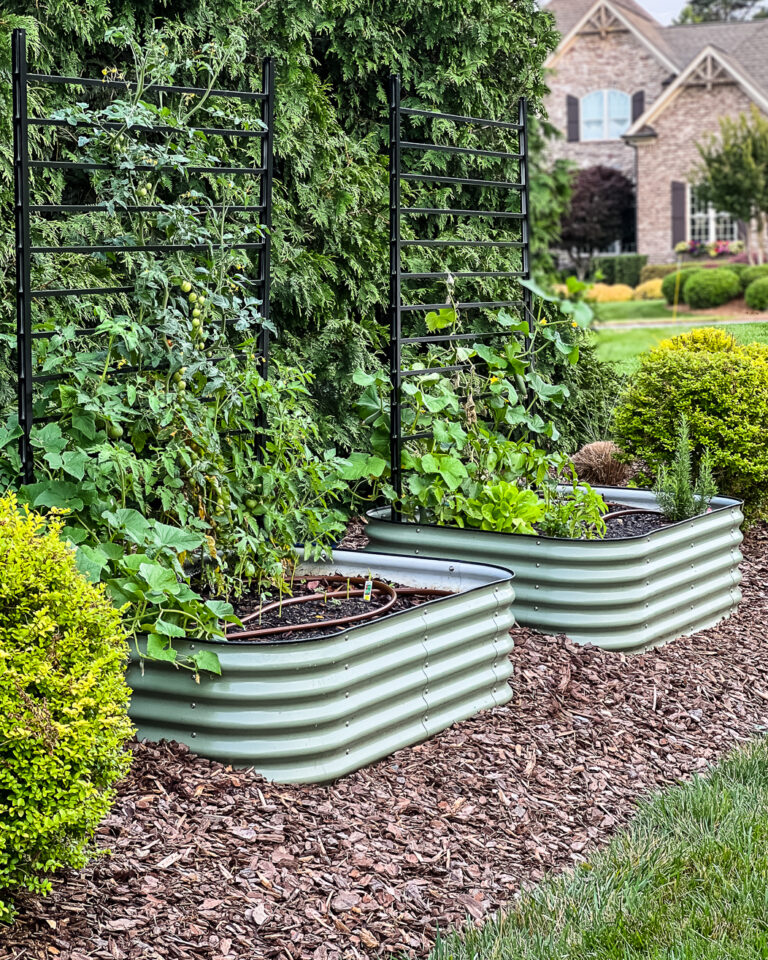
Before you head out, check out the posts below for your DIY outdoor project inspiration :)


Wondering how I approach transforming rooms and spaces in our home? Check out Designer in a Binder®.

And if you want exclusive content and behind-the-scenes sneak peeks, be sure to subscribe before you head out!

Last Updated on May 6, 2025