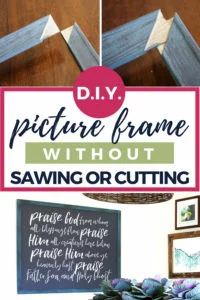
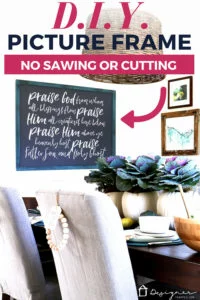
Easy DIY Picture Frame You Can Make WITHOUT Power Tools
This DIY picture frame is so easy to make. No sawing or power tools required. It looks great and is such an affordable option, especially for framing large prints! Follow the step-by-step tutorial to learn how to make your own.
Hello friends! Do you struggle to find picture frames that you love AND can afford? I know I do, especially when it comes to framing large art and photos. A couple of years ago I showed you how to create your own large-scale art for around $10.00. And I have several tutorials for how to make art/picture frames, like this one that uses 1 x 2 pine boards or this one that uses reclaimed wood. But both of those require power tools. Well, now I am SUPER excited to show you how to frame any artwork or pictures without any sawing or cutting AND for less than $20!
The best thing about this DIY picture frame tutorial is that literally, anyone can do it. If you need to frame a piece of canvas art, check out this tutorial for making a DIY canvas frame! You do not need any power tools. You don’t even need a hand saw. You do need a heavy-duty stapler, but you could probably even do without that in a pinch! I am going to show you how to create a DIY picture frame for large-scale art (but you can certainly use this same method to make most any size frame)!
I love large scale graphic art for many reasons. Most importantly, I love it because it allows you to decorate a large wall for very, very little money. But, as cheaply as you can make the prints themselves, I discovered that framing them out could be expensive or challenging for people to do themselves. NOT ANYMORE! I have discovered the easiest secret in the whole world for doing this yourself with very little money and even less effort.
Thank you to DAP Products for sponsoring this post. This post contains some affiliate links for your convenience. Click here to read my full disclosure policy.
How to Make a DIY Picture Frame Without Any Power Tools
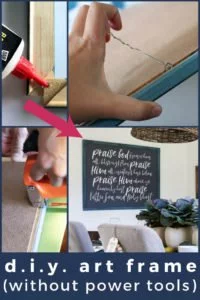
If you would like a free printable for this project, just click the image below :)
Supplies Needed for DIY Picture Frame
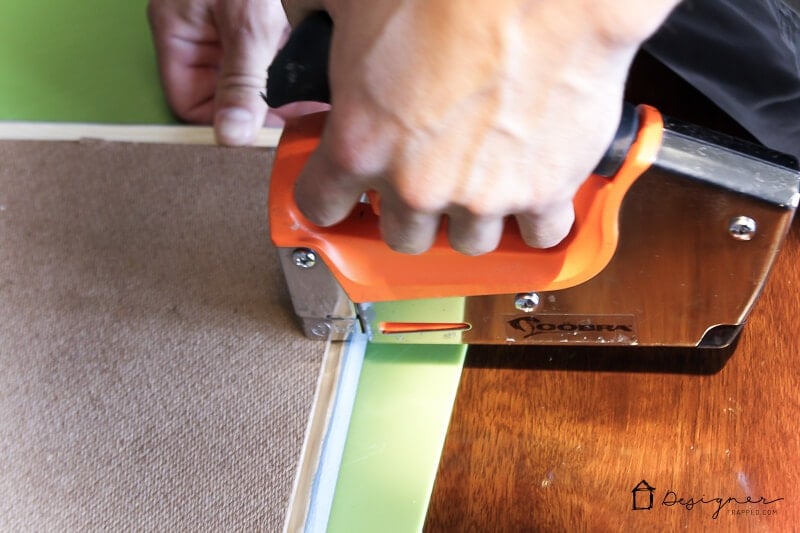
- Heavy duty stapler
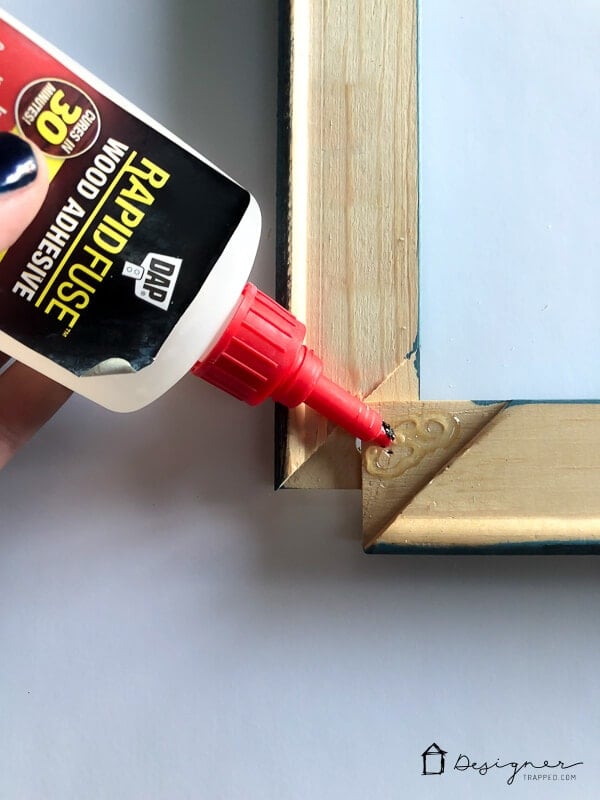
- DAP Rapid Fuse
- Paint or stain and paint brushes
- Canvas stretcher bars (I purchased mine at Hobby Lobby–the 36″ bars were $3.99 and the 48″ bars were $4.99).
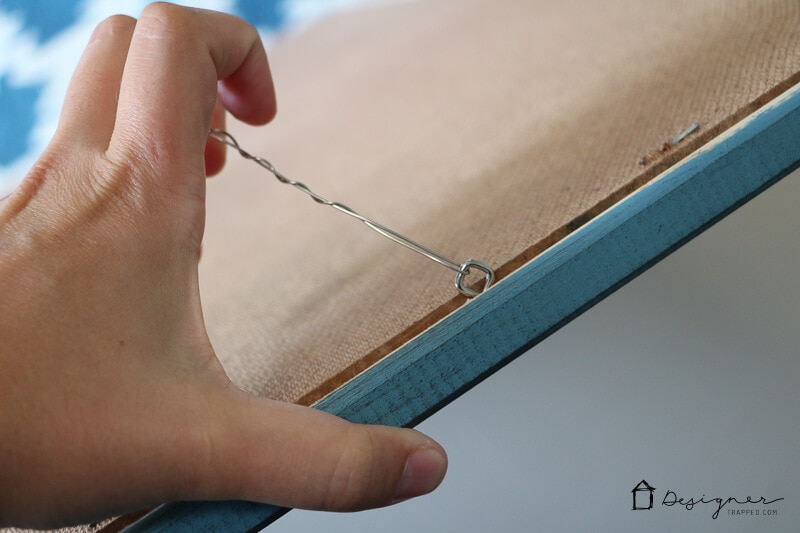
- Eye hooks
- Picture hanging wire
- An art print (you can find the exact print that I framed here)
Steps to Make DIY Picture Frame
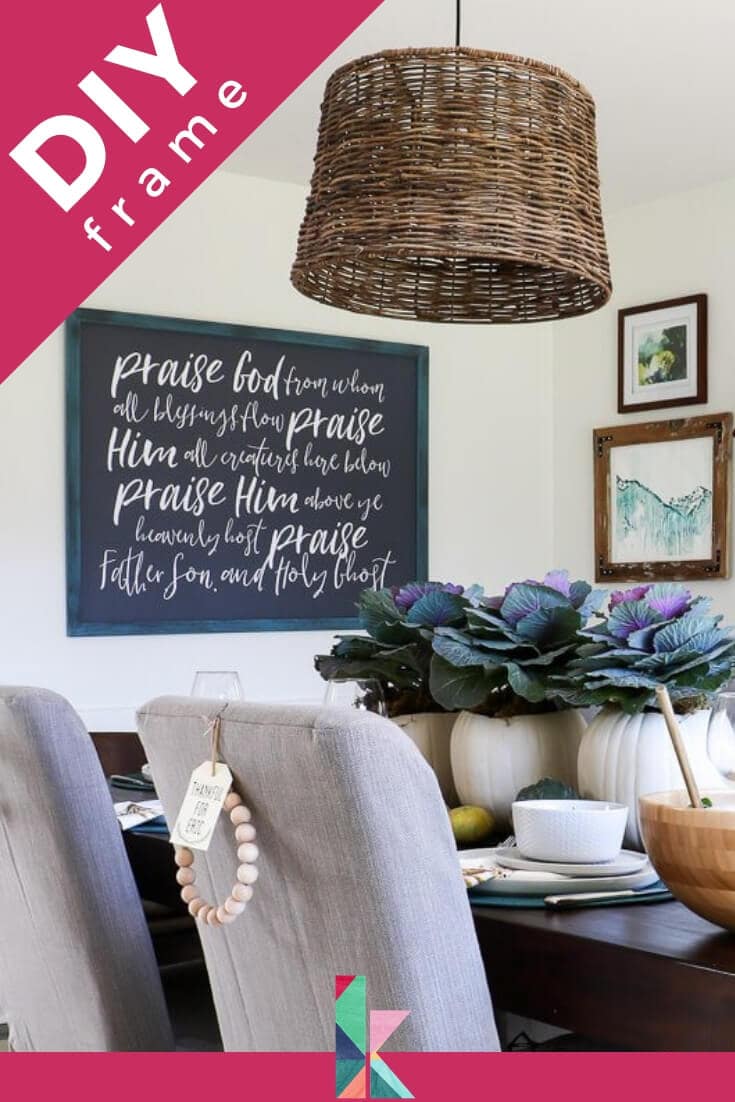
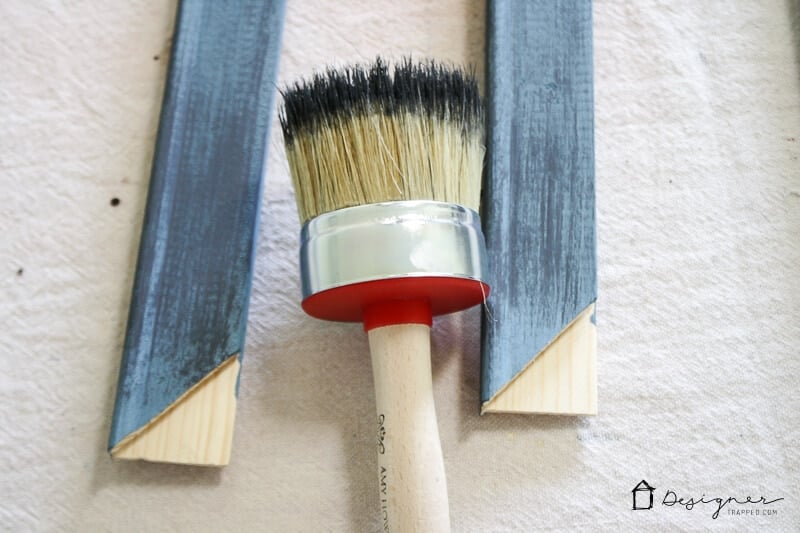
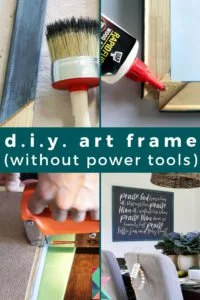
1) Paint or stain your canvas stretcher bars. For this particular frame, I used Enchanted Evening by Clark+Kensington. After it dried, I used some Americana Decor Chalky Finish paint in Relic (a dark gray color) to dry brush some gray color on for added texture and interest.
2) Flip your painted canvas stretcher bars over after the paint has dried. Then assemble your frame by gluing and pushing the corners together. It could not be easier! I used DAP Rapid Fuse to glue the corners of the frame together.
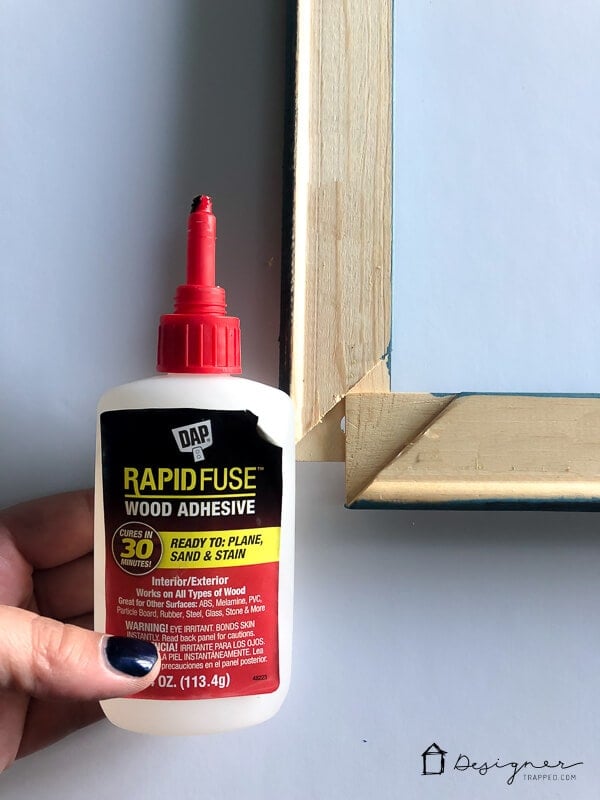

3) After the glue dries (DAP Rapid Fuse dries super quickly–it's one of the things I love most about it), place your photo or print inside the back of the frame and staple it in place. You can see how we mount our large prints in this post.
4) Screw small eye hooks on the backside of each vertical piece of your frame and then run your picture hanging through both eyes, leaving a generous amount of excess wire so that you can twist the excess wire around the ends to secure it in place.
That’s it! I told you that was easy, huh? Check out the final product! With the print AND frame, this huge 36 x 48-inch art came in right at $30.
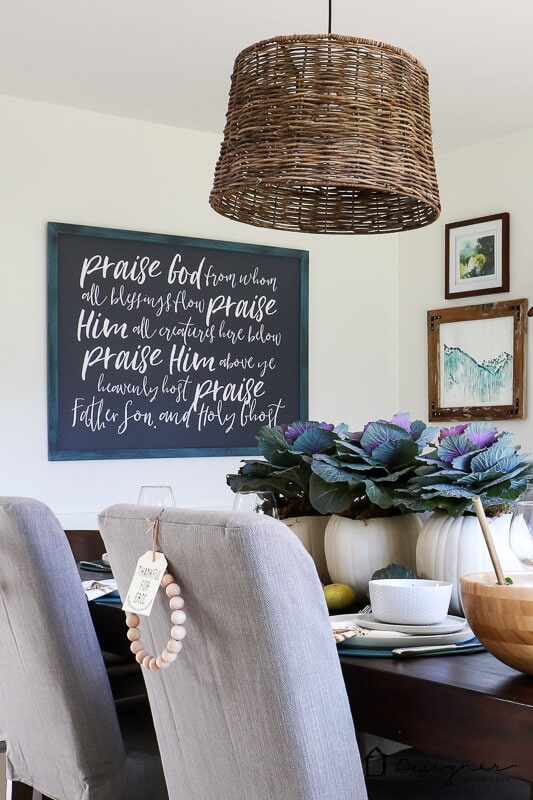
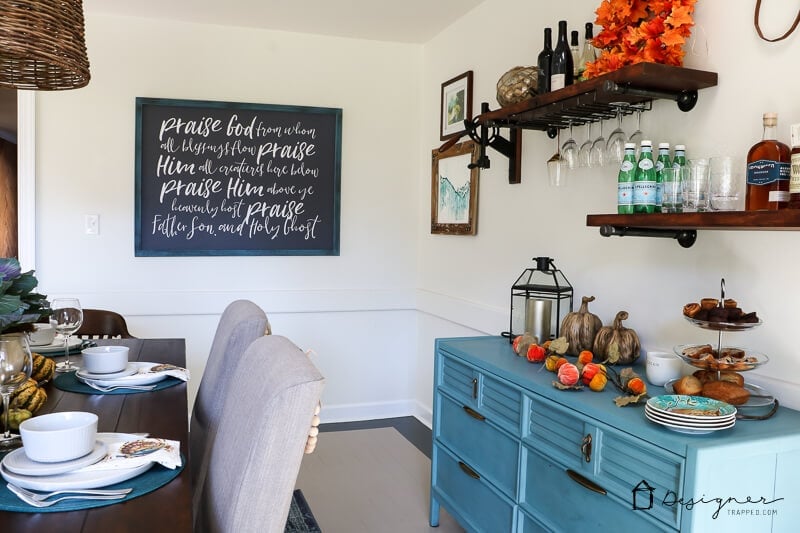
If you are looking for affordable large print options to put in a frame like this, be sure to check out my printable art shop. You can even find that exact print that is hanging in our dining room here, but there are soooo many more options. You buy the digital print and can have them printed as large as 36″ x 48″ for less than $10 each. It's a crazy affordable way to get the look of high-end art.
You can click here to see my entire inventory. This has been my wall art passion project for a while, and I just love sharing my creations with my readers.
Before you head out and get started, be sure to sign up to become a Kaleidoscope Living VIP! You will get access to all of my art printables, design guides, and so much more! And everything is in one convenient digital library.


[mv_create key=”1″ type=”list” title=”Most Popular Projects” thumbnail=”</span><a href=” target=”_blank”]
Last Updated on March 3, 2022
Thank you so much for sharing this amazing idea!
My pleasure!
I have three (3) large engineer prints, 36×48, that I have hanging on my walls with just pins. I know that’s cringe worthy. Started looking around on the internet for frames. Wow! They’re expensive. Thought of canvas stretchers too but the place I looked to buy them here would still cost me around $55 to make. I’m going to Hobby Lobby this weekend and hopefully there’s will be as cheap as the ones you got.
Thanks for the great tutorial!!!
Awesome! I hope you found what you are looking for! Thanks for reading :)
I have been alll over the web trying to find a 36 inch square picture frame for a scarf my son brought back from Sienna Italy. Just couldn’t justify the cost of custom framing. But now!! Thank you so much. This will be perfect.
Judy
Thanks Judy! So glad it worked well for you :) Thanks for reading!
Do they come in every size, i have a very irregular poster i need a frame for?
They are premade so do come in specific sizes, but I would just search around and see what you can find. Good luck!
Four years I worked as a custom framer for a major retailer.
I never thought of this. This is fantastic!
Thanks!!!
What is the board or material you show on the back?
The back is actually what I have the picture mounted on. Read about that here: https://designertrapped.com/diy-wall-art/” target=”_blank”
What do use for a backer board?
Hi Kolleen! We just use foam core board.
You did not include the part about making corners-the unpainted triangle on the end!
Hi Dale! I didn’t make those corners–those triangles are included on the pre-purchased pieces. I hope that helps!
Aha!!! I just ordered 40″ and 50″ stretcher bars to make a big canvas but never thought to use them as the frame itself!! Good idea! I already had a 40×50 “reject” frame I bought at Hobby Lobby for only $20. Needed huge custom size art to put in an existing frame. But next time I’m gonna remember this idea!
I think your project turned out great!
Thanks for sharing on the #OMHGFF hope to see you next week!
Pinned to share!!
Hope you have a great week!
Thanks so much, Karren!
Great idea Tasha! I am constantly using frames but sometimes you just can’t find what you’re looking for this. Thanks for sharing this at the Bewitchin’ Projects Block party this past week. Hugs, Lisa
making a picture frame. Where is it that the slats are made so the pieces go together? It is right after you paint it? Where the bear wood is.
Hi Kathleen! I am not positive I understand your question… The slats are purchased exactly like that from the store. All you have to do is paint them and slide them together. I hope that helps!
Where is step 2?
Ooops! I accidentally mis-numbered. I have fixed it now. All the steps were there, I just jumped from 1 to 3 when I numbered them. Sorry about that!
So no glass right? Could you add glass somehow to this kind of fiy frame?
DIY
Correct, we did not use glass. You could add glass if you route out a channel on the back of the frame for the glass to sit in and add pins to hold it in place. I hope that helps, Deb!
I would not attempt to put glass into this. I work with professional framers and have picked up some tips here and there and this would not be a sturdy enough frame to accommodate glass unless you are doing small tabletop style frames. You could use a thinner acrylic in place of glass, but even that gets heavy depending on the size.
Thanks for the tip, Heidi!