DIY Hand Painted Christmas Ornaments
Last Updated on March 3, 2022
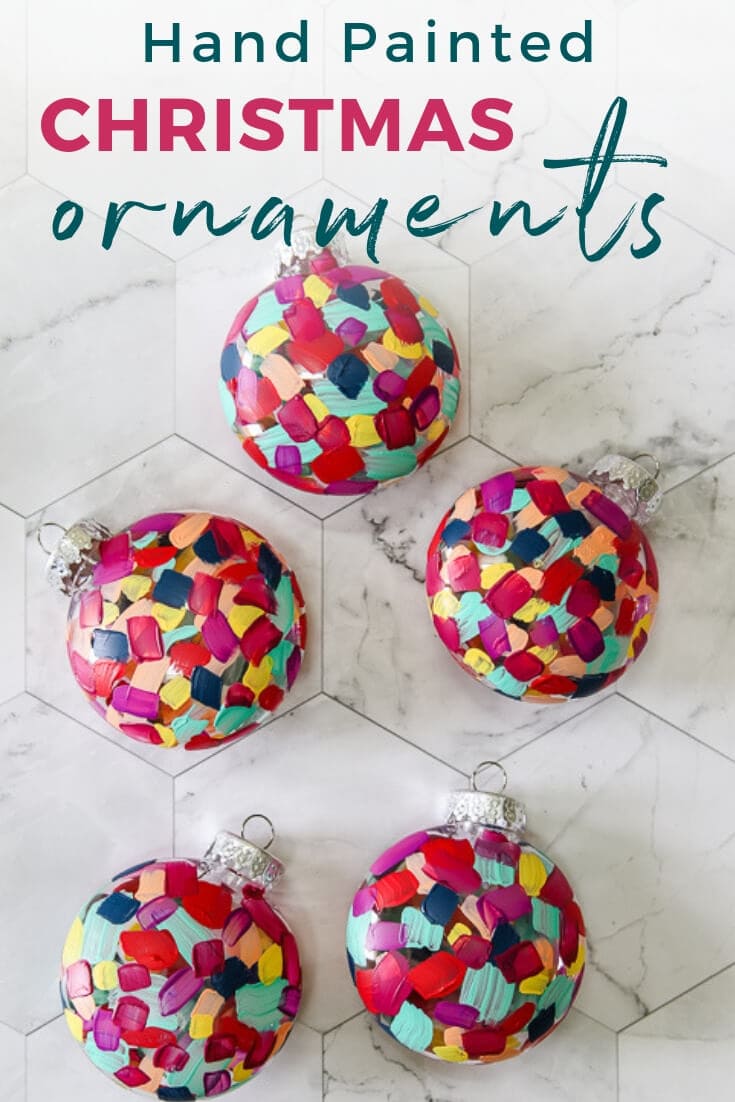
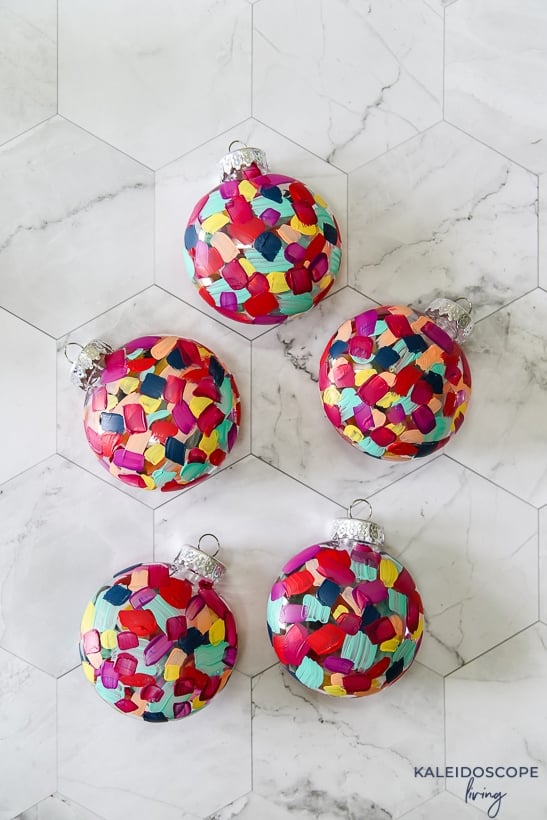
Learn to make your own DIY hand painted Christmas ornaments with this easy, fun and colorful method! These are simple enough for kids to paint, and are just as FUN for adults to make.
Hey, hey friends! If you saw my post earlier in the week when I shared these DIY Christmas ornaments, you know that a while back I found some cheap, plastic ornaments on sale for 70% off the already low price and bought them. In the moment, I really wasn't sure what I was going to do with them. But it was too good of a deal to pass up.
Then I remembered that I had been wanting to try some brushstroke painting, since I feel like it's a technique I could pull off with pretty much no painting or artistic skills whatsoever. So, I bought some colorful acrylic paints just in case I decided to go for it.
The next day, my girls and I set out to paint some ornaments in an effort to do something fun that didn't involve being outside in the cold or watching TV. I love these ornaments just as much as the other ones I shared recently! And I might even love these more. My family, on the other hand, strongly prefers these. Different strokes for different folks, right?!
This post contains some affiliate links for your convenience. Click here to read my full disclosure policy.
DIY Hand Painted Christmas Ornaments Tutorial
Materials needed:
- Inexpensive plastic ornaments (these are the ones that we used)
- Acrylic paints in whatever colors you like (we used this paint in a bunch of different colors)
- Paper plates
- Small artist brushes (any quality will do–they don't need to be anything special)
Steps:
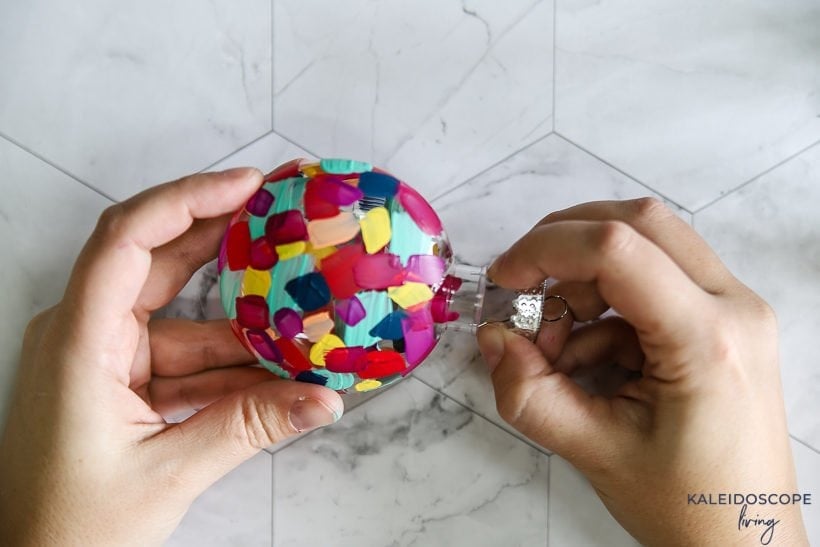
1) Remove the ornament hanger from the top of your plastic ornament and set it aside.
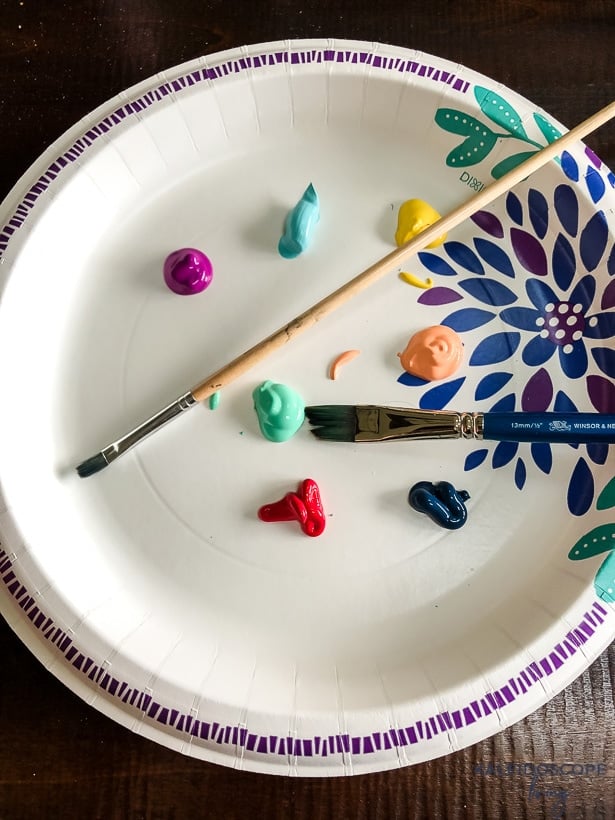
2) Squeeze out some blobs of your acrylic paints on a paper plate.
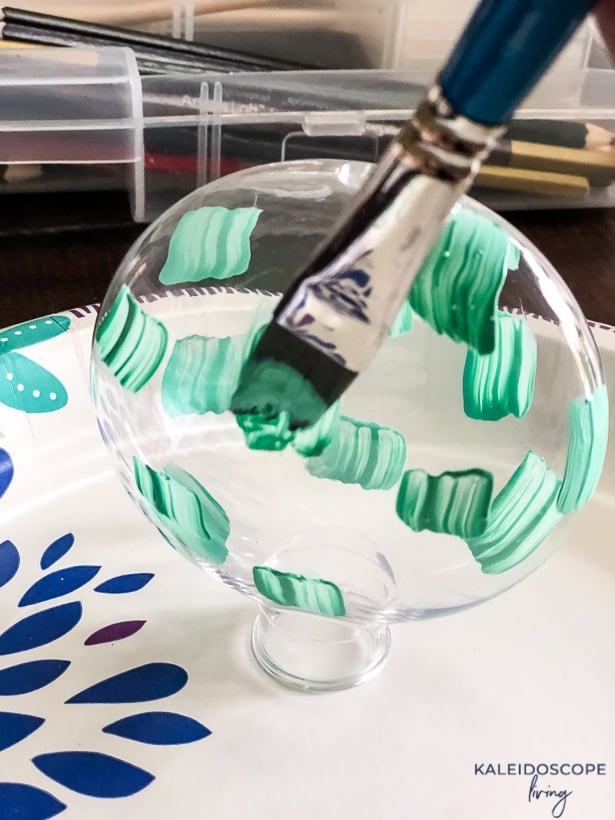
3) Choose a color and paint random brush strokes all over the outside of your ornament. Let the paint dry. I placed our ornaments upside down on a paper plate to paint them and to let them dry without smudging any of the paint.
4) Repeat with as many other colors as you want, allowing each color to dry before you start with another color.
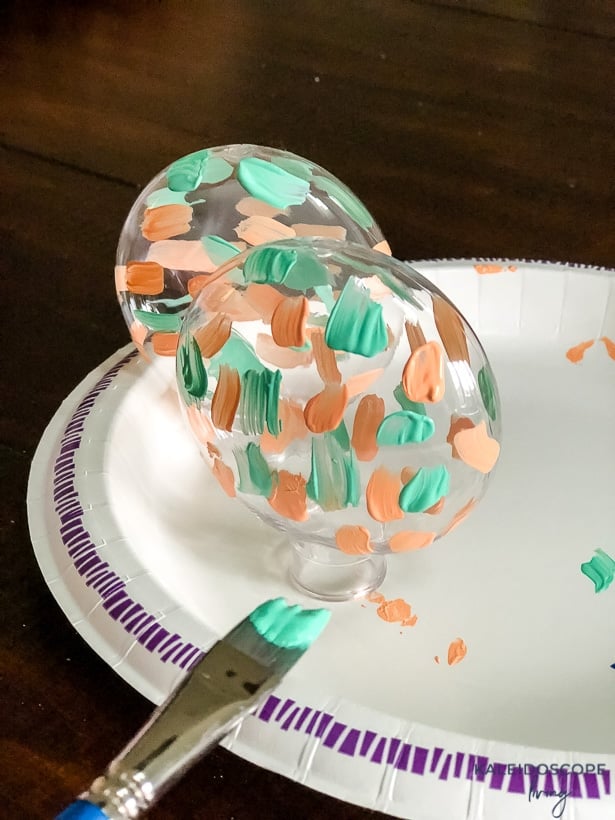
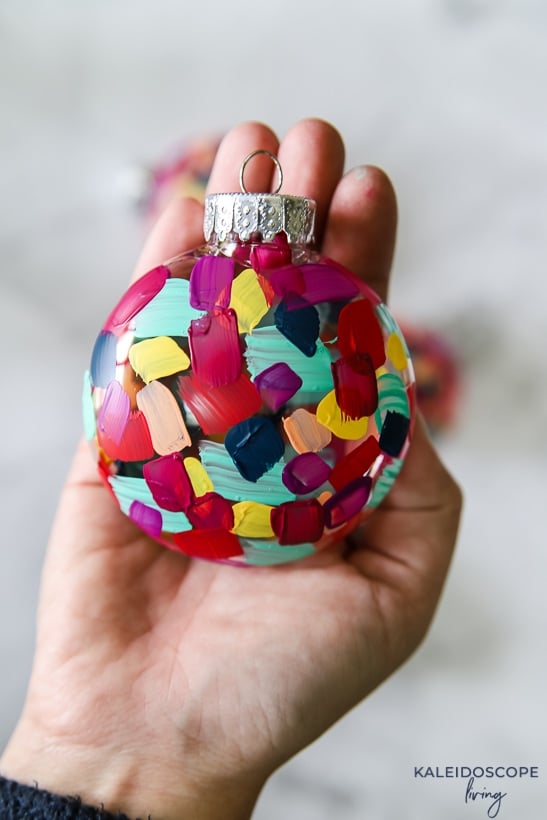
5) Continue until your ornament is almost entirely filled with brushstrokes. I let some clear peep through, but not much. How much space you leave between colors is entirely up to you!

6) Once you are done painting and all of your paint has dried, replace the ornament hanger.
That's it! It's like a color party on an ornament! I'm totally smitten with how these turned out. What do you think?
Before you head out, be sure to grab a FREE gift for yourself :)

[mv_create 1 11 200 2016 key=”1″ type=”list” title=”Most Popular Projects” thumbnail=”</span><a href=” https designertrapped com wp content uploads diy home decor projects blog jpg target=”_blank” a span] target=”_blank” a span]


Beautiful ornaments. Do you have to put something on the outside to seal them?
Hi Faye. Thank you. I didn’t seal mine but you could certainly seal with with a clear poly if you want to :)
These ornaments are beautiful Tasha! Love the idea of using simple brush marks with a variety of colors. Brilliant!
Cheers,
Jasmine
Oh thank you so much Jasmine!