DIY Bookends: Get A High-end Look on a Dime
Last Updated on August 10, 2021

Have you ever realized how expensive bookends can be?! I had NO IDEA until I started browsing for some recently. I pretty quickly decided that I was going to have to make DIY bookends :) And I was thrilled to partner with DAP for this project because DAP had every single thing I needed to make my vision come to live. Thank you to DAP Products for sponsoring this post. As always, all opinions are 100% my own based on personal experience.
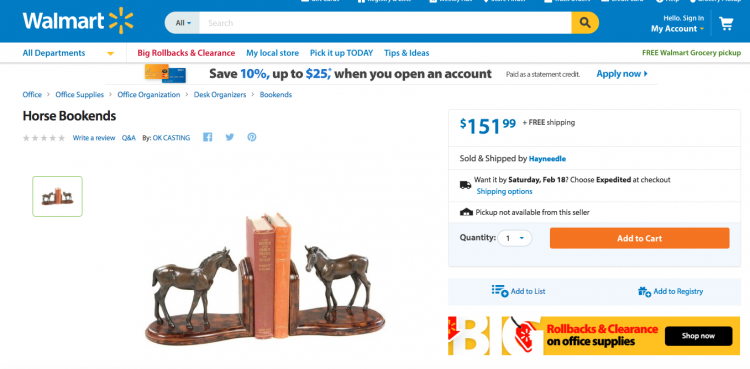
I wanted a modern look that involved horses and was seriously shocked by some of the prices. For example, this set is from Wal-Mart and check out that price. What in the world?! To make matters worse, this is not the sort of aesthetic I was going for at all.
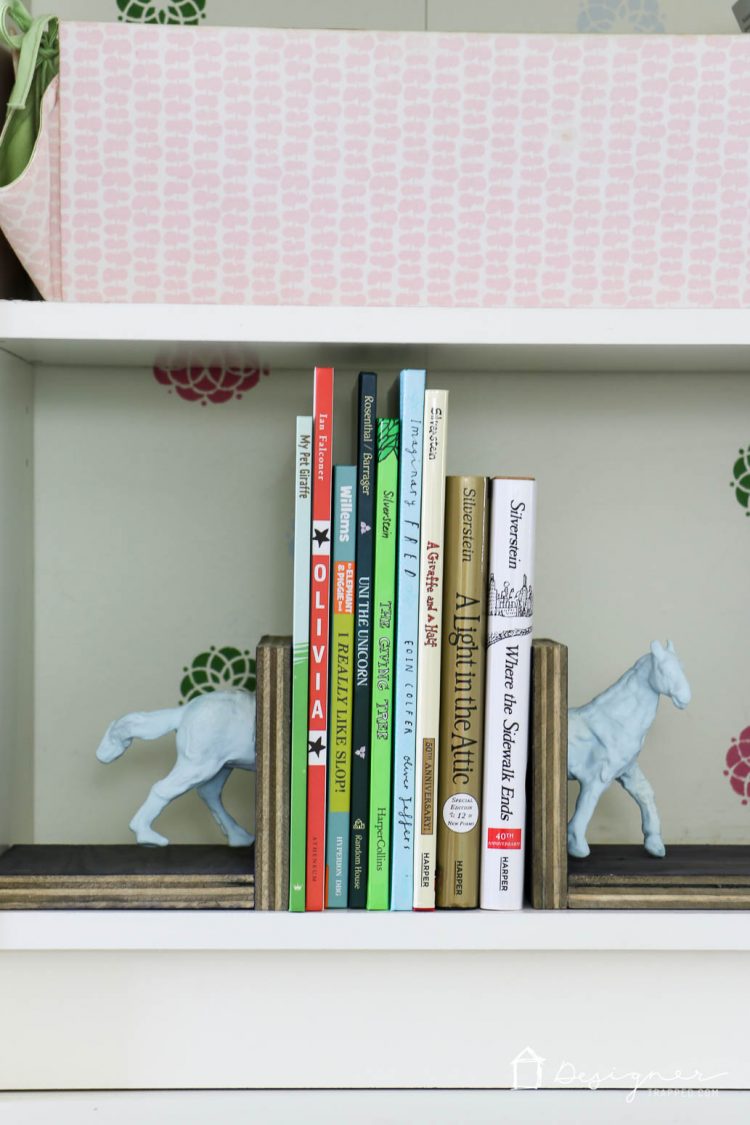
You see, I really wanted some combination of ceramic and wood. I couldn't find that combination at all (let alone in my budget), so I came up with my very own DIY bookends and love how they turned out! Read on to learn how to make your very own DIY bookends for less than $5. This post contains some affiliate links for your convenience. Click here to read my full disclosure policy.
DIY Bookends Tutorial
Materials needed:
- Scrap wood (you'll need 4 pieces that are roughly 5 1/2 x 6 inches–we used some scrap red oak plywood we had on hand, but ANY wood will do)
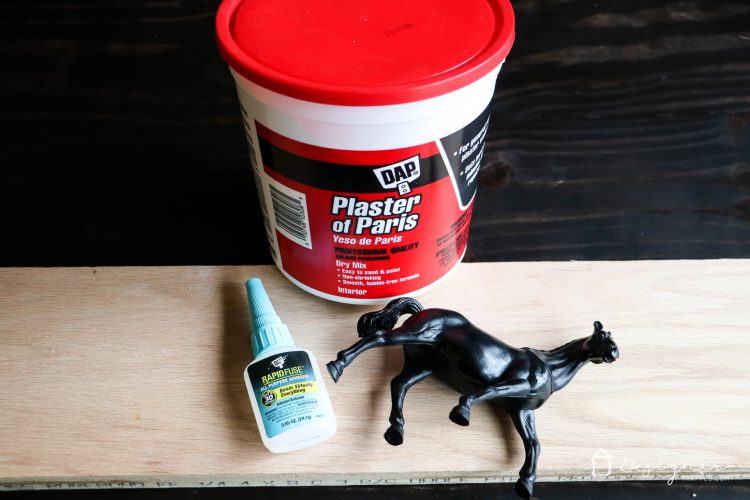
- 1 plastic horse or other animal (I bought my at The Dollar Tree for $1)
- DAP Plaster of Paris
- Paint (optional)
- DAP Rapid Fuse All Purpose
- DAP Rapid Fuse Wood Adhesive
- A compound miter saw or hand saw (truly, all of these cuts could be made without any power tools)
- Clamps
Steps to Make DIY Bookends:
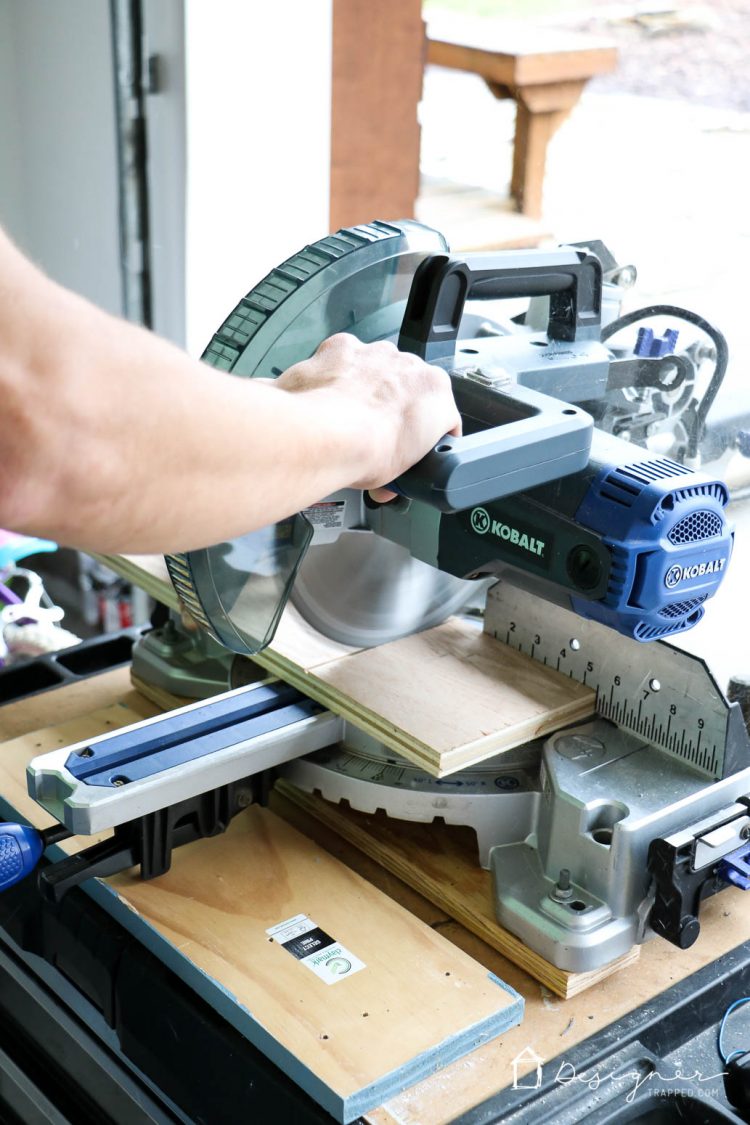
1) Cut your wood down to make 4 equal size pieces. Ours are roughly 5 1/2 by 6 inches, but yours could be different based on whatever scrap wood you have on hand.
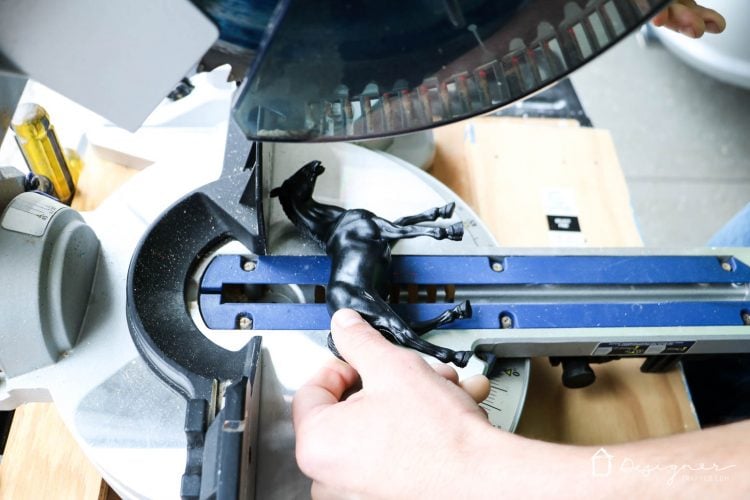
2) Cut your plastic horse/animal in half.
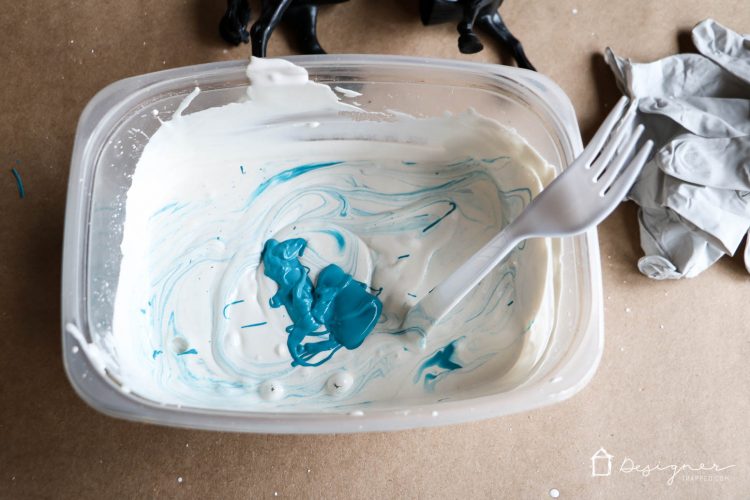
3) Mix your DAP Plaster of Paris according to the instructions on the package. Then add a little bit (as is less than a tablespoon) of paint if you want to tint your Plaster of Paris. I used chalk-based paint and did have to add a tiny bit more water to the mixture after adding the paint because the paint thickened it up a bit too much. Bear in mind you only have about 6 to 10 minutes to work with your mixture.
4) Dip your horse pieces into the Plaster of Paris, making sure to coat the entire surface. Tap it against the end of your dipping container to remove any excess. Then carefully set it aside to dry. We let ours dry for a few hours. While it dried, we cleaned out the dipping container.
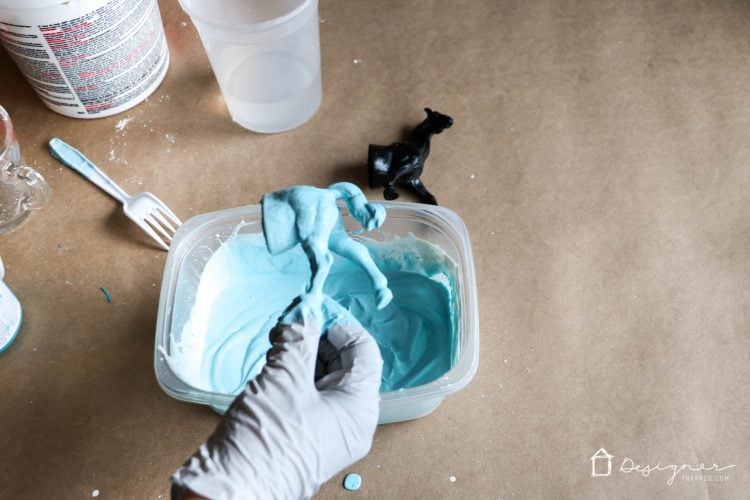
5) Using a fresh batch of Plaster of Paris + a tiny bit of paint, repeat step 4. You will need to repeat this step as many times as needed to get nice, complete coverage. We only had to dip our horse pieces twice, but you may require more for your project. Allow it to dry overnight.
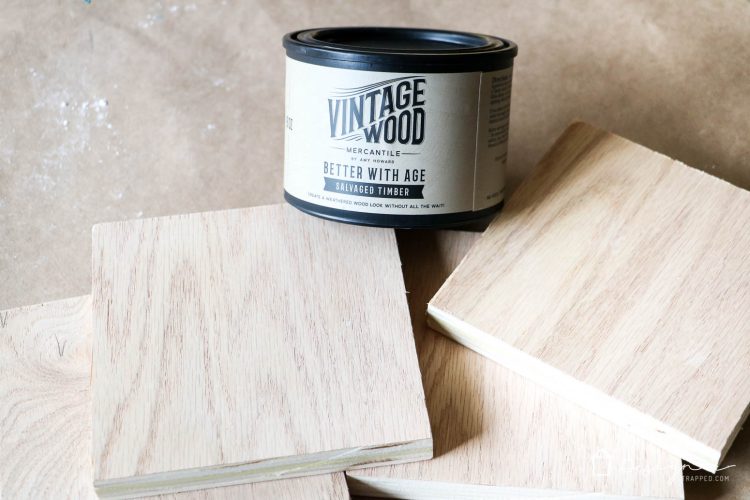
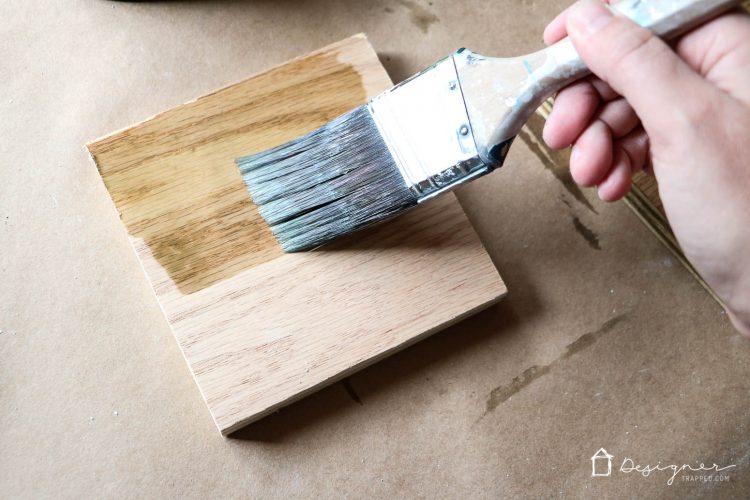
6) While your Plaster of Paris is drying, you can stain the wood for your DIY bookends. I used Better With Age (which reacts with the tannins in wood to create the look of weathered wood) because I had it on hand and love the gray tint it gives to wood. Use whatever you have and love!
 |  |
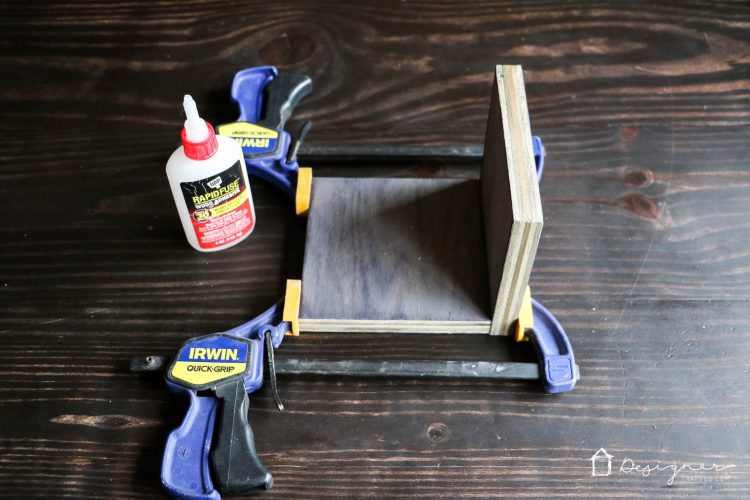
7) Once everything is dry, use your DAP Rapid Fuse Wood Adhesive to glue your DIY bookends together. We used a simple butt joint. We used clamps to stabilize the joints while the Rapid Fuse set (it cures in 30 minutes–super fast).

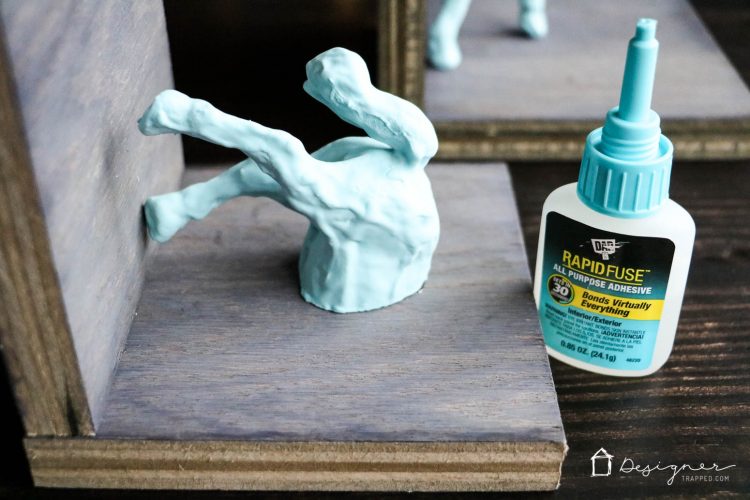
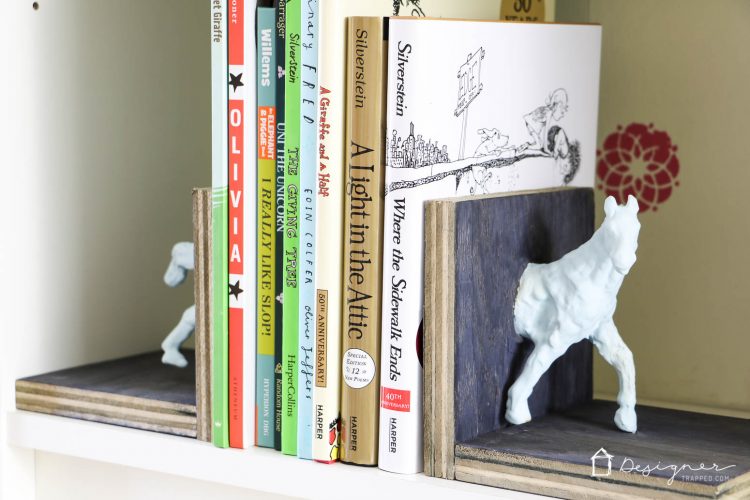
8) Next, use your DAP Rapid Fuse All Purpose Adhesive to glue the horse pieces to the DIY bookends. DO NOT use clamps to hold the horses in place–it will crack the plaster since the horses are made of flexible plastic and the clamps will cause it to bend. Ask me how I know :) Fortunately, I just mixed up another small batch of plaster and touched up the damage. Just lay your DIY bookends down while the glue holding your horses in place cures.
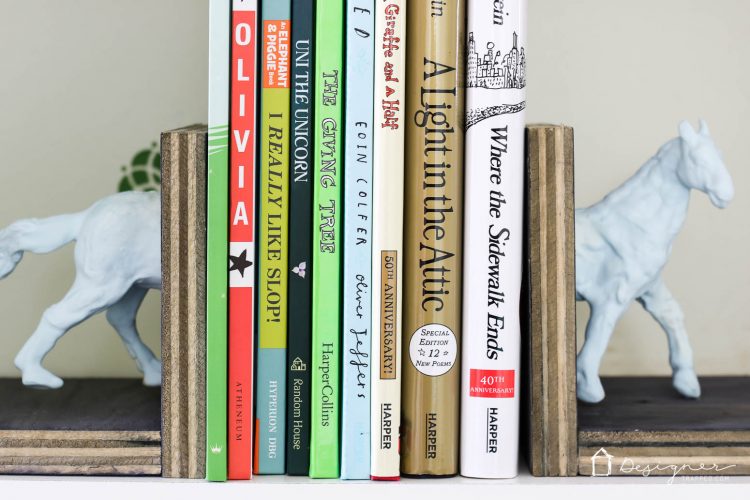
That's it! Aren't they cute?! Considering I had everything except the horse already, these DIY bookends cost me exactly $1 out-of-pocket, but even if you had to purchase all the supplies, you should be able to do it for less than $25!
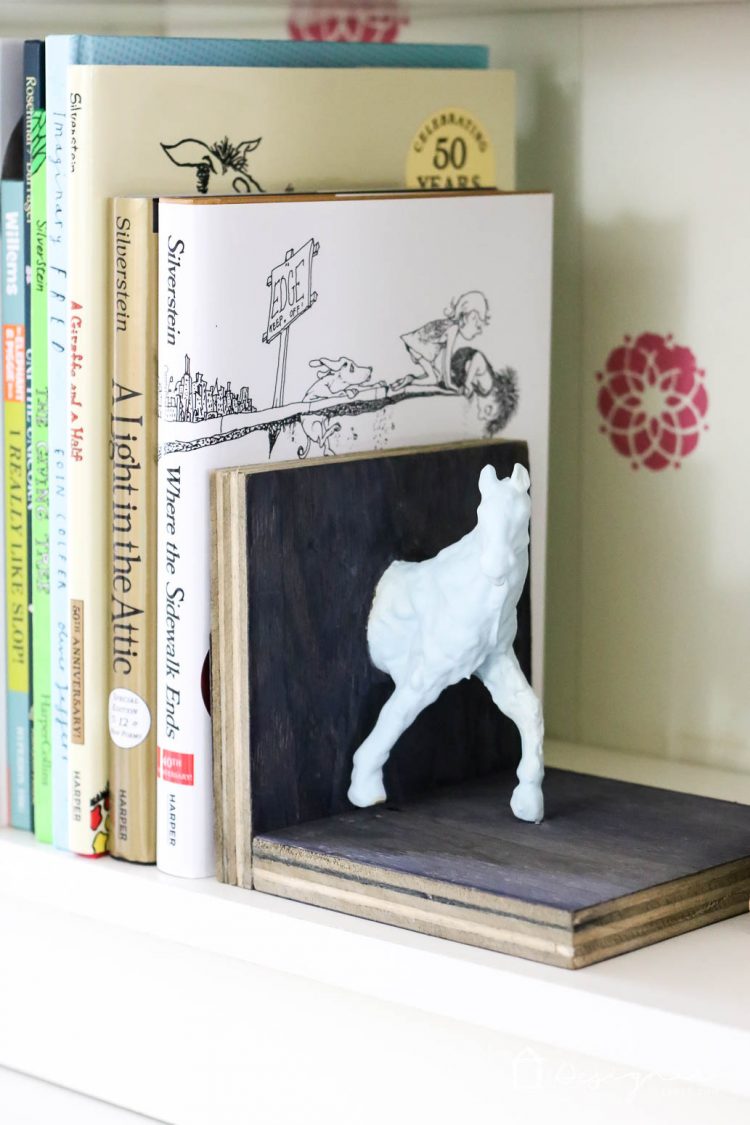
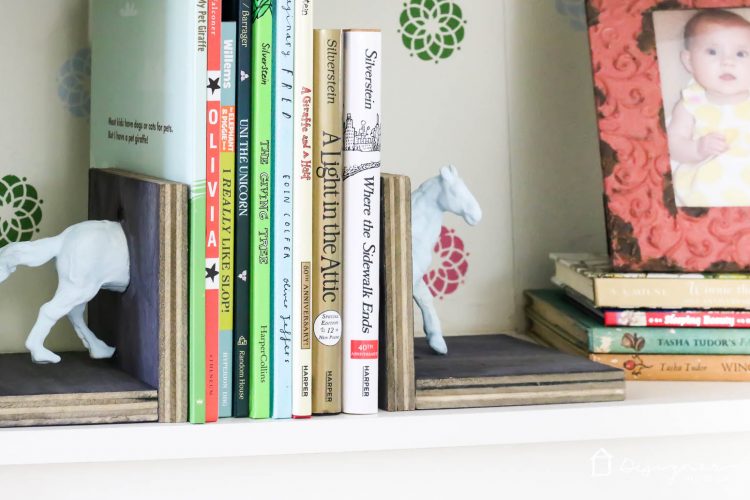
My twin girls LOVE these DIY bookends! They are obsessed with horses. They were a tad upset when they saw the horse cut in half, but once they saw the finished product, they understood I didn't just brutalize a plastic toy for no reason :) So, these were the perfect DIY bookends for our girls!
OMG! These are so cute, Tasha! I would love to try it. I have a million plastic animals, lol.