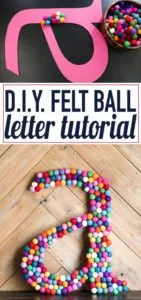
How to Make Large DIY Wall Letters
Are you looking for an easy way to add some personality and character to your home? Do you want to add a personalized touch to a playroom, kid's room or nursery? Look no further than these colorful, large DIY wall letters! You can customize them with any letter, make them any size and use whatever colors you love. With just a few simple supplies and this step-by-step tutorial, even beginner DIYers can create this stylish and personalized wall art.
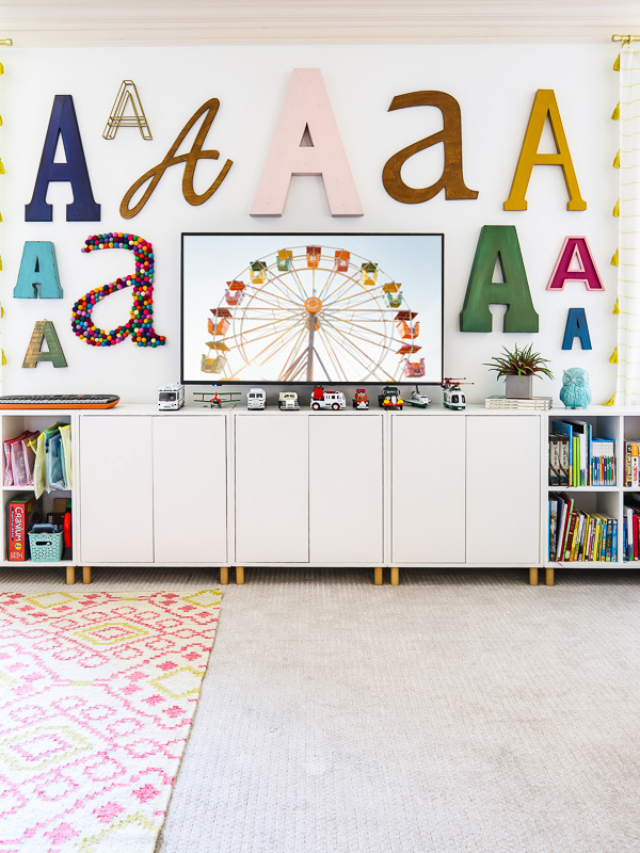
If you've been around a while, you know I'm a big fan of using large letters to decorate with. I think they are such a fun and personal way to fill up your walls with something other than traditional art prints or canvases. And of course I love colorful felt balls for making things like this DIY felt ball wreath. Well this project combines my love of oversized letter decor and big letter wall decor!
I created these colorful DIY wall letters for my twin girls when we first moved them into separate bedrooms back in 2017. Here we are years later and we still love these oversized wall letters–they have hung in a variety of places in our home over the years, which goes to show how versatile they are! And they were so fun and easy to make. This is a project anyone can do.
So let's get started – read on to learn how to make large DIY wall letters!
This post contains affiliate links for your convenience. Click here for my full disclosure policy.
Video Overview of How to Make Large DIY Wall Letters
This short video will give you a great overview of the project start to finish, so I recommend watching it first :)
Materials Needed
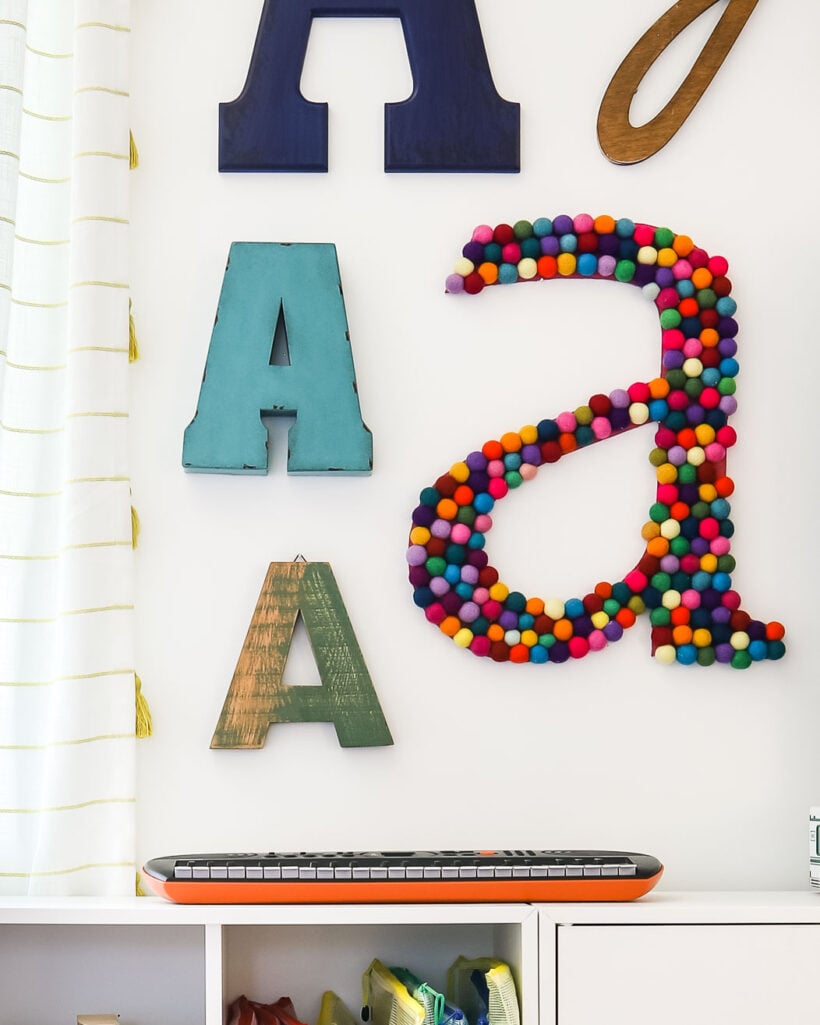
- 2cm Wool felt balls (I order all of my felt balls from this awesome Etsy shop–I used about 175 felt balls for this project)
- To cut your own letter:
- White hardboard from Home Depot (you can buy pre-cut hardboard on Amazon if you prefer). You could also use MDF or plywood, but we used hardboard because it's so inexpensive.
- Circular saw or a utility knife and straight edge to cut your hardboard
- Scroll saw or jigsaw to cut out your letter
- To buy a pre-cut letter:
- If you prefer to buy a pre-cut letter, you can browse some great options that I found below (they range in size from 12″ to 30″).
- You can also find pretty much any size and font at CraftCuts–choose a thin, MDF option for the most affordable option.
- DAP RapidFuse All Purpose Adhesive
- Paint in whatever color you want (this is optional–I painted mine so that any color that showed through the felt balls would blend in)
Options if You Don't Want To Cut Out Your Own Letter
Scroll through the options for pre-made letter blanks that I found below. They range in size from 12″ to 30″. Click on any image for full product details.
PRE-MADE LETTERS

Step-by-Step Tutorial
Time needed: 4 hours
Making these DIY wall letters took me about 4 hours each, but if you use a store-bought letter, it would take even less time! I'm including instructions for cutting out your own letter in this tutorial, but you can skip right over those steps if you purchased a pre-made letter :)
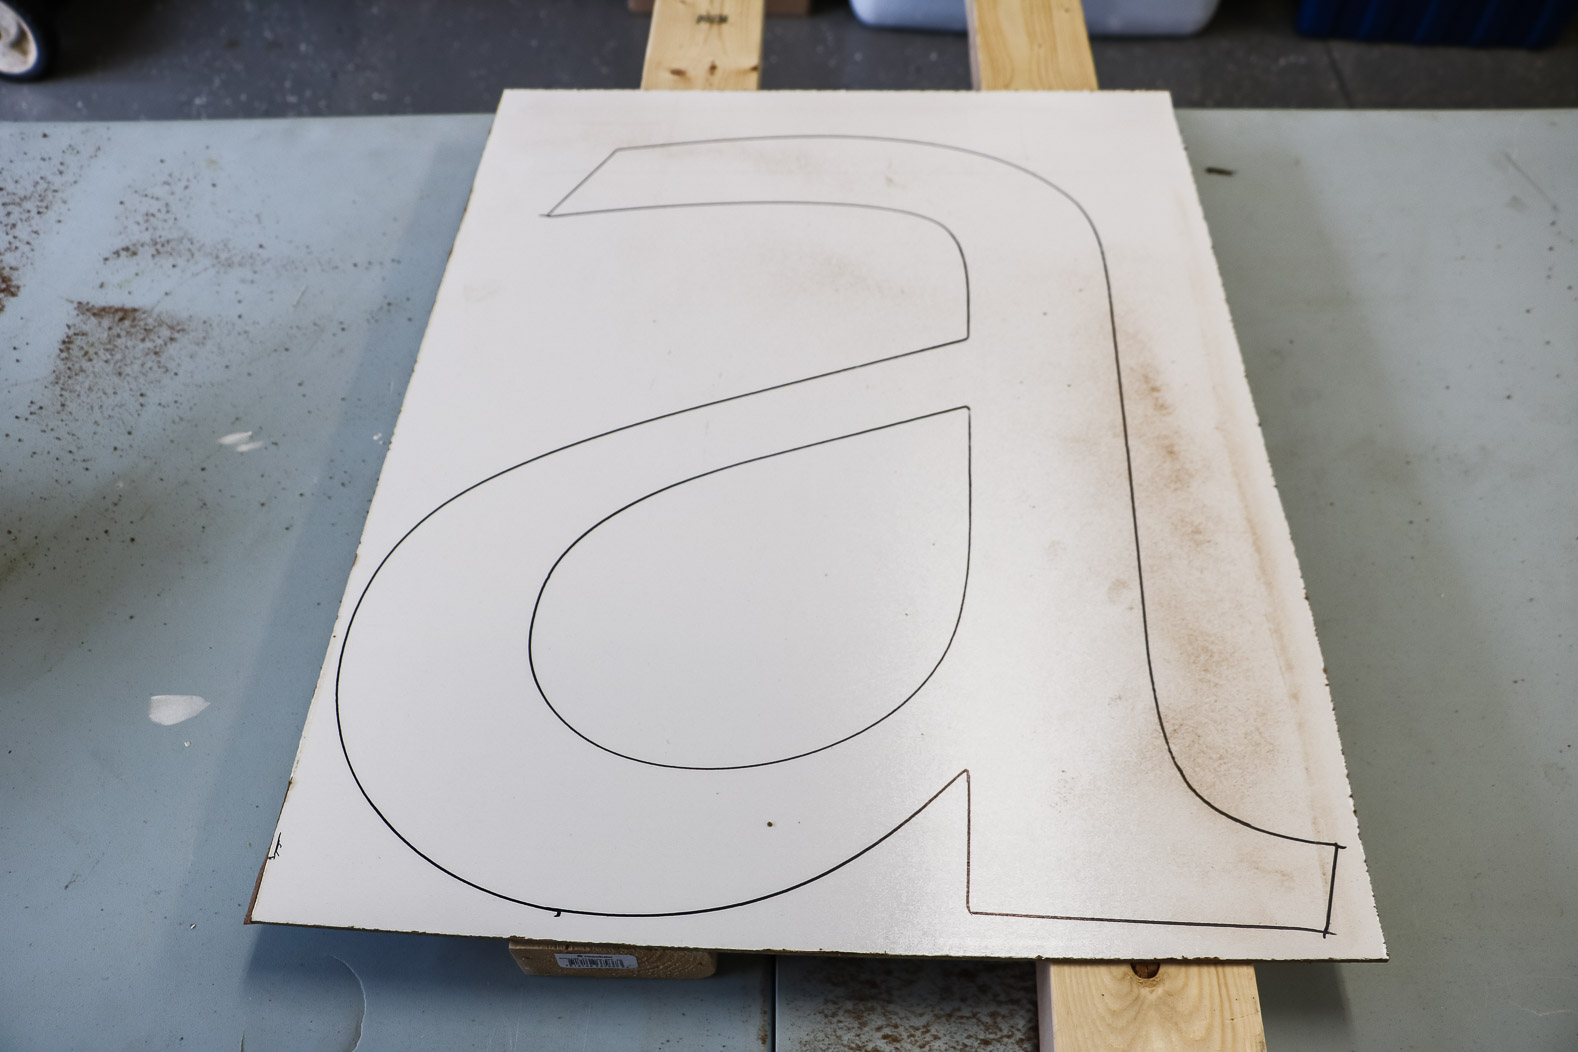
- Draw or trace your letter onto your hardboard, MDF or wood.
I pulled down one a large letter A that we had hanging up in our foyer and traced it to use as a guide. You could find a font you like on your computer and have it blown up and printed at a copy shop–then cut it out and trace it. And of course, you could freehand draw out your own letter.

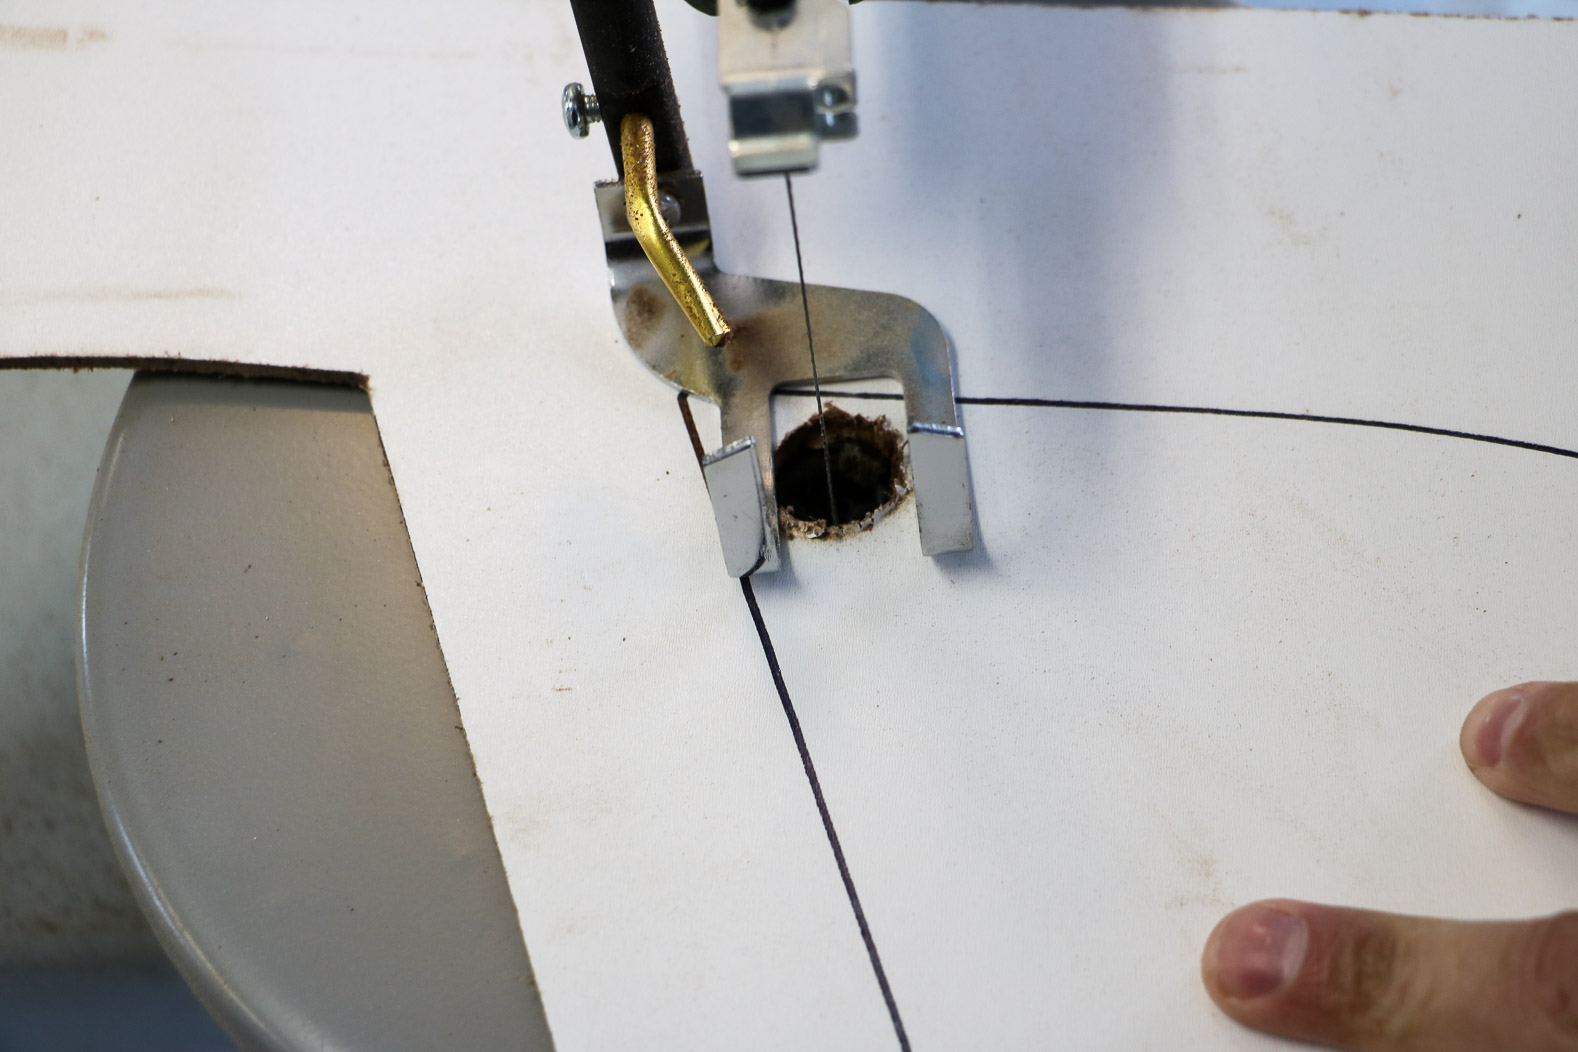
- Cut out the shape of your letter using a scroll saw or jigsaw.
Use your scroll saw or jigsaw to cut out your decorative letter. Don't worry if it's not totally perfect–the felt balls will cover up any imperfections. This project is very forgiving, which is one of the things I love about using felt balls to cover these DIY letters.

To make the inside cuts (if your decorative wall initial requires them), use a paddle bit and drill to make one or more holes. Then insert your blade into one of the holes and keep on cutting! - Clean up the edges, if needed.
After your letter is all cut out, give the edges a light sanding to smooth them out.
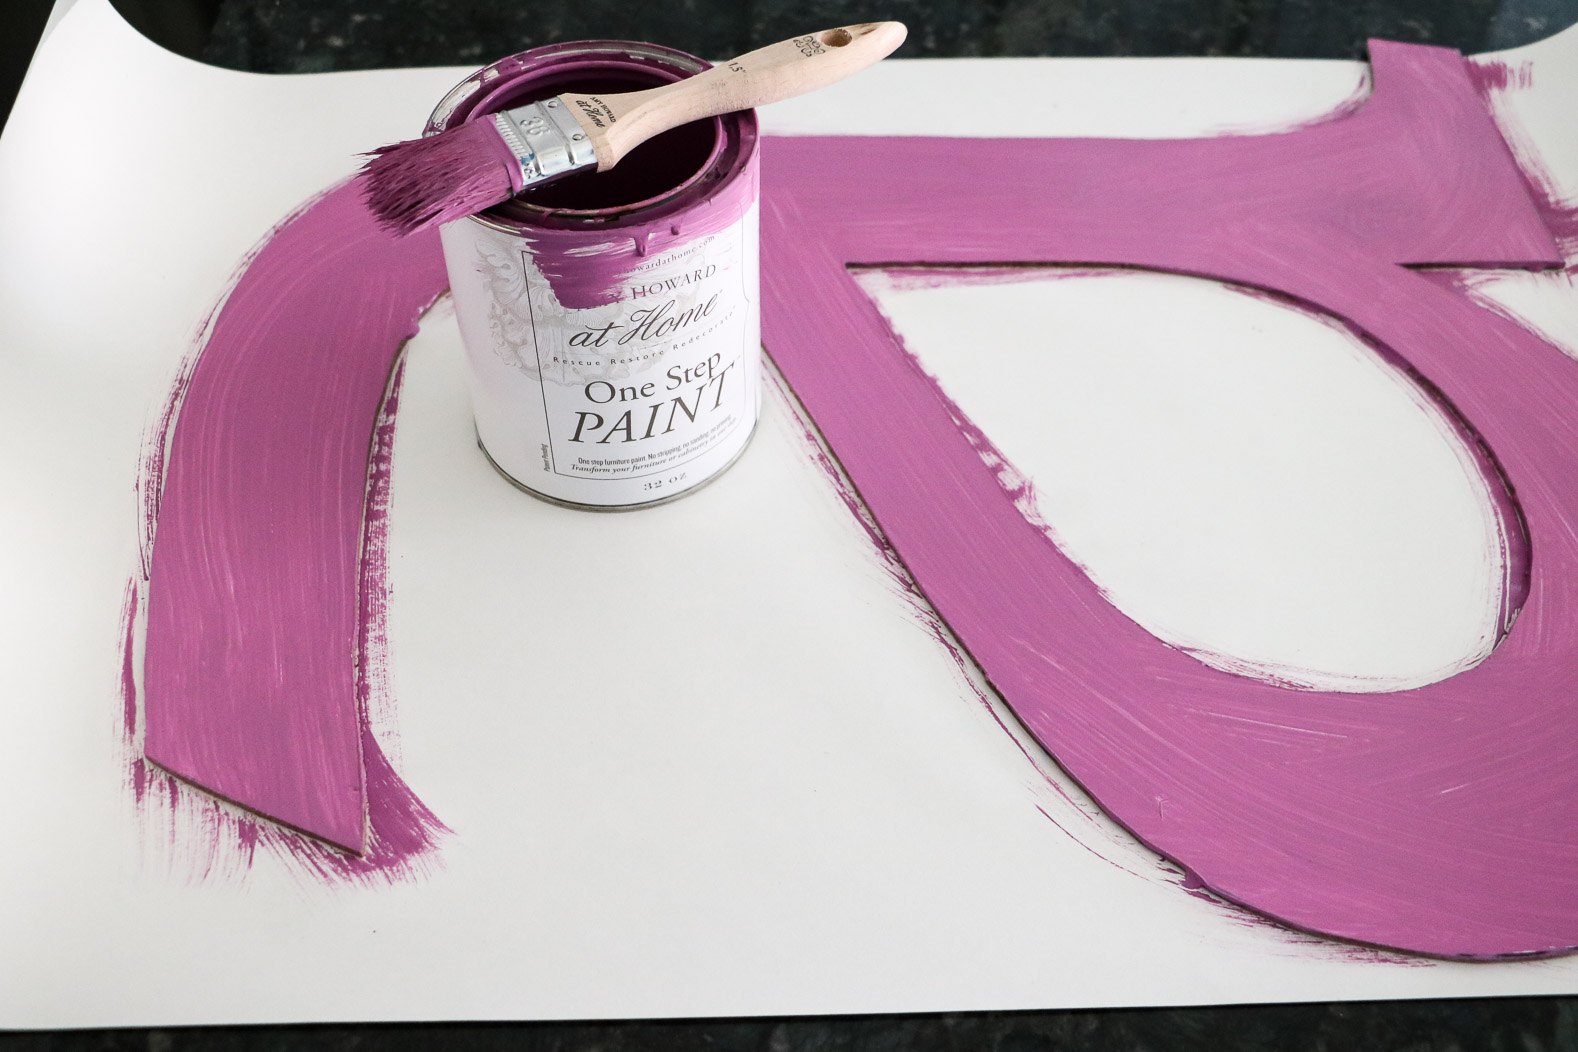
- Paint your large wall letter.
Paint it a color that is close in color to the felt balls you have chosen. Again, this is optional. I painted mine so that any color that showed through the felt balls would blend in and not stick out like a sore thumb.
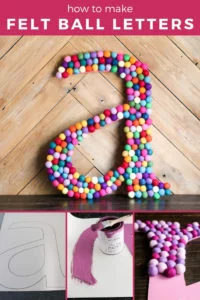
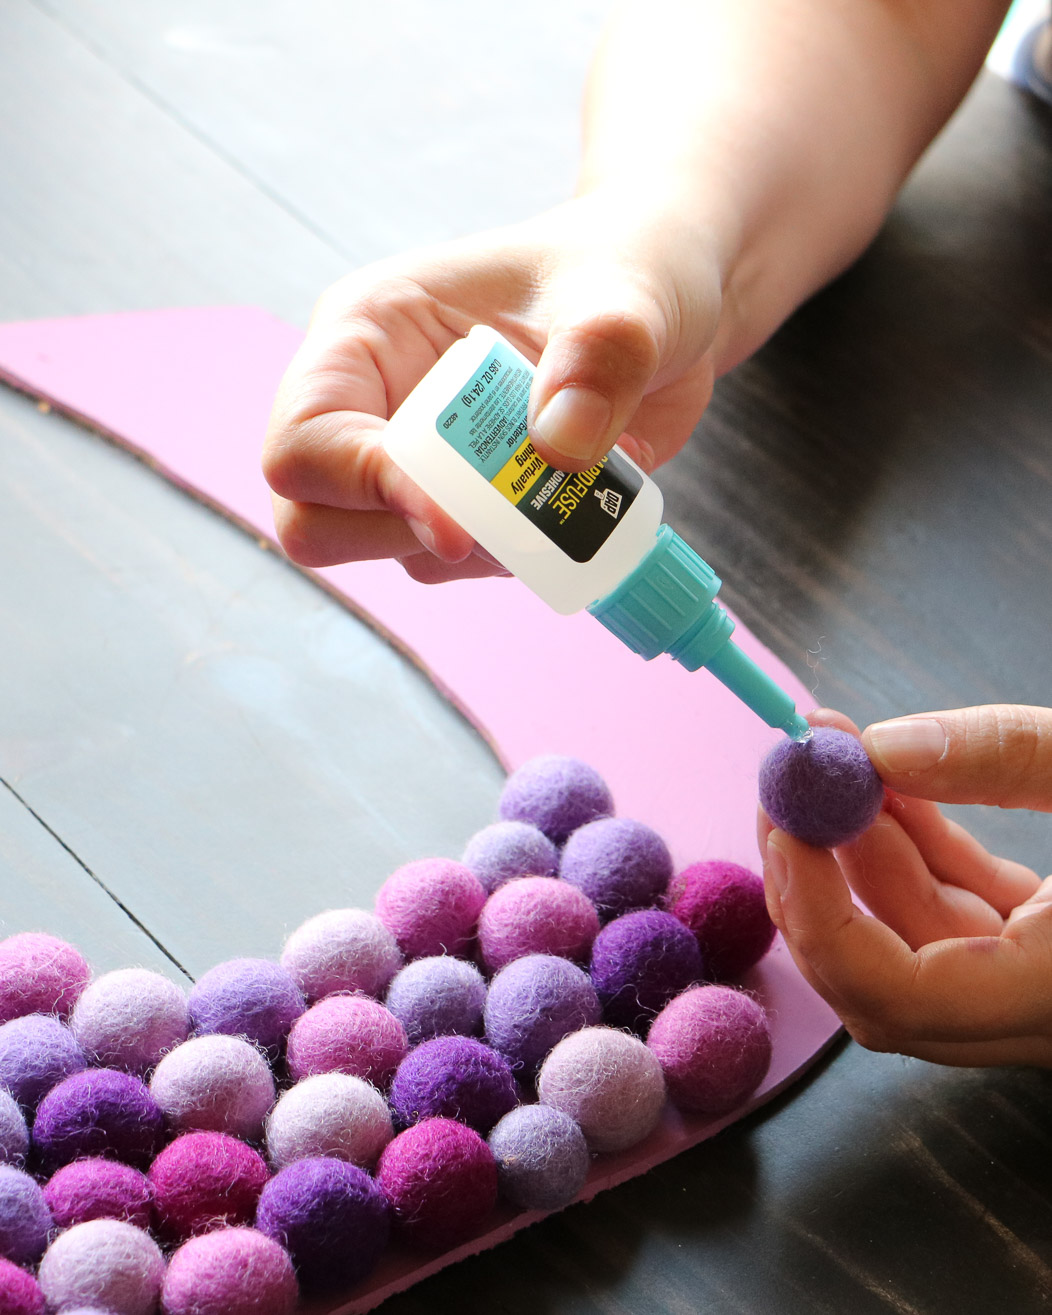
- Glue on your felt balls.
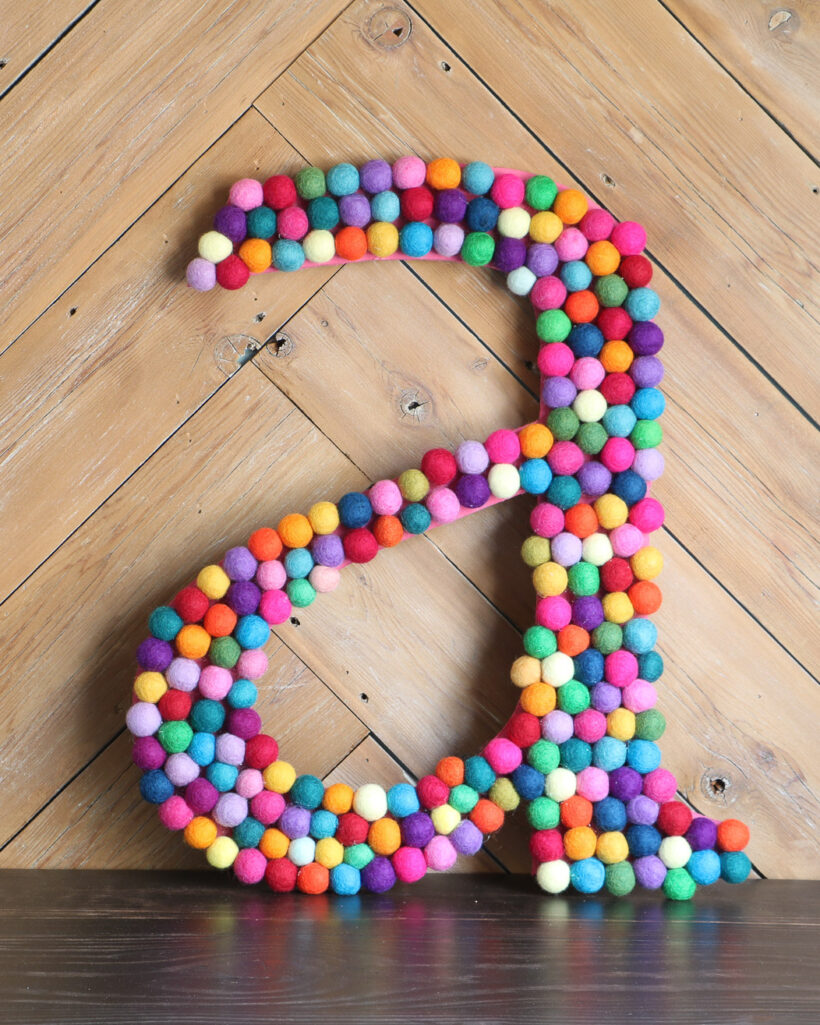
After your paint dries, you are ready to apply your felt balls, which is where these DIY wall letters really come to life! Felt balls are easy to work with and there’s something so cheerful and cute about them; I just love them! They’re perfect for this initial/monogram wall art, especially for a kid’s bedroom, nursery or playroom.
To glue them on, just dab a small amount of DAP RapidFuse All Purpose Adhesive on the bottom of each ball and place it on the letter. It takes about 30 seconds for the glue to start to set, but you don't have to hold it in place that whole time. Keep on moving and gluing more balls, just be careful not to shift those that have not yet fully set/dried. - Let it dry.
After you've applied all of your felt balls, let your letter sit on a flat surface for about 30 minutes (RapidFuse fully sets in 30 minutes). Then hang it up and enjoy the visual delight of your brand new wall letter!

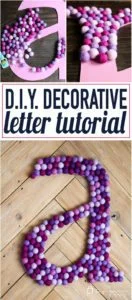
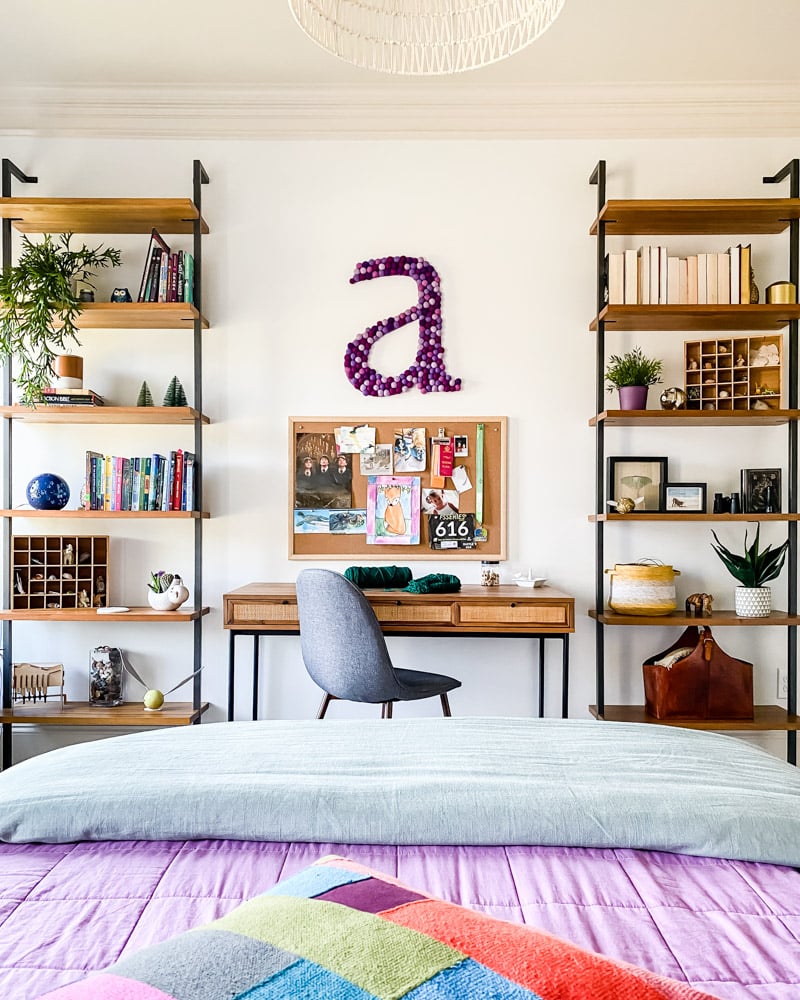
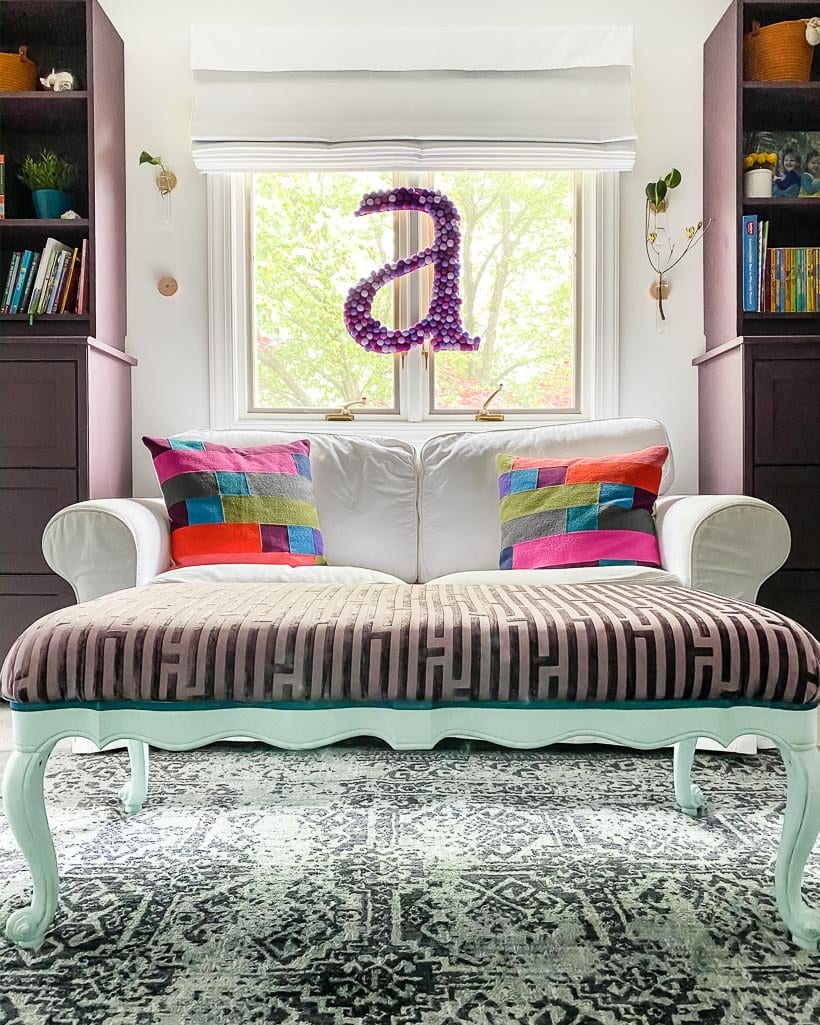
As you will see, my twin girls chose very different color schemes for their wall letters! I love that their colorful wall letters are totally unique, just like they are :) They are so customizable, especially depending on the typography you choose for your giant wall letter. Experiment with serif and sans serif fonts for your DIY initial art and find a lettering type to fit your unique style!

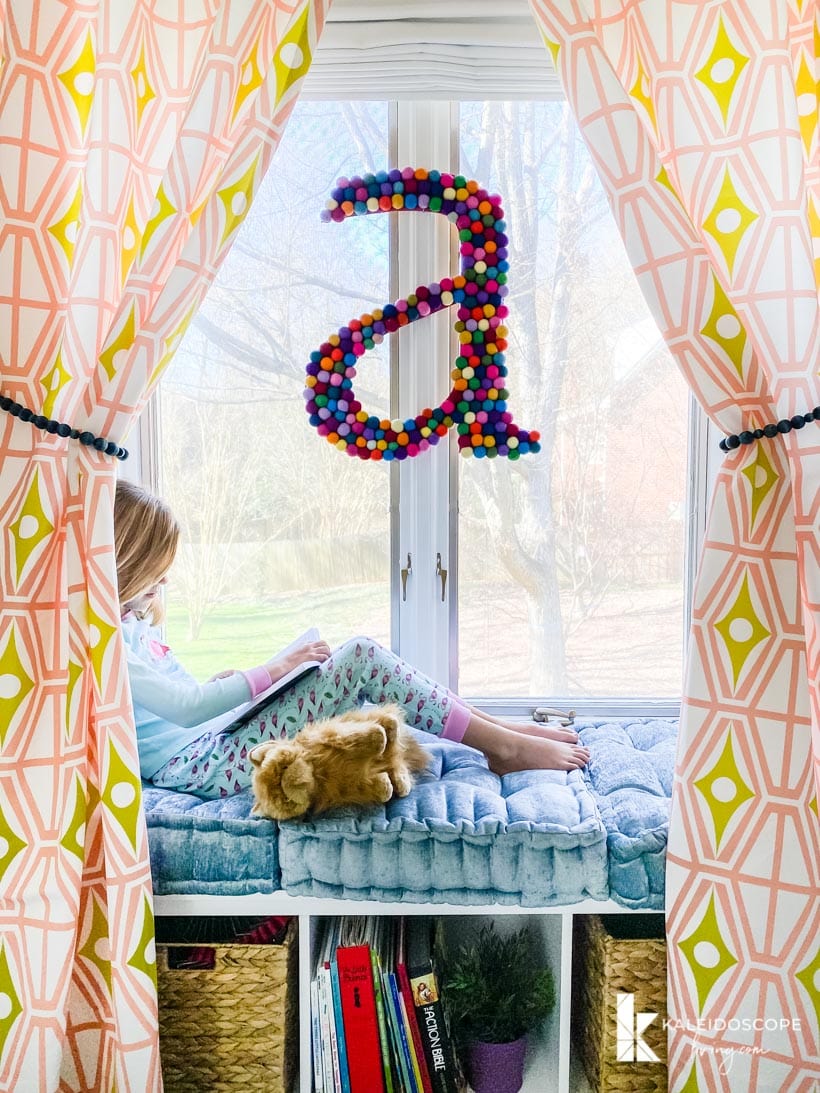
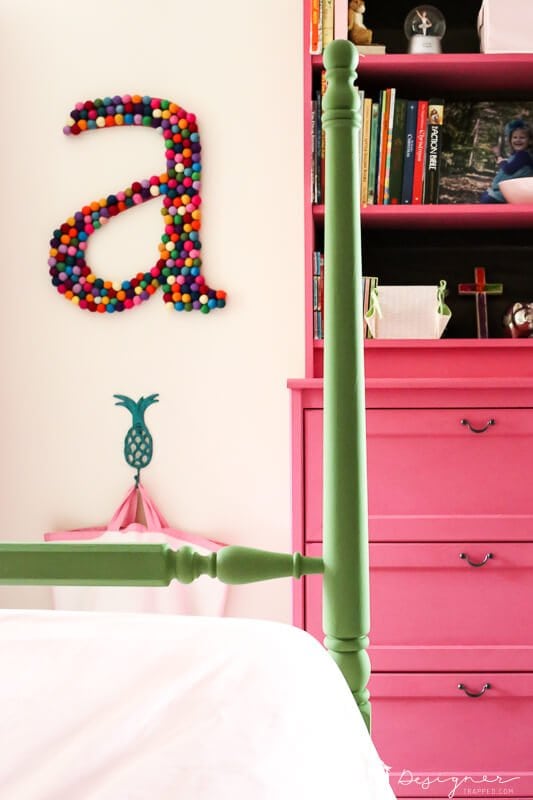
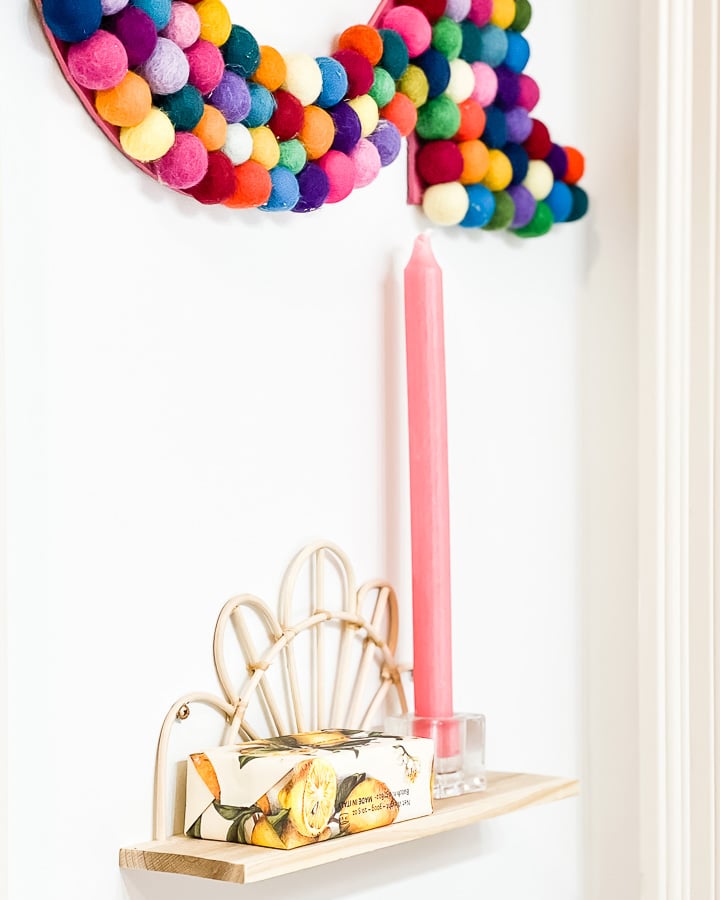
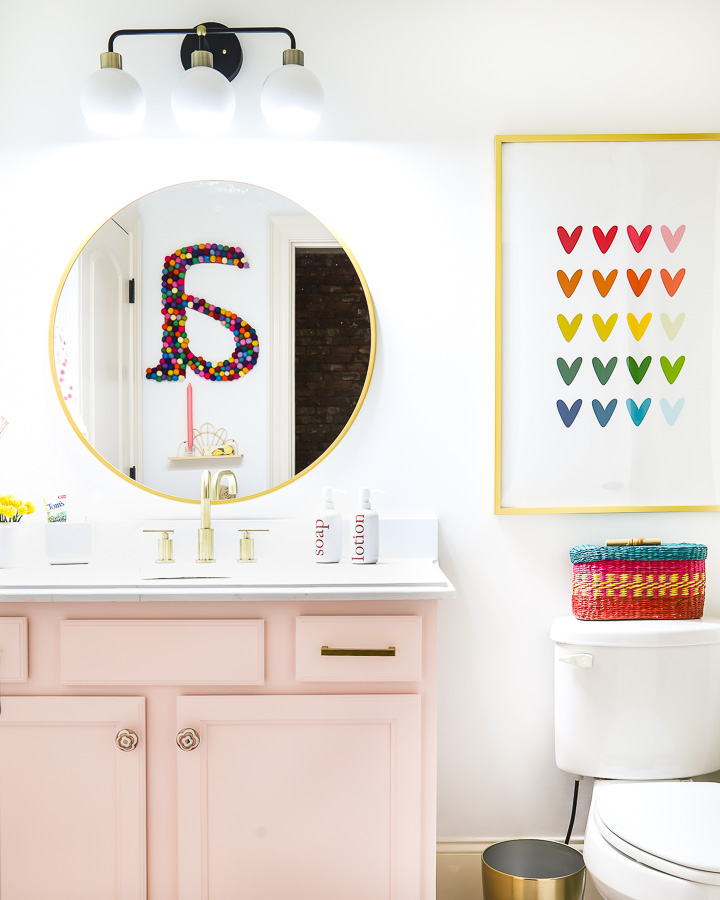
Here's a peek at how Attley's wall letter turned out. She wanted “all the colors”! For years it hung in her bedroom in our old home, even as her bedroom shifted and changed over the years. Then it hung in Attley's bathroom for a little while. It's currently hanging in our colorful family bonus room.
Avery's has moved around as well. It hung in her bedroom with built-in bunk beds in our old home for quite a while. And now it is hanging in Avery's current mid-century modern bedroom.
Need a link?
If you want to know what paint colors we have used in our current house or where we have found our furniture, art, rugs, etc., click below to find it on our home tour page!
So there you have it! I hope you are feeling inspired to make your own, custom wall letters. After making ours 6 years ago, I'm happy to say they are still one of our favorite DIY wall decor projects ever. I hope they stay in the family for generations!
Other posts you may enjoy:
- How to Make Vinyl Wall Quotes Yourself
- Colorful DIY Wreath Made from Felt Balls
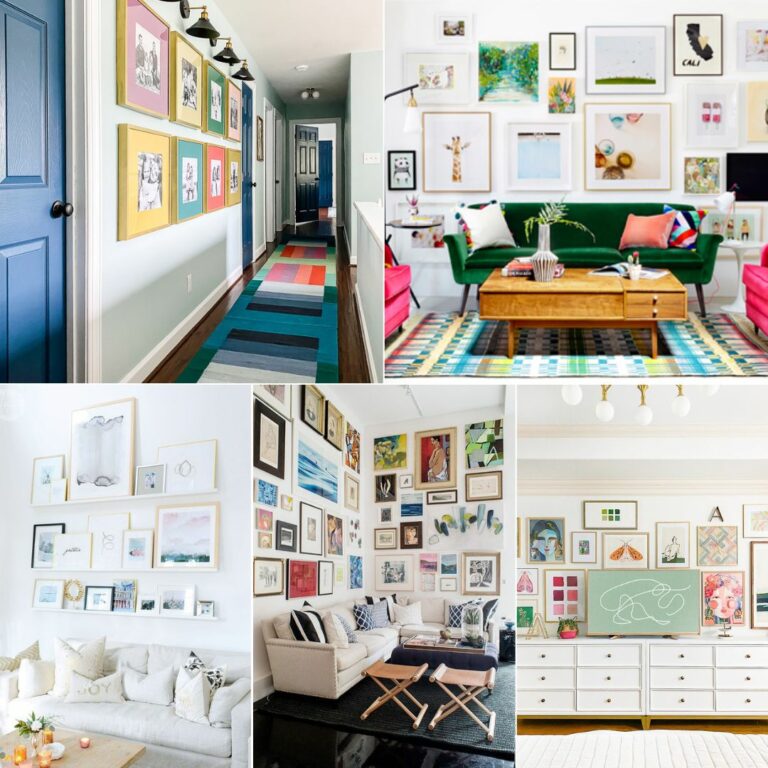
- 16 Gallery Wall Ideas (and Tips) To Inspire You
- Fun and Stylish Playroom Ideas & Decorating Tips
- 16 Teen Bedroom Ideas for Boys + Girls
Wondering how I approach transforming rooms and spaces in our home? Check out Designer in a Binder®.

And if you want exclusive content and behind-the-scenes sneak peeks, be sure to subscribe before you head out!