How to Make a Utility Box Cover

Last Updated on August 10, 2021

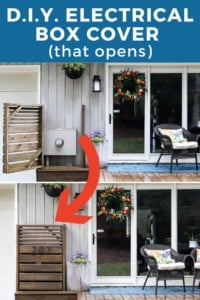
WOW! Brilliant idea to cover ugly utility boxes or screen any other eye sores on the outside of your home. Learn how to make a DIY utility box cover with this awesome tutorial by Designer Trapped in a Lawyer's Body.

Hi friends! You know I blog all about DIY home decor projects, right? Usually, Joe and I tackle DIY home decor projects because it saves us tons of money and because we think it's pretty darn fun. But sometimes we tackle a DIY project because we have no other choice. This is one of those projects. Today, I am going to show you how to hide utility boxes with awesome DIY utility box covers. Time to get excited!

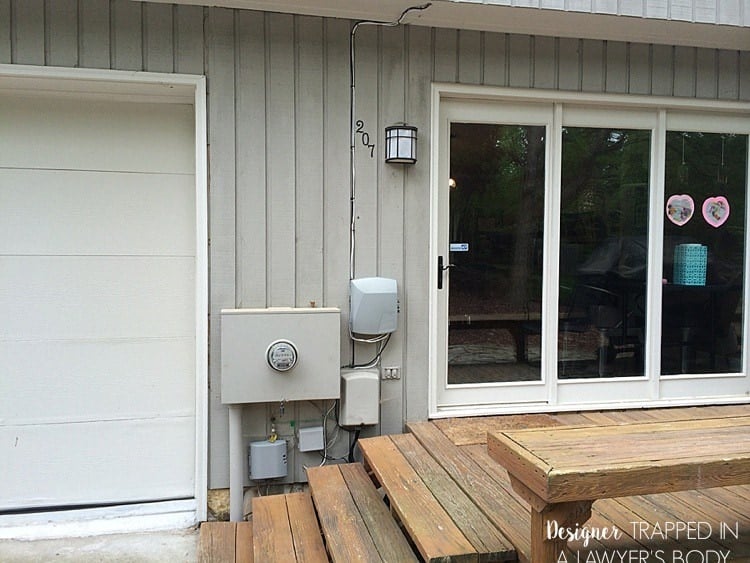
Our home had these unsightly utility boxes and wires at our back door entry, which is the entry that we use the most often. Unfortunately, there was no good solution to hide them that we could find in a store or online, so we came up with our own utility box cover and we just love how it turned out.

Our quest to hide the utility boxes was the first of many steps we took to improve the back entry to our house. Frankly, our back door entry could not have been less inviting when we started. Don't believe me? Just take a look for yourself. This is what we started with.

WOW! Brilliant idea to cover ugly utility boxes. Learn how to make a DIY utility box cover with this awesome tutorial by Designer Trapped in a Lawyer's Body.

WOW! Brilliant idea to cover ugly utility boxes. Learn how to make a DIY utility box cover with this awesome tutorial by Designer Trapped in a Lawyer's Body.

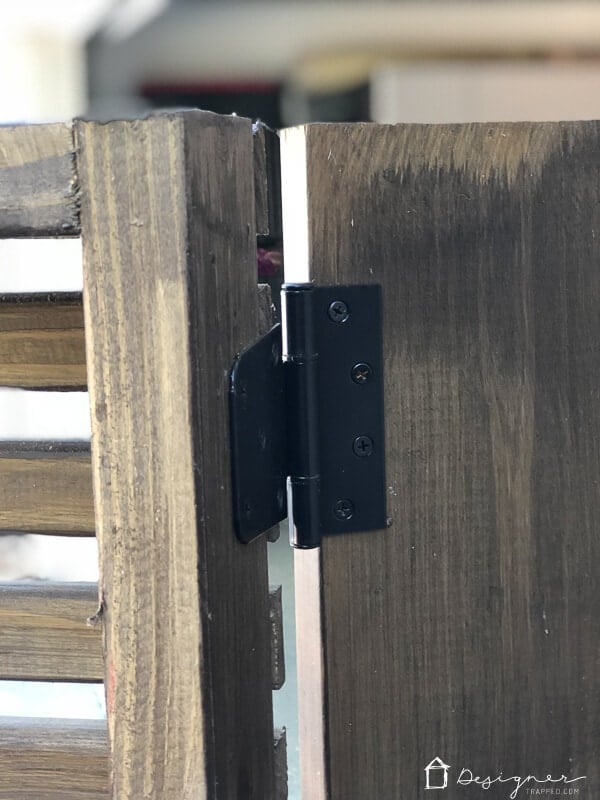
Before starting this project, be certain you have a clear understanding of your local utility company's requirements for clearance around and access to meters. Our meter can be read directly through the slats of the utility box cover and it is easily removable if needed. We have had it in place for over 10 months without any concerns from our utility company. That said, if you're concerned about access, you could always hinge the front panel:)

This is a project of intermediate difficulty and requires that you have some basic knowledge of woodworking terms and cuts. But, if you have some basic DIY home decor projects under your belt already, I am confident you can complete this project! This post contains some affiliate links for your convenience. Click here to read my full disclosure policy.

 How to Make a Utility Box Cover

Materials We Used:

Tools We Used:

Steps:

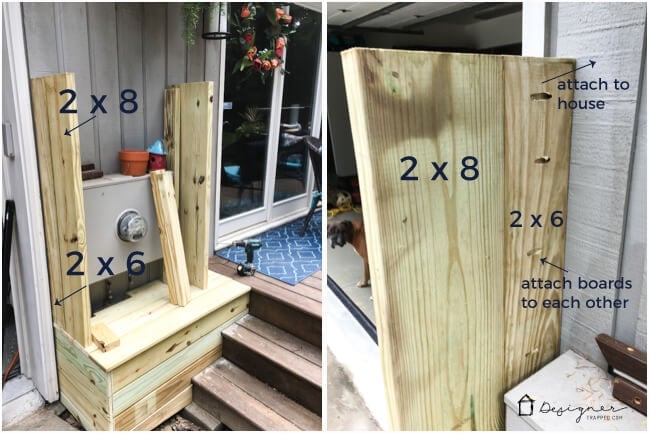
First, take a look at the diagrams of our DIY utility box cover below, which will provide a good visual context for the steps outlined below.

WOW! Brilliant idea to cover ugly utility boxes. Learn how to make a DIY utility box cover with this awesome tutorial by Designer Trapped in a Lawyer's Body.

WOW! Brilliant idea to cover ugly utility boxes. Learn how to make a DIY utility box cover with this awesome tutorial by Designer Trapped in a Lawyer's Body.

1)  Spend some time measuring out and planning your project. We determined how tall and wide we wanted our utility box cover to be and then figured out what cuts we needed to make. Pre-planning will save you time in the end, I promise.

2) Once you determine how tall and wide your cover will be, cut horizontal slats for the front of your cover out of plywood. Bear in mind that you will want to make your front slats long enough to cover the edges of the side panels. We also had stairs to deal with, so we had to take into account when making our cuts for the bottom of the cover.

WOW! Brilliant idea to cover ugly utility boxes. Learn how to make a DIY utility box cover with this awesome tutorial by Designer Trapped in a Lawyer's Body.

3) You will be using four 2 x 2s as vertical supports for the your cover, so next cut them to the appropriate length.

4) Finally, cut your side panels from plywood to the appropriate size.

5) Once all of your wood is cut, stain it and then add a weather proof polyurethane. I'm not gonna lie, this step is time consuming. Just listen to some good music or an audiobook for this step.

WOW! Brilliant idea to cover ugly utility boxes. Learn how to make a DIY utility box cover with this awesome tutorial by Designer Trapped in a Lawyer's Body.

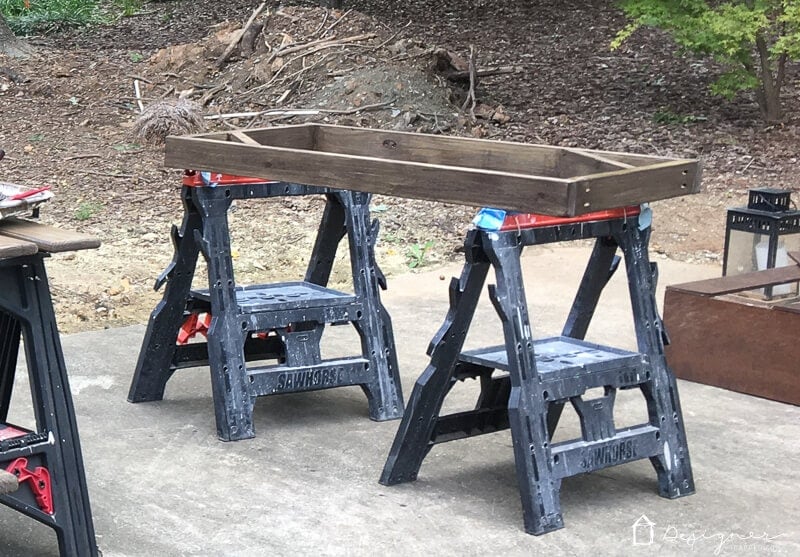
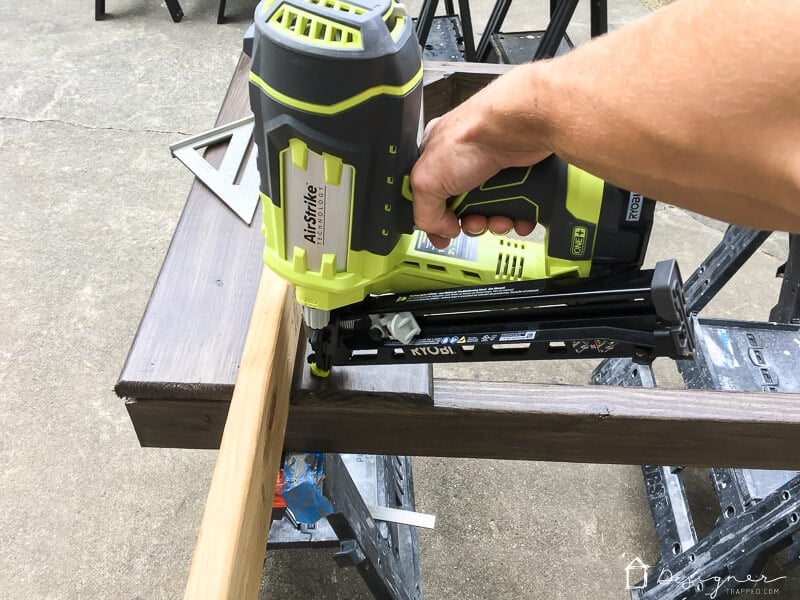
6) Once your poly top coat has dried, you are ready to assemble. Begin by attaching the front slats to two vertical 2 x 2s with a brad nailer. Be sure to leave some overhang so that your front slats will cover the edges of your side panels. We used a scrap piece of wood the same thickness as our side panels to ensure our spacing was correct as we attached the front slats. Also remember to leave enough space (an inch or so will do) in between each panel so the utility box behind the cover can be accessed easily by the utility company.

WOW! Brilliant idea to cover ugly utility boxes. Learn how to make a DIY utility box cover with this awesome tutorial by Designer Trapped in a Lawyer's Body.

7) Next, attach the side panels with your brad nailer. Note that we taped the edges of our wood with painter's tape prior to nailing them. You'll see why in step 12 :)

WOW! Brilliant idea to cover ugly utility boxes. Learn how to make a DIY utility box cover with this awesome tutorial by Designer Trapped in a Lawyer's Body.

8)  Next, attached a 2 x 2 to the back, vertical edge of each side panel.

9) Finally, if your utility box cover is as wide or wider than ours, you may need to cut four corner braces to add strength and stability to your cover. We cut ours out of the same plywood using our band saw, but you could also use a jig saw or even a circular saw. We attached two corner braces to the top corners of the utility box cover, and two to the bottom corners {see the diagram at the beginning of the instructions}.

WOW! Brilliant idea to cover ugly utility boxes. Learn how to make a DIY utility box cover with this awesome tutorial by Designer Trapped in a Lawyer's Body.

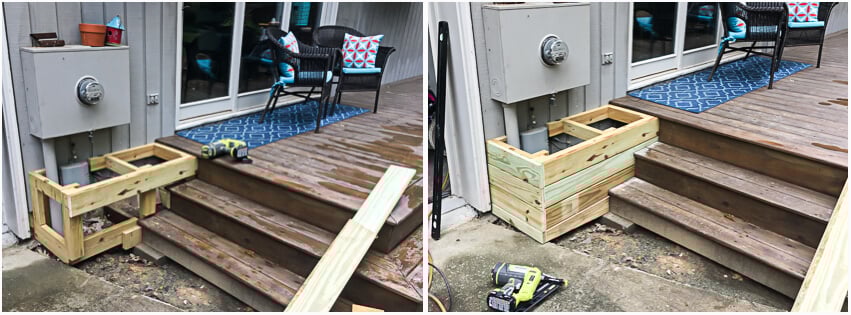
10) Because stairs interfered with our cover, we had to make our 2 x 2s long enough to anchor into the wood stairs. So, we had to cut out a square the same size as our 2 x 2s so that the supports could be placed through them to make it sturdy. We did this by tracing the 2 x 2 shape on the top and bottom stair. We then drilled a small hole with a drill bit and then a larger hole with a paddle bit. We then squared it off by using a hand chisel. If you are lucky enough to have a flat surface at the bottom of your utility box cover, you should not have to worry about this step.

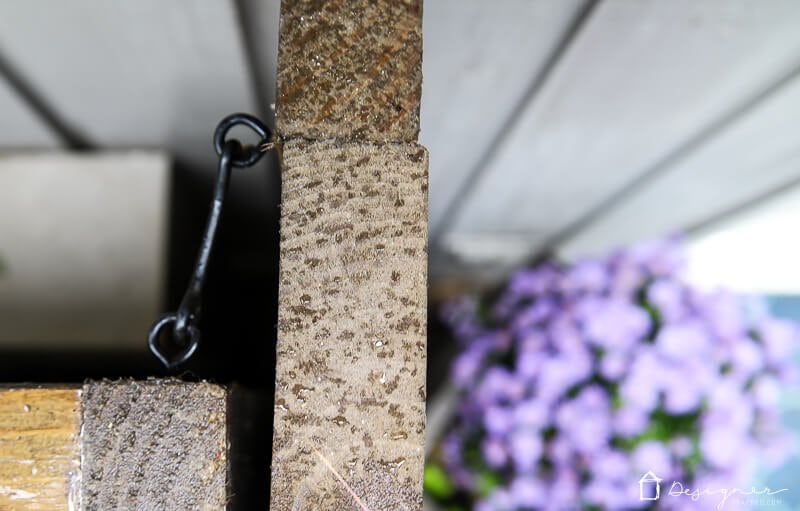
11) Use 2 x 2s to make a wood cleat for each side of the back of the cover to anchor it to your house. This will enable you to easily remove it by lifting it off if you ever need to access the hiding utility boxes, but it will prevent the cover from shifting during strong winds or storms. We have not heard any complaints from our electric company about the ability to read our meter, so they must either remove the cover themselves or peek through the slats! But again, if we need to remove it, it's super easy to lift it out of the way! If you are concerned about this, you could always hinge the front, slatted panel to give you even easier access.

WOW! Brilliant idea to cover ugly utility boxes. Learn how to make a DIY utility box cover with this awesome tutorial by Designer Trapped in a Lawyer's Body.

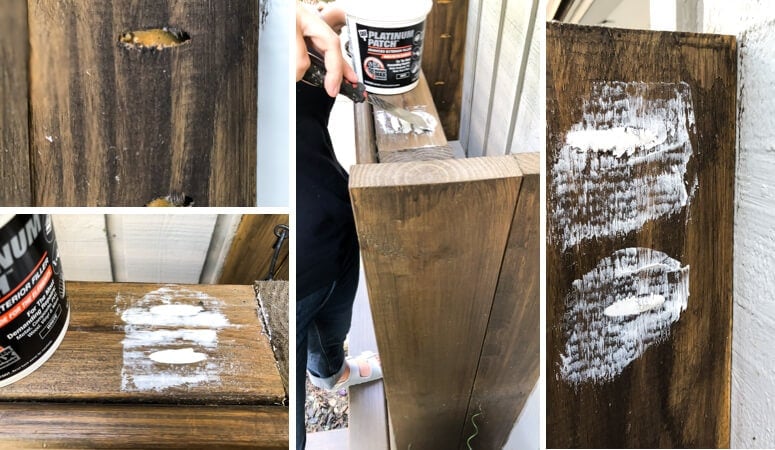
12) Finally, mix a bit of your wood stain with wood putty and fill in the holes left by the brad nails. Then peel the tape off and you have perfectly matched and patched holes without making a mess! See how that painter's tape trick comes in handy?

WOW! Brilliant idea to cover ugly utility boxes. Learn how to make a DIY utility box cover with this awesome tutorial by Designer Trapped in a Lawyer's Body.

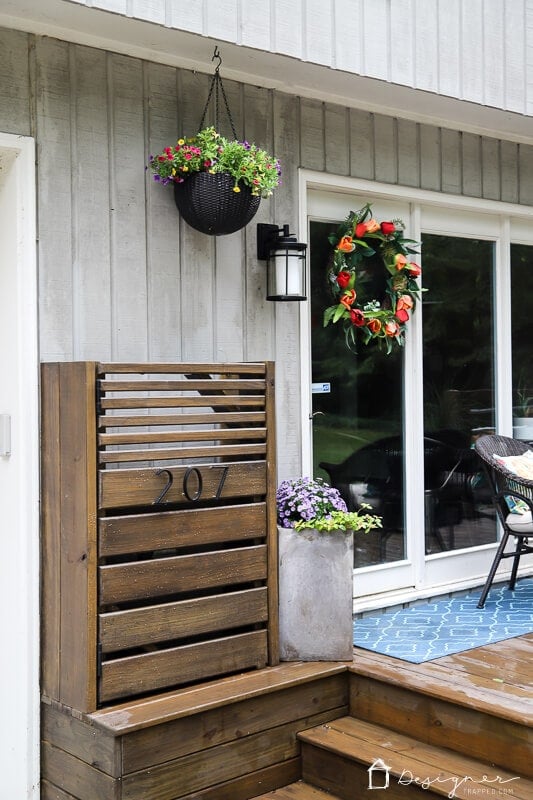
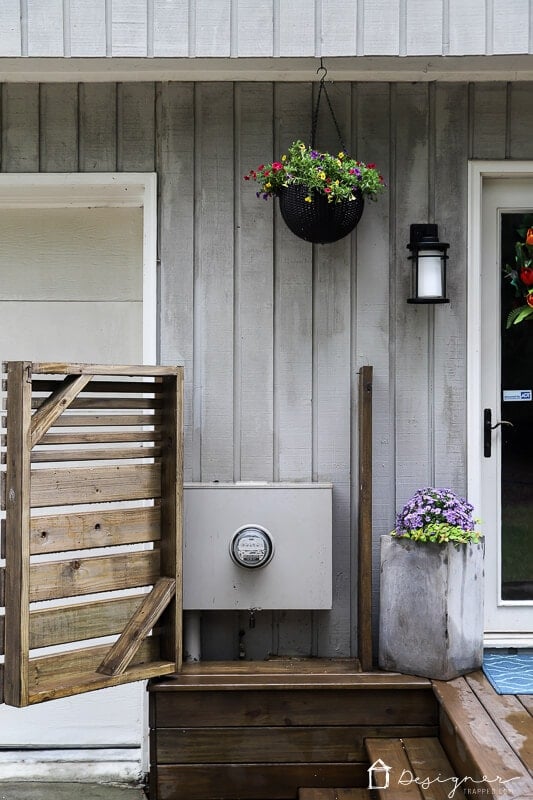
We added some address numbers to this utility box cover to dress it up a bit. We absolutely love the finished result. SUCH an improvement from where we started. What do you think?

Currently, our back entry is decorated for fall. I love all the colors and textures of fall!

WOW! Brilliant idea to cover ugly utility boxes. Learn how to make a DIY utility box cover with this awesome tutorial by Designer Trapped in a Lawyer's Body.

WOW! Brilliant idea to cover ugly utility boxes. Learn how to make a DIY utility box cover with this awesome tutorial by Designer Trapped in a Lawyer's Body.

WOW! Brilliant idea to cover ugly utility boxes. Learn how to make a DIY utility box cover with this awesome tutorial by Designer Trapped in a Lawyer's Body.

WOW! Brilliant idea to cover ugly utility boxes. Learn how to make a DIY utility box cover with this awesome tutorial by Designer Trapped in a Lawyer's Body.

We finished this project in the Spring. This is how we decorated it for Spring and Summer.

WOW! What a transformation! This back door entry went from being an eye sore to stunning and welcoming with the addition of a utility box cover. Full reveal by Designer Trapped in a Lawyer's Body.

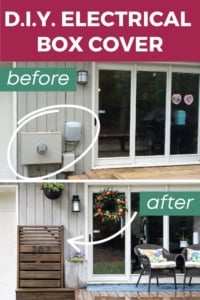
Now, how about a little before and after shot?!

WOW! Brilliant idea to cover ugly utility boxes. Learn how to make a DIY utility box cover with this awesome tutorial by Designer Trapped in a Lawyer's Body.WOW! Brilliant idea to cover ugly utility boxes. Learn how to make a DIY utility box cover with this awesome tutorial by Designer Trapped in a Lawyer's Body.

A little better, huh? If hiding utility boxes is your next DIY project, let me know how it works out for you! I'd love to see any utility box cover designs you come up with!

If you want to check out how we made that DIY wood “HOME” state, you can see that full tutorial here.  For LOADS of DIY home decor projects, be sure to take my full home tour here. And if you love this project, be sure to pin it so that you can find it later :)


[mv_create 1 11 200 2016 key=”1″ type=”list” title=”Most Popular Projects” thumbnail=”<a href=” https designertrapped com wp content uploads diy home decor projects blog jpg a]


Leave a Reply

Your email address will not be published. Required fields are marked *

This site uses Akismet to reduce spam. Learn how your comment data is processed.

42 Comments

  1. I love this project, but I’m really curious where you got your house numbers? They’re EXACTLY what we’ve been looking for!

  2. This is such a wonderful project. The kind I love. i.e. a few slats of wood, some precision workman/womanship and a Huge transformation. I love it.. Thank you:-)

      1. I would like to know how you hid the wiring above the box? They are visible on the before photo and you can’t see them at all on the after photo. Thanks!

          1. Thank you. That is a great idea. Can something like that be done if you need to attach it brick to hide similar wiring? Also, how did you create the channel in the wood?

            Thanks again,

            Gina

  3. Tasha, I love how it looks now, so classy! I stop by to tell you I’m featuring this post on this week’s party Two Uses Tuesday.
    Hugs!

    Pili

  4. i’ve been wanting to do something like this but to cover the garbage and recycle cans outside. I didn’t know I could use plywood outdide. Thanks for sharing

  5. Great idea! It looks great! I would like to do something like this around our air condition units, would have to give it some breathing room, but it would work great for hiding it and giving it some shade. Thanks for sharing!